














BX521VCPWR (P1325030W W) Amana Refrigerator - Overview
Sections of the BX521VCPWR
[Viewing 10 of 10]


Keep searches simple, eg. "belt" or "pump".

Refrigerator Door Switch
PartSelect #: PS12728638
Manufacturer #: W11384469
Door switch turns the light off when you close the door.
$43.83
In Stock
Order within the next 4 hrs and your part ships today!

Freezer Door Gasket
PartSelect #: PS11738527
Manufacturer #: WP12550116Q
Keep your freezer cold and energy-efficient with this white rubber door gasket. It fits Whirlpool, KitchenAid, Maytag, and Amana models and helps seal the door to keep warm air out. If you’re seeing f...
$148.79
In Stock
Order within the next 4 hrs and your part ships today!

Refrigerator Water Fill Cup & Bearing
PartSelect #: PS11743318
Manufacturer #: WP628356
This icemaker water inlet cup is three inches long. It is all white in color and is made of plastic.
$46.15
In Stock
Order within the next 4 hrs and your part ships today!

Crisper Drawer Cover Support Post
PartSelect #: PS1564421
Manufacturer #: 10461901
This part helps support the crisper drawer lid.
$40.65
In Stock
Order within the next 4 hrs and your part ships today!

Dishwasher Screw
PartSelect #: PS11753384
Manufacturer #: WPW10348409
Sold individually.
$10.44
In Stock
Order within the next 4 hrs and your part ships today!

Ice Maker Shutoff Arm
PartSelect #: PS11743571
Manufacturer #: WP67004028
This part signals the icemaker to stop making ice once the bin has reached a desired amount.
$71.45
In Stock
Order within the next 4 hrs and your part ships today!

Refrigerator Door Gasket
PartSelect #: PS11738526
Manufacturer #: WP12550115Q
This door gasket is white and made of rubber. It measures approximately thirty-one and a half inches wide by thirty-eight and a half inches long.
$166.62
In Stock
Order within the next 4 hrs and your part ships today!

Dryer Screw
PartSelect #: PS11746840
Manufacturer #: WP90767
This screw is sold individually.
$10.40
In Stock
Order within the next 4 hrs and your part ships today!

Refrigerator Screw
PartSelect #: PS11742742
Manufacturer #: WP489349
This screw is sold individually.
$10.95
In Stock
Order within the next 4 hrs and your part ships today!

Refrigerator Screw
PartSelect #: PS11747542
Manufacturer #: WP98165
This screw is a little under an inch long and is made of metal. It is used with a refrigerator's ice maker assembly. Sold individually.
$10.95
In Stock
Order within the next 4 hrs and your part ships today!

Ice Bucket
PartSelect #: PS11743447
Manufacturer #: WP67001255
Holds the ice when it's released by the ice maker.
$168.45
Special Order

Levelling Foot
PartSelect #: PS12348490
Manufacturer #: W11177593
$23.60
In Stock
Order within the next 4 hrs and your part ships today!
Common Symptoms of the BX521VCPWR
[Viewing 16 of 16]Light not working
Fixed by
these parts
these parts

Show All
Leaking
Fixed by
these parts
these parts


Show All
Door Sweating
Fixed by
these parts
these parts


Show All
Ice maker not making ice
Fixed by
these parts
these parts


Show All
Frost buildup
Fixed by
these parts
these parts
Show All
Freezer section too warm
Fixed by
these parts
these parts
Show All
Fridge too warm
Fixed by
these parts
these parts

Show All
Door won’t open or close
Fixed by
these parts
these parts

Show All
Ice maker dispenses too much ice
Fixed by
these parts
these parts
Show All
Fridge runs too long
Fixed by
these parts
these parts
Show All
Ice maker won’t dispense ice
Fixed by
these parts
these parts
Show All
Noisy
Fixed by
these parts
these parts

Show All
Door latch failure
Fixed by
these parts
these parts

Show All
Freezer not defrosting
Fixed by
these parts
these parts
Show All
Fridge too cold
Fixed by
these parts
these parts

Show All
Freezer too cold
Fixed by
these parts
these parts
Show All
Keep searches simple. Use keywords, e.g. "leaking", "pump", "broken" or "fit".
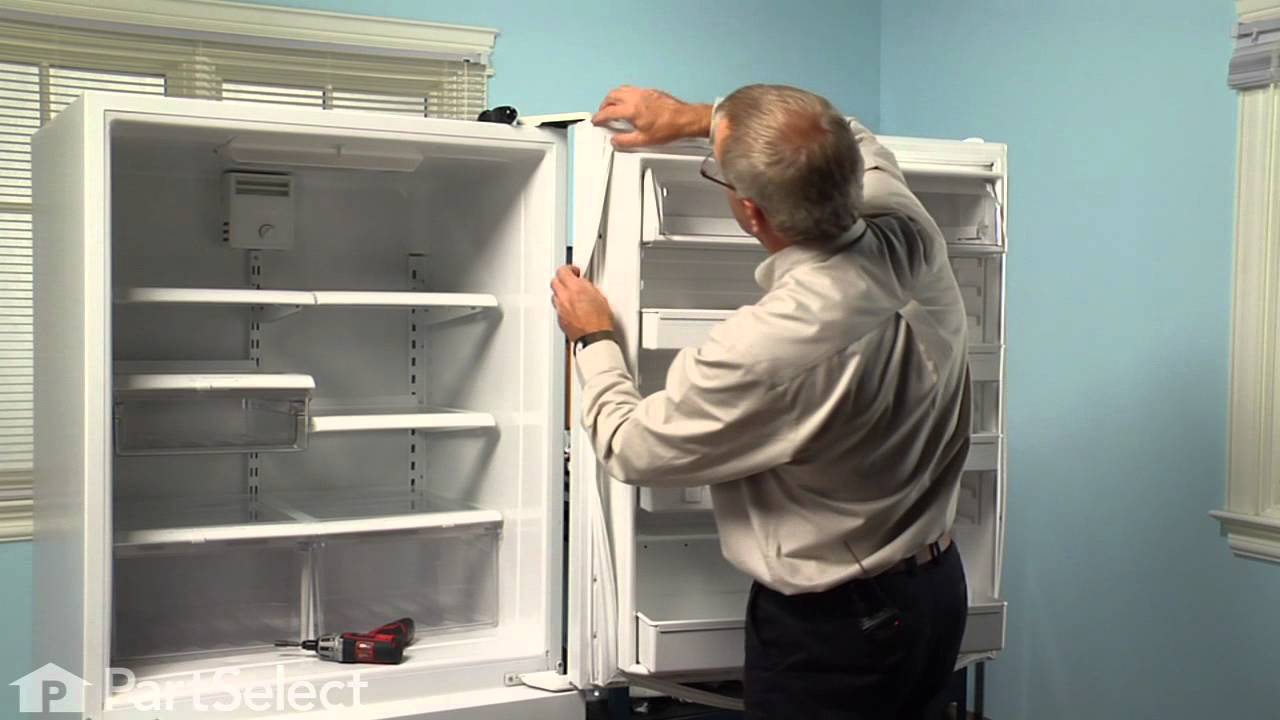
freezer door gasket needed replacing
Unplug refrigerator. Open freezer door. Lift the old gasket from the edge closest to the center of the door to expose the hex-head screws. Get a nut driver the appropriate size (1/4" if I remember) and loosen, but do not remove all of the screws. Once loosened, the old gasket can be removed. Slip the new gasket in just like the old one was. Lift the edges closest to the center of the door and tighten the screws. Test the fit of the new gasket by closing the door and sighting carefully down each of the four seal lines. Typically there will be spots where there are gaps, that is, the gasket is not "pulled out" enough to contact the refrigerator body. This is due to kinks that occur to the gasket during shipping. A paper that comes with the gasket notes the effect and recommends using a hair dryer to remove the kinks. Although the recommendation is to use the dryer BEFORE putting the gasket on, I used the dryer after, when I could see exactly where the gaps were. After noting the spots, open the door and with the dryer on HIGH setting, wave the hot air stream back and forth for a minute or two on each spot. Pull each spot out by hand with the hot air off and if/when the gasket is cool enough to touch but still warm. Close the door, inspect and repeat the process if necessary. I was able to achieve a good seal all the way around this way.
Parts Used:
-
Jeffrey from Palo Alto, CA
-
Difficulty Level:A Bit Difficult
-
Total Repair Time:30 - 60 mins
-
Tools:Nutdriver, Screw drivers
139 of 154 people
found this instruction helpful.
Was this instruction helpful to you?
Thank you for voting!
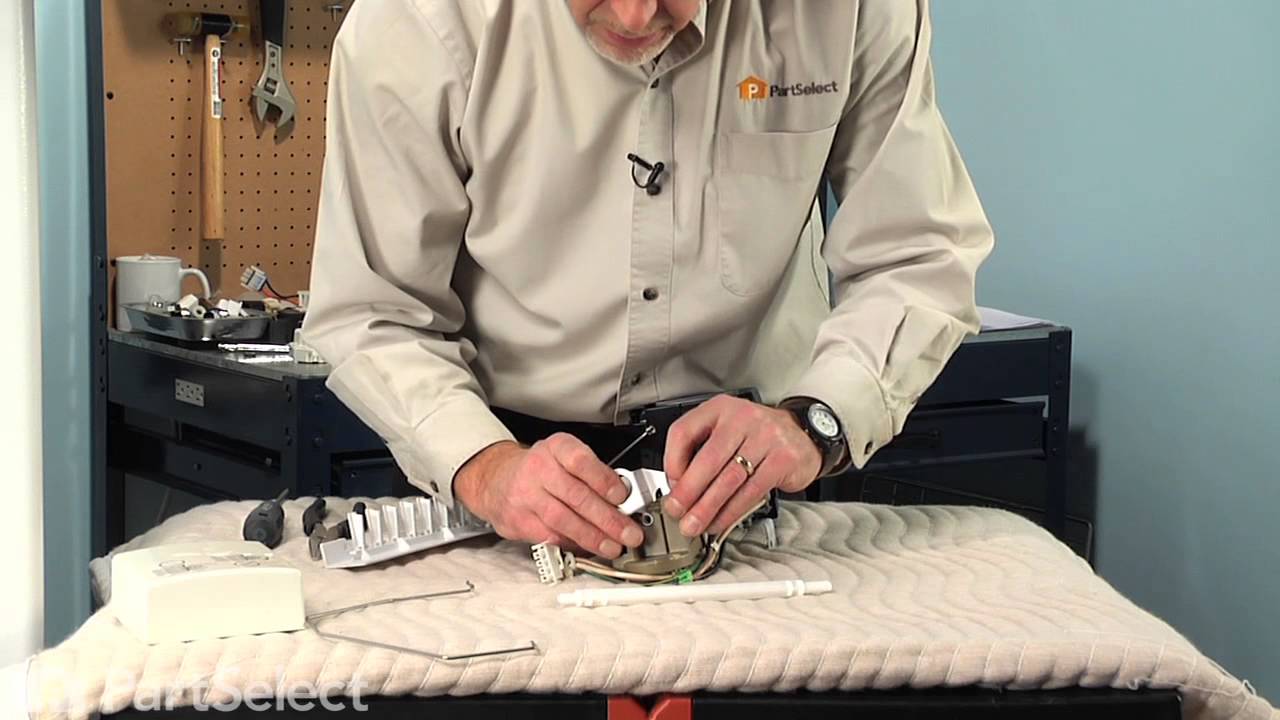
The Bearing Cup Assembly was broken and ice would jamb against it during the ice making cycle.
I removed the ice maker from the refrigerator, by removing one screw on the underside bracket and loosening the two screws at the top side, then lifting the ice maker off the loosened screws. I then unplugged the electrical harness that supplies power from the refrigerator to the ice maker. I then disassembled the ice maker by removing the front cover which is snapped in place, then removing two recessed screws at the front. I removed the broken part, I then reassembled the ice maker with the new part. I replaced the two recessed screws at the front and snapped on the cover. Then I reinstalled the ice maker in the refrigator by plugging in the harness, slipping the ice maker over the loosened screws in the refrigerator and replacing the screw that was removed from the underside bracket. Tightening all the screws completed the project.
Parts Used:

-
David from Chester, CA
-
Difficulty Level:Really Easy
-
Total Repair Time:Less than 15 mins
-
Tools:Nutdriver, Screw drivers
110 of 140 people
found this instruction helpful.
Was this instruction helpful to you?
Thank you for voting!
Lights inside refrigerator not working
I used a flat-head screwdriver to pop out the old light rocker switch. Then, I unplugged the wires, plugged them into the new light rocker switch, and then popped the new switch into the hole. That's it! Lights began working again.
Parts Used:
-
Clint from Rayville, MO
-
Difficulty Level:Really Easy
-
Total Repair Time:Less than 15 mins
-
Tools:Screw drivers
137 of 257 people
found this instruction helpful.
Was this instruction helpful to you?
Thank you for voting!