




















671 - Overview
Models starting with 671
Click on the best match to narrow your results.
- 671 Hoover Upright Vacuum
- 671 Porter Cable Drill (Fastener)
- 67119060 Craftsman Spreader (Broadcast Spreader Seeder)
- 6711912 Craftsman Spreader (Drop Type Spreader Seeder)
- 6711914 Craftsman Spreader (Drop Type Spreader Seeder)
- 67119150 Craftsman Spreader (Drop-Type Spreader)
- 67119151 Craftsman Spreader (Drop-Type Spreader)
- 67119160 Craftsman Spreader (Drop Type Spreader Seeder)
- 67119180 Craftsman Spreader (Drop-Type Spreader)
- 67119181 Craftsman Spreader (Drop Type Spreader)
- 67119182 Craftsman Spreader (Drop-Type Spreader)
- 67119196 Craftsman Spreader (Drop Type Spreader-Seeder)
- 67119197 Craftsman Spreader (Drop Type Spreader Seeder)
- 67119250 Craftsman Spreader (Rotary-Type Spreader)
- 67119251 Craftsman Spreader (Rotary-Type Spreader)
- 67119252 Craftsman Spreader (Rotary-Type Spreader)
- 67119260 Craftsman Spreader (Rotary-Type Spreader)
- 67119261 Craftsman Spreader (Rotary-Type Spreader)
- 67119262 Craftsman Spreader (Roto-Type Spreader)
- 67119350 Craftsman Spreader (Spreader)
- 67119810 Craftsman Spreader (20 Inch Drop Spreader)
- 67119820 Craftsman Spreader (24" Drop Spreader)
- 67119850 Craftsman Spreader (20 In Drop Spreader)
- 67119860 Craftsman Spreader (24 In Drop Spreader)
- 67119870 Craftsman Spreader (Broadcast Spreader)
- 67119871 Craftsman Spreader (Broadcast Spreader)
- 67119880 Craftsman Spreader (Broadcast Spreader)
- 67119881 Craftsman Spreader (Broadcast Spreader)
- 67119882 Craftsman Spreader (Broadcast Spreader)
- 671840 Admiral Refrigerator (REFRIGERATOR)
- 671860 Admiral Refrigerator (REFRIGERATOR W/ICE & WATER)
- 671861 Admiral Refrigerator (REFRIGERATOR W/ICE & WATER)
- 671867 Admiral Refrigerator (REFRIGERATOR W/ICE & WATER)
- 671AH Admiral Range (Freestanding, Gas)
- 671AH-K Admiral Range (Freestanding, Gas)
- 671WH Admiral Range (Freestanding, Gas)
- 671WH-K Admiral Range (Freestanding, Gas)
Exact Part matches for your search term
[Viewing 1 of 1]
V57YC RACING SPARK PLUG
This part number matches the current model number 671
PartSelect #: PS18569866
Manufacturer #: 671
No Longer Available
Keep searches simple, eg. "belt" or "pump".
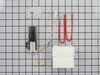
Flat Style Oven Igniter Kit
PartSelect #: PS1573892
Manufacturer #: 12400035
The flat style gas oven igniter included in this kit has a body length of 3-3/4 inches. This kit comes with all of the pieces you need to replace longer ceramic igniters, though this kit can also repl...
$61.55
In Stock
Order within the next 40 mins and your part ships today!

Replacement Ice Maker
PartSelect #: PS2121513
Manufacturer #: D7824706Q
This modular ice maker assembly replaces worn-out units to restore ice production in refrigerators. It includes the ice mold and control device but excludes the cover, ice level arm, wire harness, and...
$146.43
In Stock
Order within the next 40 mins and your part ships today!

Refrigerator Door Switch
PartSelect #: PS12728638
Manufacturer #: W11384469
Door switch turns the light off when you close the door.
$41.75
In Stock
Order within the next 40 mins and your part ships today!

Refrigerator Condenser Fan Motor Kit
PartSelect #: PS395284
Manufacturer #: 833697
This condenser fan motor operates in a clockwise fashion and carries carries 2W and 115V. It comes with screws, a mounting nut for the blade and a cushion. This part provides forced-air cooling for the condenser coil.
$114.07
In Stock
Order within the next 40 mins and your part ships today!

Refrigerator Run Capacitor
PartSelect #: PS11743364
Manufacturer #: WP65889-4
This part helps the compressor kick on and off while maintaining a constant temperature to keep things frozen in your freezer.
$78.05
In Stock
Order within the next 40 mins and your part ships today!
Screw
PartSelect #: PS12349731
Manufacturer #: W11233072
This is a multi-use and multi-appliance screw. It can be used on a microwave, refrigerator, range/oven, air conditioner, dehumidifier, washer, or dryer. The measurements of this screw are 8 x 1/2 inch...
$28.95
In Stock
Order within the next 40 mins and your part ships today!
Screw
PartSelect #: PS11743743
Manufacturer #: WP681249
Sold individually.
$10.51
In Stock
Order within the next 40 mins and your part ships today!

Crisper Drawer Shelf Support
PartSelect #: PS2071530
Manufacturer #: 67764-1
This crisper drawer shelf support is used for many refrigerators.
No Longer Available

Washer Hose Clamp
PartSelect #: PS11743008
Manufacturer #: WP596669
This hose clamp extends from half an inch to an inch in diameter. It is made entirely of metal and is intended for use with Maytag brand washing machines.
$10.95
In Stock
Order within the next 40 mins and your part ships today!

Refrigerator Water Fill Cup & Bearing
PartSelect #: PS11743318
Manufacturer #: WP628356
This icemaker water inlet cup is three inches long. It is all white in color and is made of plastic.
$49.45
Special Order
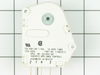
Defrost Timer - 120V 60Hz
PartSelect #: PS11743747
Manufacturer #: WP68233-3
This defrost timer will cycle for twenty-one minutes after every ten hours of run time.
The defrost timer acts like a clock. It continually advances and alternates between activating the cooling cy...
$170.97
In Stock
Order within the next 40 mins and your part ships today!
Screw - 10-16 x 1
PartSelect #: PS11741409
Manufacturer #: WP3387230
This screw is sold individually.
$9.85
In Stock
Order within the next 40 mins and your part ships today!
Common Symptoms of models starting with 671
[Viewing 28 of 28]Ice maker not making ice
Fixed by
these parts
these parts


Show All
Leaking
Fixed by
these parts
these parts


Show All
Gas igniter glows, but will not light
Fixed by
these parts
these parts


Show All
Light not working
Fixed by
these parts
these parts
Show All
Will Not Start
Fixed by
these parts
these parts


Show All
Fridge too warm
Fixed by
these parts
these parts
Show All
Little to no heat when baking
Fixed by
these parts
these parts
Show All
Freezer section too warm
Fixed by
these parts
these parts
Show All
Ice maker won’t dispense ice
Fixed by
these parts
these parts

Show All
Noisy
Fixed by
these parts
these parts

Show All
Fridge and Freezer are too warm
Fixed by
these parts
these parts
Show All
Element will not heat
Fixed by
these parts
these parts
Show All
Fridge runs too long
Fixed by
these parts
these parts
Show All
Ice maker dispenses too much ice
Fixed by
these parts
these parts

Show All
Freezer not defrosting
Fixed by
these parts
these parts
Show All
Oven not heating evenly
Fixed by
these parts
these parts
Show All
Door won’t close
Fixed by
these parts
these parts

Show All
Gas smell
Fixed by
these parts
these parts
Show All
Little to no heat when broiling
Fixed by
these parts
these parts
Show All
Clicking sound
Fixed by
these parts
these parts
Show All
Ice maker dispenses too little ice
Fixed by
these parts
these parts
Show All
Too warm
Fixed by
these parts
these parts
Show All
Won’t start
Fixed by
these parts
these parts
Show All
Oven is too hot
Fixed by
these parts
these parts

Show All
Door latch failure
Fixed by
these parts
these parts

Show All
Fridge too cold
Fixed by
these parts
these parts

Show All
Not dispensing water
Fixed by
these parts
these parts

Show All
Will not drain
Fixed by
these parts
these parts
Show All

Keep searches simple. Use keywords, e.g. "leaking", "pump", "broken" or "fit".
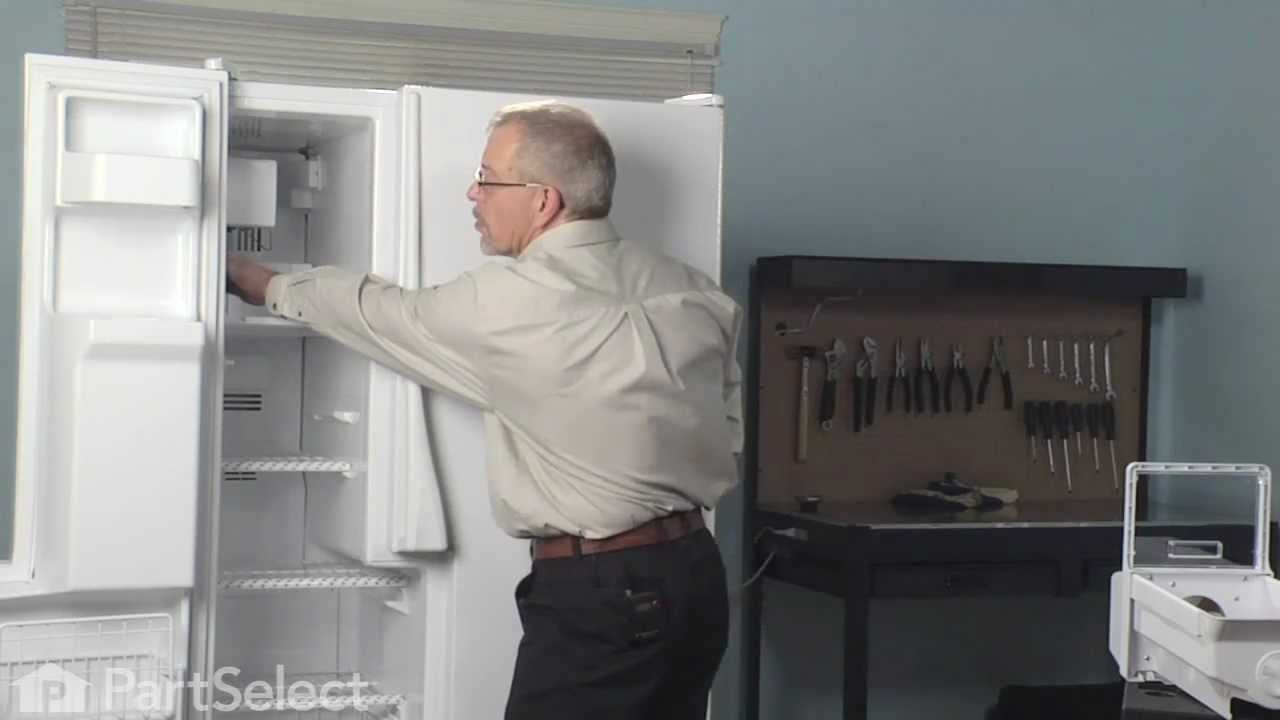
Icemaker producing few or no cubes and often leaving "kling-ons" on ice tray
Interior surface of ice tray felt rough & flaky (coating deteriorated) so cubes would not release.
Unplug appliance.
Remove timer cover by hand pressure @ edge.
Remove single attachment screw & bracket at lower front of icemaker.
Disconnect wiring harness from socket @ rear of compartment.
Tricky part was determining what type of connection held the other two attachment points along the long edge of the icemaker. I did not have repair manual or useful drawing but looked @ PartsDirect pic of side brackets & used a small mirror to confirm that mine were also some sort of "snap in" attachment.
Remove icemaker unit by pushing upward and outward on the unit. I takes a good bit of pressure and will pop loose, but be careful not to break attachment bracket from freezer wall.
Scavenge shut off bar and wiring harness from old icemaker once you have it out & attach to new one before installing it back in freezer.
Again, you might find a mirror useful to align those pesky snap-in brackets with the new unit.
Since you probably kept your freezer running while waiting for the part, the plastic snap-ins will be cold and brittle. I warmed them up first by applying a dampened cloth heated in the microwave to make them a little more pliable.
A good push of the new unit towards the snap-ins along with some upward force will get it stable.
Reattach the metal screw in bracket & connect the wiring harness to rear plug... and don't forget to plug the whole thing back in.
It will take awhile for the first batch of cubes dump as the timer may need to cycle completely around to get to the fill cycle... be patient.
Dump the first couple of batches of cubes just to make sure you're free of any residue.
Unplug appliance.
Remove timer cover by hand pressure @ edge.
Remove single attachment screw & bracket at lower front of icemaker.
Disconnect wiring harness from socket @ rear of compartment.
Tricky part was determining what type of connection held the other two attachment points along the long edge of the icemaker. I did not have repair manual or useful drawing but looked @ PartsDirect pic of side brackets & used a small mirror to confirm that mine were also some sort of "snap in" attachment.
Remove icemaker unit by pushing upward and outward on the unit. I takes a good bit of pressure and will pop loose, but be careful not to break attachment bracket from freezer wall.
Scavenge shut off bar and wiring harness from old icemaker once you have it out & attach to new one before installing it back in freezer.
Again, you might find a mirror useful to align those pesky snap-in brackets with the new unit.
Since you probably kept your freezer running while waiting for the part, the plastic snap-ins will be cold and brittle. I warmed them up first by applying a dampened cloth heated in the microwave to make them a little more pliable.
A good push of the new unit towards the snap-ins along with some upward force will get it stable.
Reattach the metal screw in bracket & connect the wiring harness to rear plug... and don't forget to plug the whole thing back in.
It will take awhile for the first batch of cubes dump as the timer may need to cycle completely around to get to the fill cycle... be patient.
Dump the first couple of batches of cubes just to make sure you're free of any residue.
Parts Used:
-
Bernie from Diamond Bar, CA
-
Difficulty Level:Easy
-
Total Repair Time:30 - 60 mins
-
Tools:Nutdriver
816 of 915 people
found this instruction helpful.
Was this instruction helpful to you?
Thank you for voting!
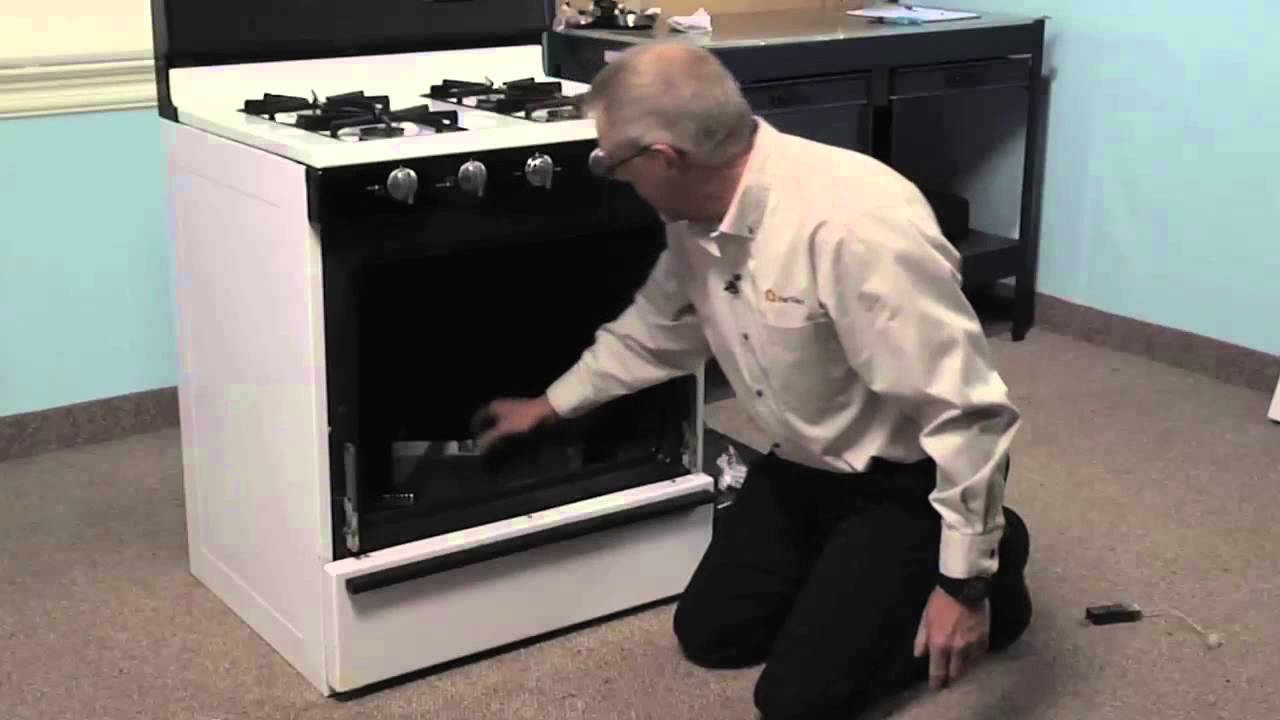
Oven would not work but the Broiler did
The oven had been working intermittently for a while and after repeated threats of starvation from my spouse I finally took a look even though it was summer and the grill was working fine. The Igniter would glow red when the oven was turned on but the gas would not flow to it no matter what the temperature setting. I searched online and found this site that explained it was possible for the igniter to glow but if it was not drawing the correct amperage (because its resistance was too high) then the main brain would not allow the gas valve to open. So I took a look at the broiler and it had the same igniter. I measure the resistance of both of them and the oven igniters resistance was higher (don't rememeber the reading) then I moved the Igniter from the broiler to the oven and the oven worked from there it was just a matter of ordering the part. End of story except for I am still doing all the cooking on the barbecue outside.
Parts Used:
-
James from Ferndale, MI
-
Difficulty Level:A Bit Difficult
-
Total Repair Time:15 - 30 mins
-
Tools:Nutdriver, Screw drivers, Socket set
337 of 374 people
found this instruction helpful.
Was this instruction helpful to you?
Thank you for voting!
Water overflowed ice maker turnning ice bucket into solid mass of ice
My ice maker has been shedding its non-stick coating for over a year. Within the last month of so, it started pouring water into the ice bucket below, turning it into a solid mass of ice. So I purchased a new ice maker assembly. I encountered two problems not mentioned in the 21 or so do-it-yourselfer repair stories that precede this one. First problem: one of the three screws that hold the ice maker to the refrigerator wall is hidden behind the large (black) end of the ice maker and is difficult to access. Before trying to replace the ice maker, make sure you have the physical dexterity to remove that screw. Second problem: it is not apparent how to remove the wire harness that plugs into the ice maker assembly. BEFORE you can remove the wire harness, you MUST remove the large white cap that covers the black end of the ice maker assembly and then push in a retaining tab to release the wire harness. If you don't do this, the wire harness will not release. Other than those two problems, it was relatively easy to remove three screws, unplug the wire harness, transfer three small, metal parts from the old ice maker to the new, plug in the new wire harness, mount the ice maker assembly so that the water tube is in the proper position, and then re-install the three screws. The ice maker works fine now. (P.S. I was told by an expert that the real problem might be a malfunctioning fill valve. I would have replaced the fill valve if replacing the ice maker assembly had not fixed the problem.)
Parts Used:
-
Harry from Grand Ledge, MI
-
Difficulty Level:A Bit Difficult
-
Total Repair Time:30 - 60 mins
-
Tools:Pliers, Screw drivers
280 of 383 people
found this instruction helpful.
Was this instruction helpful to you?
Thank you for voting!