














ZCR241NPPAII General Electric Refrigerator - Overview
Sections of the ZCR241NPPAII
[Viewing 1 of 1]
Keep searches simple, eg. "belt" or "pump".


Refrigerator Water Filter
PartSelect #: PS16217433
Manufacturer #: XWFE
This water filter improves water quality in select refrigerators by reducing lead, VOCs, and 50+ impurities. NSF-certified (42, 53, 401), it ensures clean, fresh-tasting water. Located in the upper-ri...
$104.77
Special Order

Evaporator Fan Motor
PartSelect #: PS1019114
Manufacturer #: WR60X10185
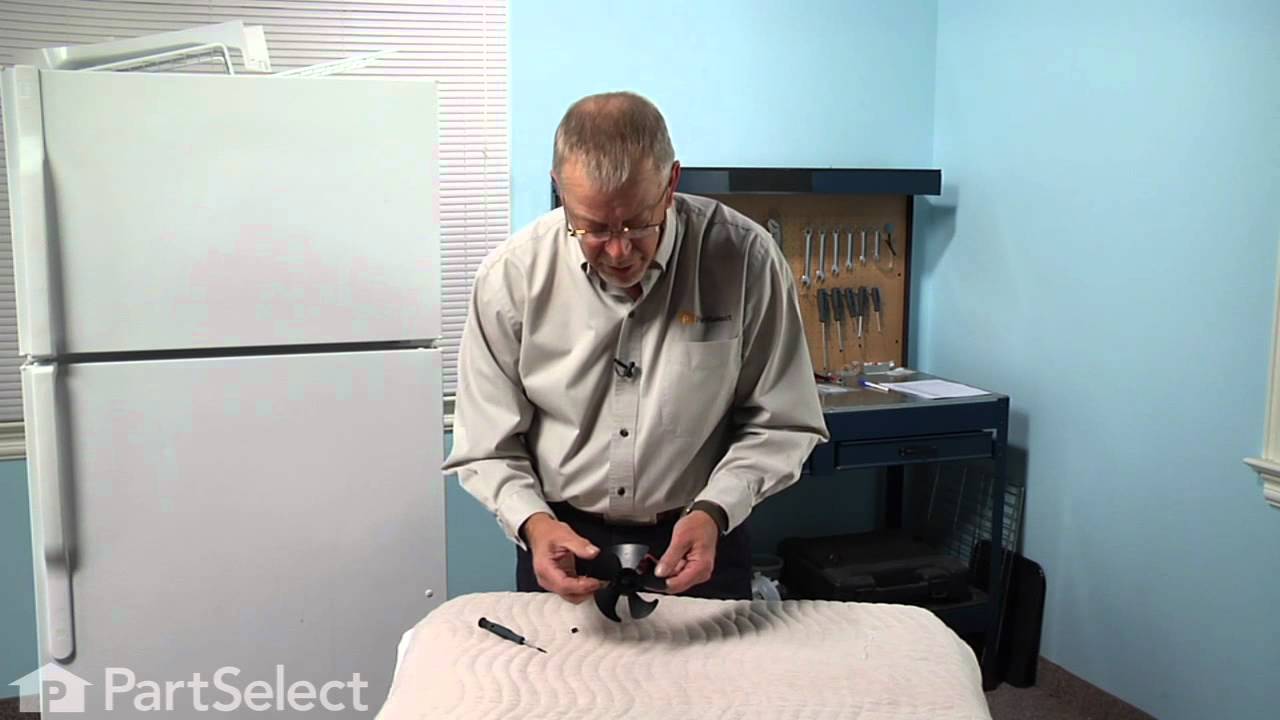
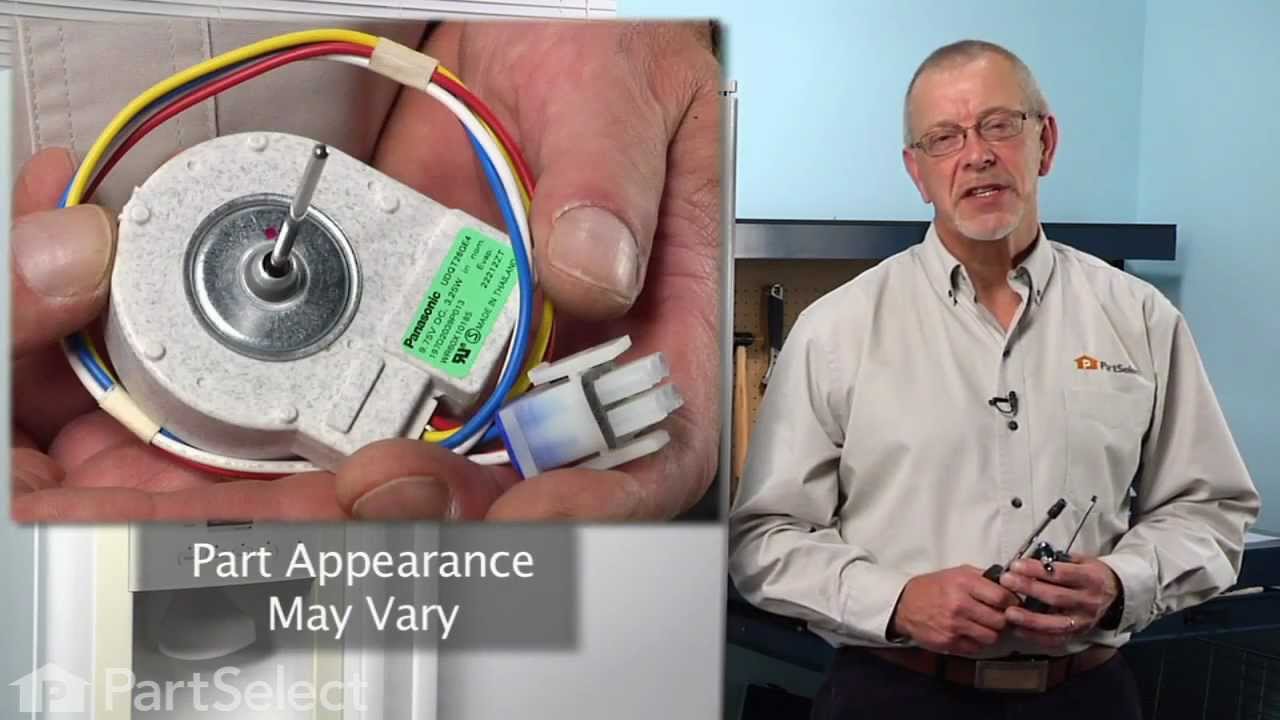
This evaporator fan motor is located in the back of the freezer, and circulates air over the refrigerator coils. These coils will convert the heat into cool air, which is then circulated.
Note: Therm...
$161.64
Special Order

Evaporator Fan Grommet - Grey
PartSelect #: PS773826
Manufacturer #: WR02X11331
This is a replacement evaporator fan grommet for your refrigerator. The fan grommet absorbs the vibration from the evaporator fan motor for quiet operation while it runs. If your evaporator fan is unu...
$13.95
Special Order

Lid Bumper
PartSelect #: PS284979
Manufacturer #: WR02X10540
The lid bumper or evaporator fan motor bumper in your refrigerator prevents the fan motor from scraping against the side bracket. If your refrigerator/freezer is noisy, the bumper could be worn down o...
$13.95
Special Order

EVAPORATOR FAN BLADE
PartSelect #: PS12730613
Manufacturer #: WR60X30922
This evaporator fan blade is for your refrigerator, and it circulates air so that the temperature of the fridge is regulated. This model has 3 blades, and is a little more than 4 inches in diameter. I...
No Longer Available


Screw - 8-18 AB IHW 5/8 S
PartSelect #: PS1483123
Manufacturer #: WR01X10652
Sold individually.
$13.95
Special Order
Common Symptoms of the ZCR241NPPAII
[Viewing 10 of 10]Noisy
Fixed by
these parts
these parts


Show All
Fridge too warm
Fixed by
these parts
these parts
Show All
Freezer section too warm
Fixed by
these parts
these parts
Show All
Fridge and Freezer are too warm
Fixed by
these parts
these parts
Show All
Not dispensing water
Fixed by
these parts
these parts


Show All
Clicking sound
Fixed by
these parts
these parts
Show All
Will Not Start
Fixed by
these parts
these parts
Show All
Too warm
Fixed by
these parts
these parts
Show All
Ice maker not making ice
Fixed by
these parts
these parts
Show All
Won’t start
Fixed by
these parts
these parts
Show All

Keep searches simple. Use keywords, e.g. "leaking", "pump", "broken" or "fit".
Evaporator motor sounded like wind in the trees howling
I had to remove all of the shelves.....part of the ice maker.....the rear cover over the freezer coils.....There were two wires that came from the back of the freezer that were also incorporated with the fan motor plug from the factory....This caused me to cut all of the wires from the new motor and soider them to the existing plug and shrink wrap the connections. If GE would have supplied two new ends I could have cut only those wires added the ends and inserted them into the new motor plug thus eliminating an extra hour and a soildering iron,,,,In my case not a big deal however not a project for those who have trouble with repairs using these type of tools.
Parts Used:
-
DOUG from MARYSVILLE, OH
-
Difficulty Level:A Bit Difficult
-
Total Repair Time:30 - 60 mins
-
Tools:Nutdriver, Screw drivers
112 of 139 people
found this instruction helpful.
Was this instruction helpful to you?
Thank you for voting!
The evaporator fan motor stopped running, freezer was warmer than normal
First ,I placed all the frozen food from the freezer into the lower fridge compartment. Removed the main shelf. Removed the ice cube tray shelf. Removed the center plastic covers using a nut driver. Removed the complete inside back wall of the freezer to get access to the fan. Simply removed about 5 screws, and cut 3 tie straps that held the wiring in place. Unplugged the fan connector and removed fan with its brackets and placed them on the kitchen table. Then used the nut driver to remove 2 screws which hald the fan to its bracket. Simply pulled off the fan blades and pressed them onto the new motor. Mounted new motor onto the bracket. Reinstalled the fan assembly back into freezer. Reconnected the wiring and the fan began to run... BE CAREFUL NOT TO TOUCH THE FAN WITH YOUR FINGERS!
Finally replaced all the covers, panels, and shelf etc. and everything is once again nice and cold.
Finally replaced all the covers, panels, and shelf etc. and everything is once again nice and cold.
Parts Used:
-
David from Romeo, MI
-
Difficulty Level:Really Easy
-
Total Repair Time:15 - 30 mins
-
Tools:Nutdriver, Pliers
66 of 88 people
found this instruction helpful.
Was this instruction helpful to you?
Thank you for voting!
Fan motor making noise due to broken fan blade
1) Unplugged fridge and removed cover over light in freezer.
2)Removed screws holding cover over motor.
3) Removed screws on bracket holding motor in place.
4) Un plugged motor and used razor blade to cut grommet holding wires in place.
5) Plugged in new motor and routed wires through grommet. Then used zip ties to hold grommet together.
5) Re-attached motor bracket and installed new fan.
6) Reinstalled cover over motor.
2)Removed screws holding cover over motor.
3) Removed screws on bracket holding motor in place.
4) Un plugged motor and used razor blade to cut grommet holding wires in place.
5) Plugged in new motor and routed wires through grommet. Then used zip ties to hold grommet together.
5) Re-attached motor bracket and installed new fan.
6) Reinstalled cover over motor.
Parts Used:
-
James from Gainesville, VA
-
Difficulty Level:Easy
-
Total Repair Time:15 - 30 mins
-
Tools:Nutdriver
64 of 93 people
found this instruction helpful.
Was this instruction helpful to you?
Thank you for voting!