








WW-PC197CS Samsung Washer - Overview
Sections of the WW-PC197CS
[Viewing 1 of 1]
Keep searches simple, eg. "belt" or "pump".

Hex Head Bolt
PartSelect #: PS4205366
Manufacturer #: DC60-40137A
This part is used for the shaft on rear of the tub. Sold individually.
$19.28
In Stock


Tapping Screw
PartSelect #: PS4133205
Manufacturer #: 6002-000520
This manufacturer-approved screw is for refrigerators, including Kenmore refrigerator model. Avoid cross-threading refrigerator screw during installation.
$5.95
In Stock

Water Temperature Thermistor
PartSelect #: PS4214274
Manufacturer #: DC90-10128N
The thermistor monitors and helps regulator the water temperature in the washer.
$46.09
In Stock


Common Symptoms of the WW-PC197CS
[Viewing 2 of 2]


Keep searches simple. Use keywords, e.g. "leaking", "pump", "broken" or "fit".
The water level was lower than normal.
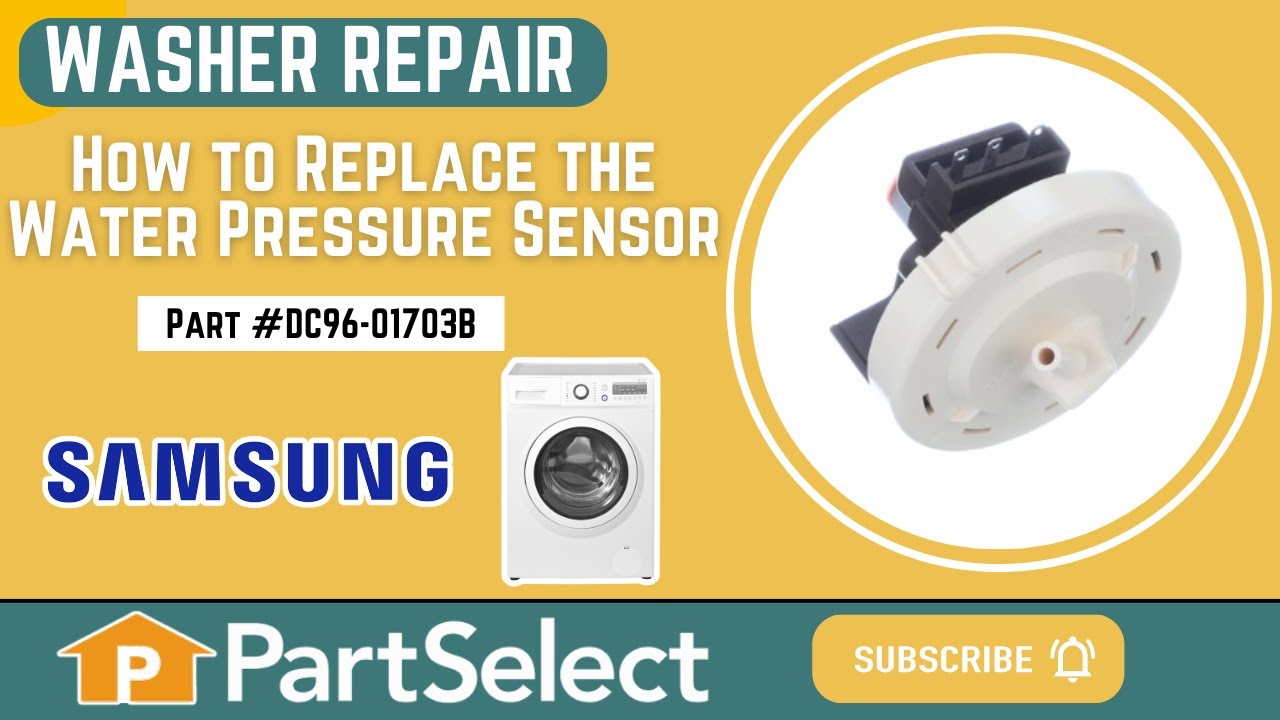
First unplug or turn off thee circuit breaker. Then remove the two screws to the top cover. Slide the cover back about three inches then remove the cover. Next take out the screw to the old sensor. Then unplug the electrical connection by squeezing and the pulling to disengage. Now set the old unit aside. You then grad your eight inch wire tie and hold the with flat side to the right and just to the right of the screw hole for the bracket is a square hole. Feed to wire tie into the square hole with your left hand then loop down left side of the end of new sensor and back up threw the square hole and tighten with the pliers. Your new sensor will be positioned just like it was mounted to the metal bracket. And pretty ridged. Now connect the vacuum hose and electrical connector.
Parts Used:

-
Fredric from ROCKMART, GA
-
Difficulty Level:Really Easy
-
Total Repair Time:15 - 30 mins
-
Tools:Pliers, Screw drivers
3 of 10 people
found this instruction helpful.
Was this instruction helpful to you?
Thank you for voting!
The drain hose disappeared.
The new hose arrived without a plug, so I found a golf tee that fit securely.
I put a few drops of dish soap on the machine end and it slid on with a little resistance.
I ran a few light cycles, and the leak has stopped.
Thank you
I put a few drops of dish soap on the machine end and it slid on with a little resistance.
I ran a few light cycles, and the leak has stopped.
Thank you
Parts Used:

-
Thomas from Leesburg, FL
-
Difficulty Level:Really Easy
-
Total Repair Time:Less than 15 mins
2 of 8 people
found this instruction helpful.
Was this instruction helpful to you?
Thank you for voting!
Washer making noise a snow smoking.
Take pics every step, easier re-assembly. Dismantled washer keeping bolt/screw section removed compartmentalized in a tackle box in the order of removal. Replaced drum support, bearings, seal, old blots. Too much to write but I was able to do it all in about 4 hours once all the parts finally came in.
Parts Used:
-
Samuel from NEEDVILLE, TX
-
Difficulty Level:A Bit Difficult
-
Total Repair Time:More than 2 hours
-
Tools:Nutdriver, Screw drivers, Socket set, Wrench set
18 of 79 people
found this instruction helpful.
Was this instruction helpful to you?
Thank you for voting!