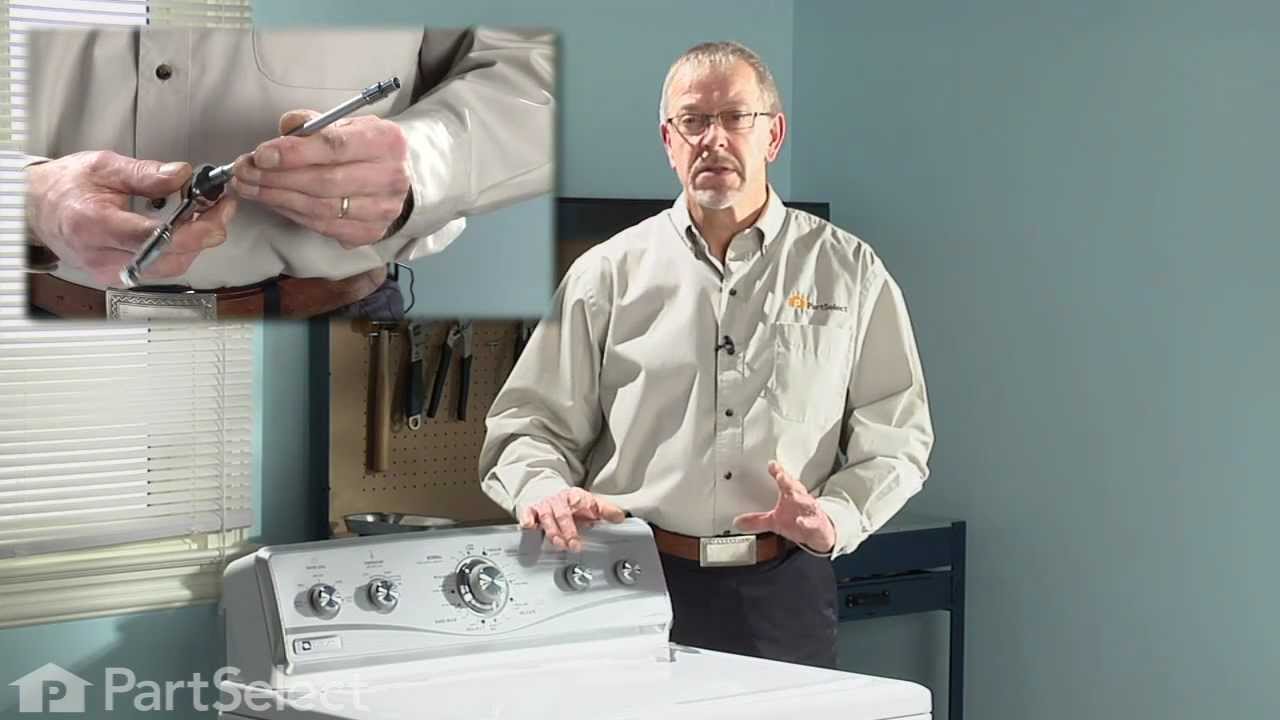
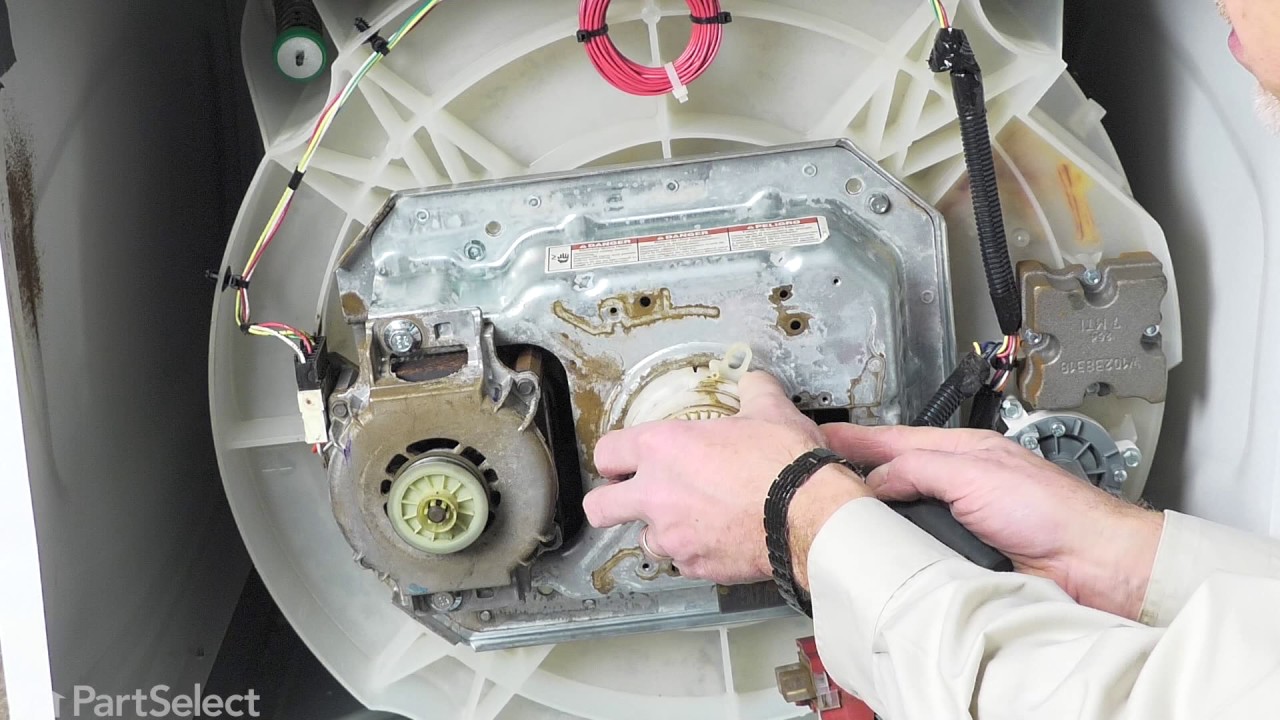
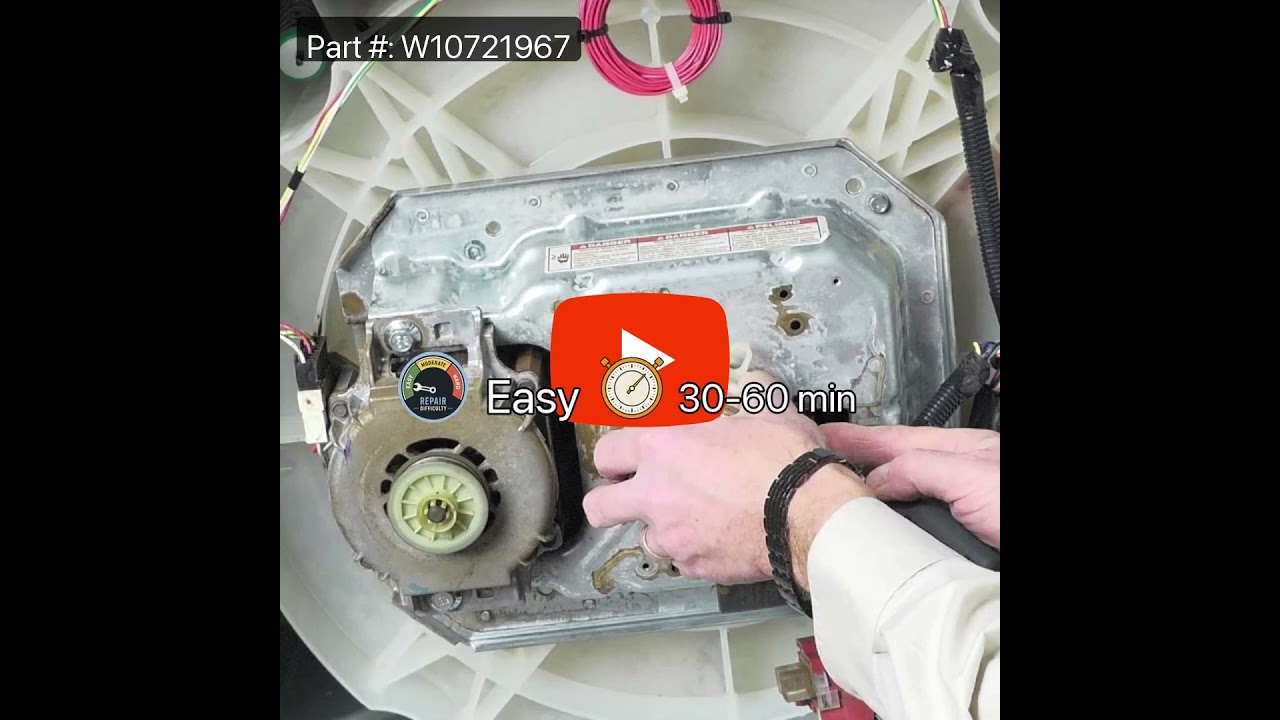
These agitator directional cogs are commonly referred to as dog ears. They come four to a package and are usually used with direct drive washing machines.
This 18 ml bottle of white appliance touch-up paint is used to cover scratches or marks on your appliance. The white touch-up paint can be used on refrigerators, microwaves, ranges, clothes dryers, and freezers. This is a genuine OEM part and includes a brush applicator. Please remember to wear gloves to protect your hands when applying this paint.
If your washer is noisy, spins slowly, or leaves clothes soaking wet, this splutch cam kit might be the fix. It helps your machine switch between washing and spinning by connecting the motor to the basket. The kit includes everything you need—clutch parts, pulley, gear, and more—but make sure it fits your model before ordering. It’s a simple repair that can get your washer back to working like new.
This lid switch assembly is for a top load washer. The lid switch assembly detects if the washer lid is open or closed and prevents the washer from spinning when the lid is open.
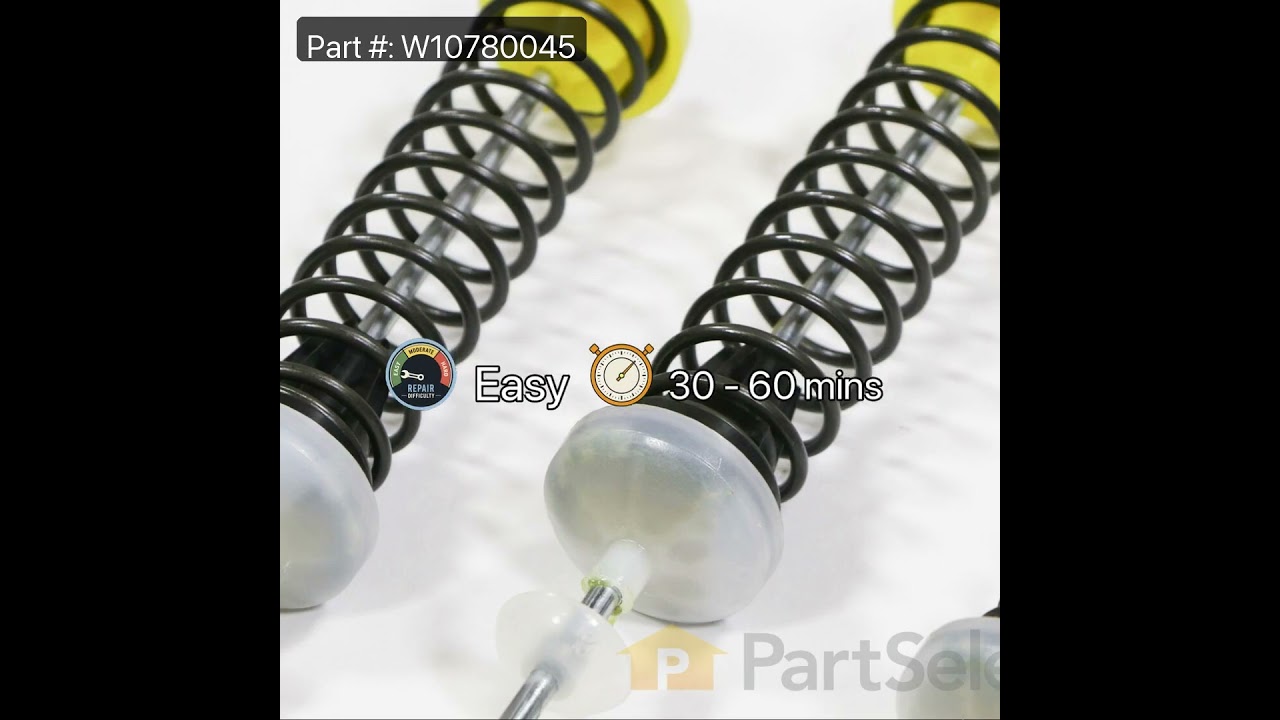
This suspension rod kit includes four rods that stabilize the wash tub, reducing vibrations and movement during cycles. It is compatible with a range of washing machines and helps improve performance by addressing unbalanced loads or excessive shaking. Unplug the washer before installation and consult the user manual for guidance.
This fabric softener dispenser releases softener at the proper time during the wash cycle to ensure even distribution. It helps prevent residue buildup on clothing and supports consistent fabric care. Replacing a cracked or clogged dispenser restores proper dispensing and improves wash results.
Ask our experts a question about this model and we'll get back to you as soon as possible!
We may have answered a similar question already! Search questions and answers left by others using simple keywords like "fit", "broken", "easy", or "quality" to find questions that match.
Search filter:
Clear Filter
Your search term must have 3 or more characters.
Sort by:
Prev
1
2
3
Next
Sorry, we couldn't find any existing answers that matched.Try using some different or simpler keywords, or submit your new question by using the "Ask a Question" button above!
Doug - For model number WTW4816FW3
October 19, 2024
Continues to drain with or without the door closed. Lights do not light up on panel. We have tried unplugging, over night, and plugging back up. It still drains for hours
Hello Doug, thank you for your question. The pressure level on the Board PS16744838 detects the water level in the washing machine and if it is faulty, the water level is no longer detected correctly, which can result in the drain pump continuing to run even after there is no water in the washing machine. We hope this helps.
Drain pump does not stop. Even when trying to start new load. It would stop sometimes when unplugged and plugged back but start again as soon as you try to select a mode. Lights on panel still work
Hi Wesley,
Glad to hear from you. The water level pressure hose that connects to the bottom of the washer tub applies pressure to the electronic control board letting it know how much water is in the washer. If the electronic control board is not operating correctly, the drain pump may start draining and run constantly. This may be caused by a clogged or damaged water pressure hose. To inspect the water pressure hose, disconnect the washer from the electrical outlet and remove it. Inspect the hose and the valve for any signs of cracking, wear, or damage. If it shows any of these signs, you will need a replacement water pressure hose. Also, check the drain hose to see if it is connected properly and that it is positioned correctly in the stand-pipe. If there are any clogs in it, it will need to be cleaned out or replaced. If the drain hose is fine, you may have a malfunctioning water inlet valve. If a component in the valve has failed, water will continue to flow into the washer. You will need to check the water inlet valve for continuity with multimeter to see if it is operating normally. If the water inlet valve is fine, then you will need to replace the electronic control board. We hope this helps!
What do I need to do to get the lid to lock. The machines won’t wash or do anything because of it
Hello Wiltena, thank you for contacting us. According to our understanding, the issue is most probably with the lid lock assembly, part number PS12704713. You may need to replace it to fix the issue. We hope this solves your problem!
Hello Virgrginia, Thank you for reaching out. This model is 3.5 cu. ft. Capacity. We hope this information is useful!
1 personfound this instruction helpful.
Was this helpful?
Thank you for voting!
Sara - For model number WTW4816FW3
December 29, 2024
what is the part number for a replacement hot water inlet valve mine got crossthreaded when they installed it leaks bad
Hello Sara, thank you for contacting us. The hot water inlet valve for your model does not come separately, and it comes as a part of the water inlet valve assembly, part number PS12349269, which contains two inlets, one for hot water and one for cold. You may need to replace it to solve the problem. Glad to be of assistance!
See how others fixed this model. Time, tools, difficulty, and steps that lead to victory!View More
Search repair tips from other customers using simple keywords like "replace", "fit", "remove", "inspect". DIY doesn't mean you have to do it alone!
Search filter:
Clear Filter
Your search term must have 3 or more characters.
washer wouldn't agitate
956 of 1058 peoplefound this instruction helpful.
mike from Kent, WA
Easy
15 - 30 mins
Screw drivers, Socket set
First pry off the cap of the agitator. Then using a socket remove the bolt that holds the plastic cup in place. Remove this cup by prying it loose from the two tabs that hold it in place. Once this cup is removed you can get to the broken cogs. Slip the new cogs into the underside of the cup, and slide the cup back down in the a
... Read moregitator housing using the slots on the side for a guide. (You may want to remove the entire agitator and assemble everything upside down, then flip it all back over to mount, so the cogs don't fall out). Tighten the bolt, snap the cap back in place on top of the agitator and your'e done. Easy repair.
Read less
Was this helpful?
Thank you for voting!
top half of agitator did not move during wash cycle
288 of 337 peoplefound this instruction helpful.
dennis from new stanton, PA
Really Easy
Less than 15 mins
Socket set
pull off softner dispenser, pop off agitator cap by inserting straight screw driver into small slot, remove bolt inside agitator with socket wrench and long extension, pull agitator straight up off shaft, place agitator on floor, with feet holding bottom half pull top half apart from bottom half by pulling straight up, note direction of o
... Read moreld cogs remove and replace with new, reassemble
Read less
Was this helpful?
Thank you for voting!
Dog ears worn down; upper agitator not moving
117 of 136 peoplefound this instruction helpful.
shawn from la jolla, CA
Easy
15 - 30 mins
Screw drivers, Socket set
Pulled off the dispenser. Used socket set to remove bolt. Removed entire agitator out of washer. Placed both feet on bottom of agitator and then pulled up on the upper agitator. It took some muscle due to the years of washer use. I used a flat-head screwdriver to weaken the plastic clips holding down the old bearing-driven cam. Once
... Read more I got the upper agitator off, the guts were easy to pull out. Then I just re-assembled with the 3 new parts (the Cam Driven, the Dog Ears, and the Bearing-Driven Cam).



 My Orders