














WM3470CM (ABMEVUS) LG Washer - Overview
Sections of the WM3470CM
[Viewing 3 of 3]


Keep searches simple, eg. "belt" or "pump".


Washer Thermistor
PartSelect #: PS3528953
Manufacturer #: 6322FR2046C
Looking for a vital component to keep your washing machine running smoothly? The LG thermistor is exactly what you need. This little gadget plays a crucial role in your machine. Working hand-in-hand...
$39.07
In Stock

Washer Gasket
PartSelect #: PS3535219
Manufacturer #: MDS62058301
This part is the replacement rear tub gasket for your washer. It is made of black plastic and is approximately 3-1/4 inches in diameter. The rear tub gasket forms a watertight seal between the rear tu...
$41.75
In Stock


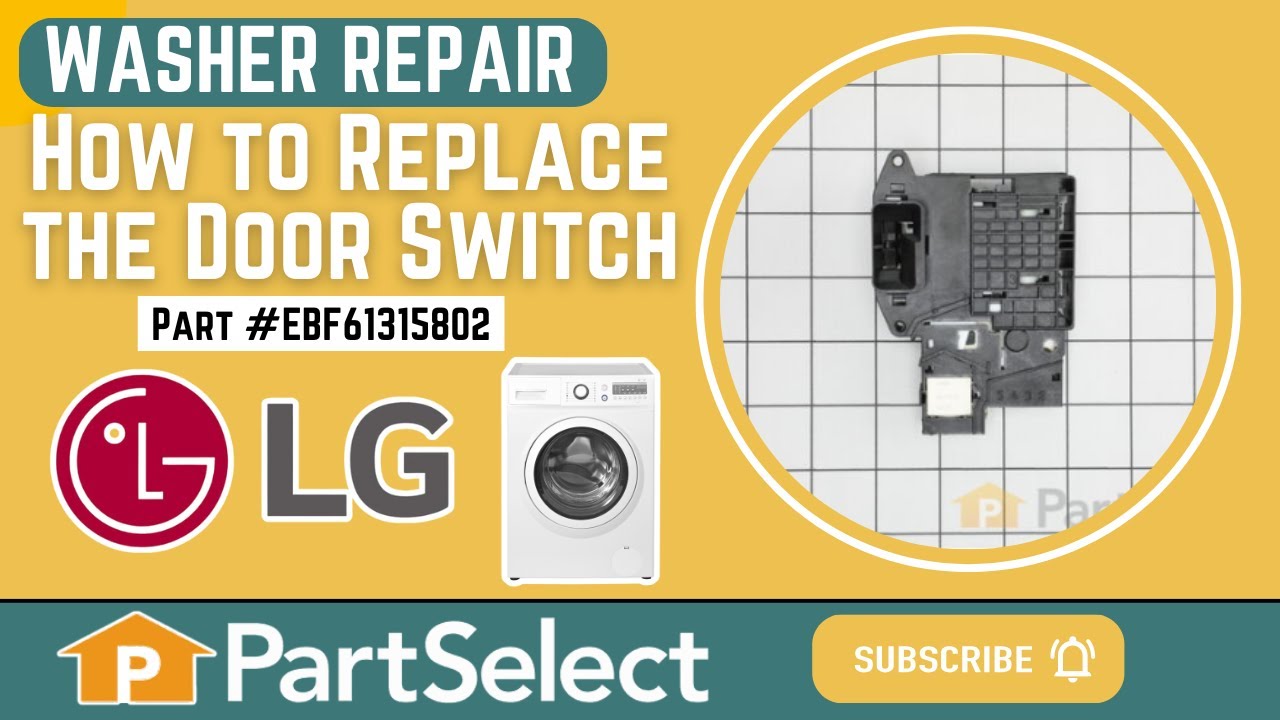
Washer Switch Assembly
PartSelect #: PS7792232
Manufacturer #: EBF61315802
This door lock switch is a key component in compatible washing machines, designed to signal the control board when the door is securely closed. Once engaged, it enables the locking mechanism and allow...
$84.65
In Stock

SENSOR ASSEMBLY
PartSelect #: PS16878771
Manufacturer #: EBD48922821
Having trouble with your LG appliance? It might be time to consider replacing the sensor assembly. This genuine OEM sensor assembly is designed and built to the highest standards by LG, allowing your ...
$85.75
In Stock

Ball Bearing
PartSelect #: PS7785069
Manufacturer #: 4280EN4001C
The tub bearing supports the spin basket shaft at the back of the washing tub. If your washing machine will not spin, is leaking water, or if there is a loud screeching noise during the wash cycle, th...
$65.95
Special Order

Washer Ball Bearing
PartSelect #: PS11705913
Manufacturer #: 4280EN4001G
Looking to restore your LG washing machine to its peak performance? Our genuine OEM Ball Bearing could be just what you need! This part is designed with precision to support the spin basket shaft in y...
$64.85
In Stock


Common Symptoms of the WM3470CM
[Viewing 7 of 7]Leaking
Fixed by
these parts
these parts


Show All
Lid or door won’t close
Fixed by
these parts
these parts


Show All
Locking Issues
Fixed by
these parts
these parts
Show All
Will Not Start
Fixed by
these parts
these parts

Show All
Spinning Issues
Fixed by
these parts
these parts


Show All
Noisy and Marks Left on Clothes
Fixed by
these parts
these parts
Show All
Water Filling Issues
Fixed by
these parts
these parts

Show All
Keep searches simple. Use keywords, e.g. "leaking", "pump", "broken" or "fit".
Washer did not recognize the door was shut
I removed the Wire and spring from the tub seal and then removed the seal on the side of the washer that contains the Door switch. I removed the two screws that held the door switch in place while holding the switch with my other hand. Once the screws where out I pulled the switch assembly out thru the gap and removed the wires from old assembly. I then plugged the wires into the new assembly aligned the holes up and put the screws back in the new door switch assembly. I then put the door seal and tub seal holder back on. This took about 15 minutes. I do recomend that you unplug the washer before starting this process.
Parts Used:
-
CURTIS from OLIVE BRANCH, MS
-
Difficulty Level:Really Easy
-
Total Repair Time:15 - 30 mins
-
Tools:Nutdriver, Screw drivers
8 of 9 people
found this instruction helpful.
Was this instruction helpful to you?
Thank you for voting!
Water inlet valve relacement
Installed correctly but PartsSelect sent WRONG part, but part number on bag was correct. Installation of WRONG part fried the main board. A $100 fix is now costing me about $1300.00 for technician service and new unit. I asked PartsSelect to help with cost since outcome is due to their error. Totally unsatisfied. Will not suggest company to other DIYers.
Parts Used:

-
Marcia from TROY, OH
-
Difficulty Level:Very Difficult
-
Total Repair Time:More than 2 hours
-
Tools:Screw drivers, Wrench (Adjustable)
5 of 7 people
found this instruction helpful.
Was this instruction helpful to you?
Thank you for voting!
Instructions on how to turn Clamp counter clockwise to get back on tube assembly
Watched videos but didn’t show the clamp had to be placed on counterclockwise
Parts Used:
-
Timothy from SCOTTSBORO, AL
-
Difficulty Level:A Bit Difficult
-
Total Repair Time:More than 2 hours
-
Tools:Pliers, Screw drivers
2 of 2 people
found this instruction helpful.
Was this instruction helpful to you?
Thank you for voting!