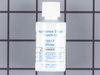
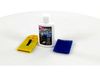
This 18 ml bottle of white appliance touch-up paint is used to cover scratches or marks on your appliance. The white touch-up paint can be used on refrigerators, microwaves, ranges, clothes dryers, an...
$17.95
In Stock
Order within the next 10 hrs and your part ships today!
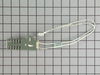
If your oven isn’t heating properly or the flame seems weak, this igniter might be the fix. It helps start the oven by glowing and lighting the gas so you can bake and broil as usual. It works with ma...
$100.03
In Stock
Order within the next 10 hrs and your part ships today!
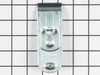
Use this scraper for your ceramic/glass cooktop. It has a retractable blade and is an all-purpose tool for cooktops, mirrors, windows and tile. Use it to also remove paint, paper, dirt, stickers and more.
$12.05
In Stock
Order within the next 10 hrs and your part ships today!
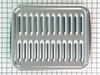
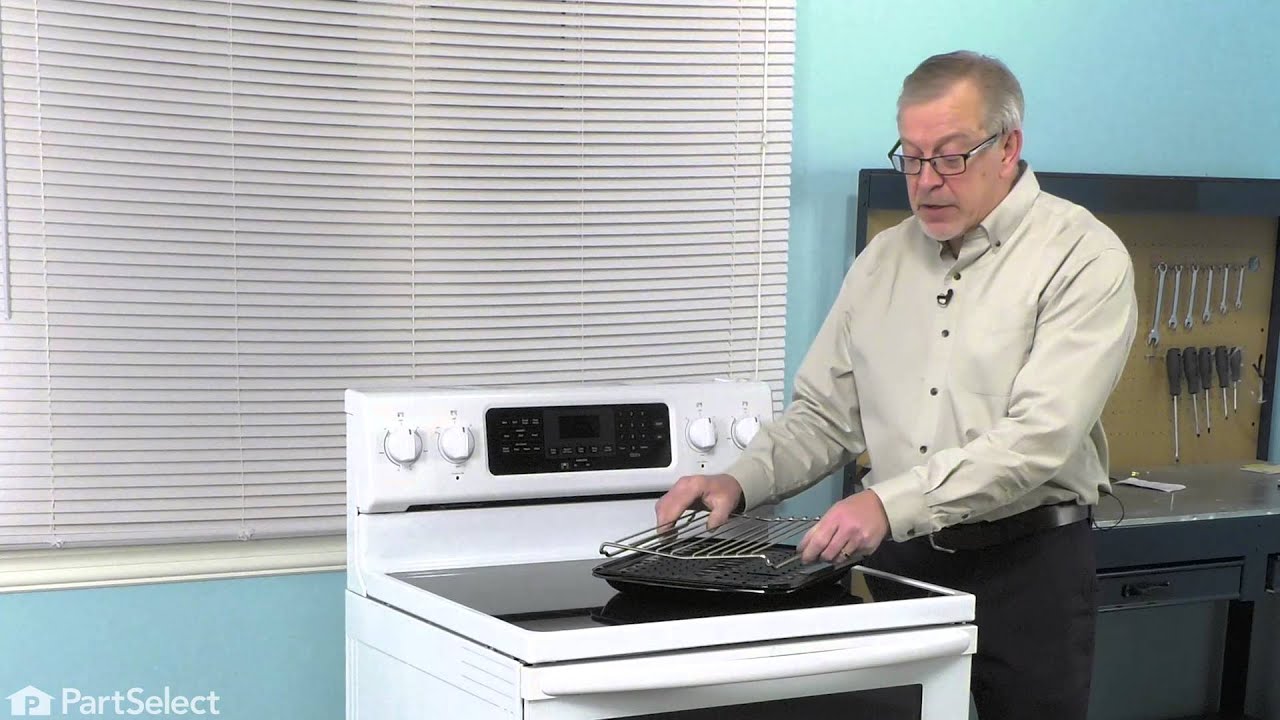
This broiler pan and roasting rack set features a two-piece design that allows fat to drain away for cleaner cooking and reduced splatter. Made with a durable, high-heat resistant porcelain finish, it...
$63.09
In Stock
Order within the next 10 hrs and your part ships today!
This cooktop cleaner will cut through tough grease and baked-on residue. The cleaner will leave a protective coating of silicone on the cooktop surface as it cleans. This 10oz bottle is safe for all g...
This cast aluminum non-stick gas range griddle provides a versatile cooking surface that fits neatly over the center burner, making it ideal for preparing foods like pancakes, eggs, bacon, and grilled...
$74.75
In Stock
Order within the next 10 hrs and your part ships today!
I numbered every part. ex: 1 L., for first part removed left side. I used a magic marker to circle the holes and wrote the number of screws used on the part, set the srews in a separete place, so that I new where these screws went to. The cleanup was pretty time consuming, but I was able to keep my stove, when every repairman I called to fix my stove told me I was better off buying a new stove. ($600.00 stove 2 years old)Please Note: The insulation blanket needed for the entire stove is two pieces, the sides and top are one part # and the bottom and back, are another part #. I did not know this. I just purchased the top and sides. I got lucky, the back and bottom were still in good shape. So I guess I should have read the description of the part more carefully to see what it covers, before I ordered it. It took two people two hours to do the work, it was really nice to have an extra set of eyes, to remember what direction pieces of metal from the stove went. I would do it all over in a heart beat instead of buying a new stove.
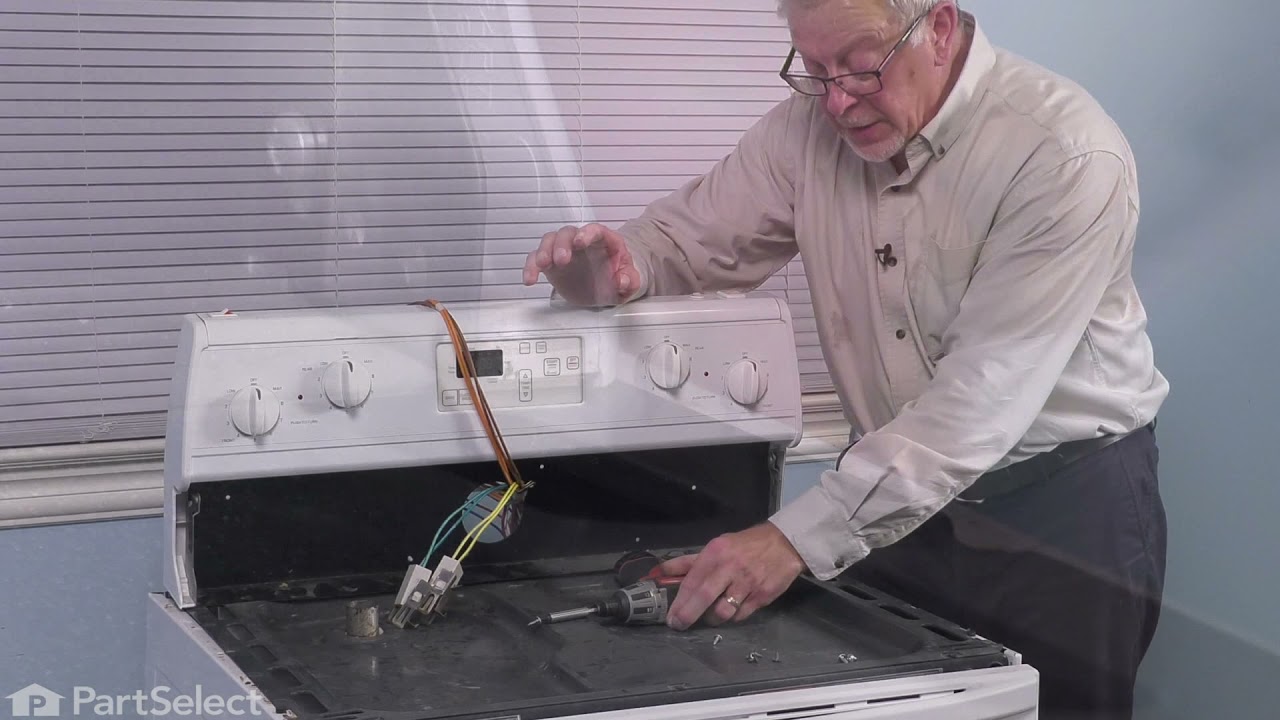
First I removed the lower tray and all parts covering the ignitor on the upper oven. 2. Then I removed the screws holding down the ignitor and flame distributor. 3. I then had to pull out the oven from the wall and remove the back panel to expose the wires connecting the ignitor. This required the removal of about six screws but they were fairly easy to get to. 4. I disconnected the ignitor from the back panel then went around to the front of the oven and pulled out the ignitor and all of the attached parts. 5. Here's the tricky part. The screws holding the ignitor in place had fused from the heat and then the threads stripped when I tried to remove them. I had to use a dremel tool and cutting wheel to carefully cut the screws off and then went to buy some replacement screws from the hardware store. 6. I replaced them with a nut and a bolt, to hopefully avoid the same problem for later replacement if necessary. 7. I then replaced everything the same way it came out and all is working like new!
Lifted door off hinges; removed lower oven spill plate; unmounted bake igniter from heat shield; pulled stove away from wall; removed rear access panels (4 screws); unplugged bake igniter; installed new part; vacuumed behind stove and mopped floor (this took more time than installing the part); oven is back in cookie baking mode!