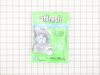
Having a problem with a funky-smelling washing machine, or one that just doesnt seem to clean your clothes as well as it used to? Say hello to the Affresh Washing Machine Cleaner by Whirlpool. This po...
Introducing the Samsung Washer Shock Damper Front, a vital component for optimal washer performance. This part maintains the stability of your washer, helping minimize vibration and noise during opera...
Introducing the Hex Head Bolt, a vital component designed to keep your Samsung, Kenmore, or Maytag washer functioning at its best. Manufactured with strict quality controls, this part ensures you rece...
Introducing the Samsung brand Rear Shock Damper, a crucial component of Samsung Washers. Engineered to deliver optimal performance, this rear shock damper is designed uniquely to help stabilize your w...
We understand that a broken washer can put a dampener on your day. That's why we have this incredibly robust Samsung Washer Inner Tub Flange and Shaft Assembly, ready to get your washing machine back ...
Add exceptional longevity and superb performance to your Samsung washer and dryer with the high-quality Water Temperature Thermistor. Specially designed by Samsung, this exceptional product ensures ac...
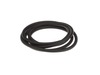
Upgrade your domestic laundry routine with our Washer Tub Gasket/Seal. Designed by leading brands, Samsung and Maytag, this product is designed for maximum efficiency and durability. Guaranteed to fit...
Introducing an integral element for your washing machine maintenance, Samsung's oil seal. This essential component is expertly designed to be pressed into the rear drum of your washer, thereby providi...
Having trouble with your Samsung washing machine not spinning correctly? You might need our authentic OEM Drive Motor Stator, exclusively made for your Samsung washer. Picture it as the heart of your ...
Is your Samsung washing machine door glass broken or cracked? We've got just what you need to fix that problem. Introducing our Samsung Washer Door Glass ? a reliable, high-quality replacement part cr...
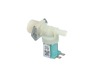
Introducing the highly efficient Water Inlet Valve, exclusively designed for your Samsung, Maytag, and Kenmore washers. This essential component ensures a controlled and steady water flow into your wa...
Enhance the performance of your Samsung or Kenmore washer with the Outer Seal Clamp. This essential part is expertly crafted by Samsung, ensuring excellent quality and a fit precise like original equi...
$21.09
In Stock
Questions And Answers for WF350ANR
Be the first to ask our experts a question about this model!
✖
Ask a Question
Ask our experts a question on this model and we'll respond as soon as we can.
The new hose arrived without a plug, so I found a golf tee that fit securely. I put a few drops of dish soap on the machine end and it slid on with a little resistance. I ran a few light cycles, and the leak has stopped. Thank you
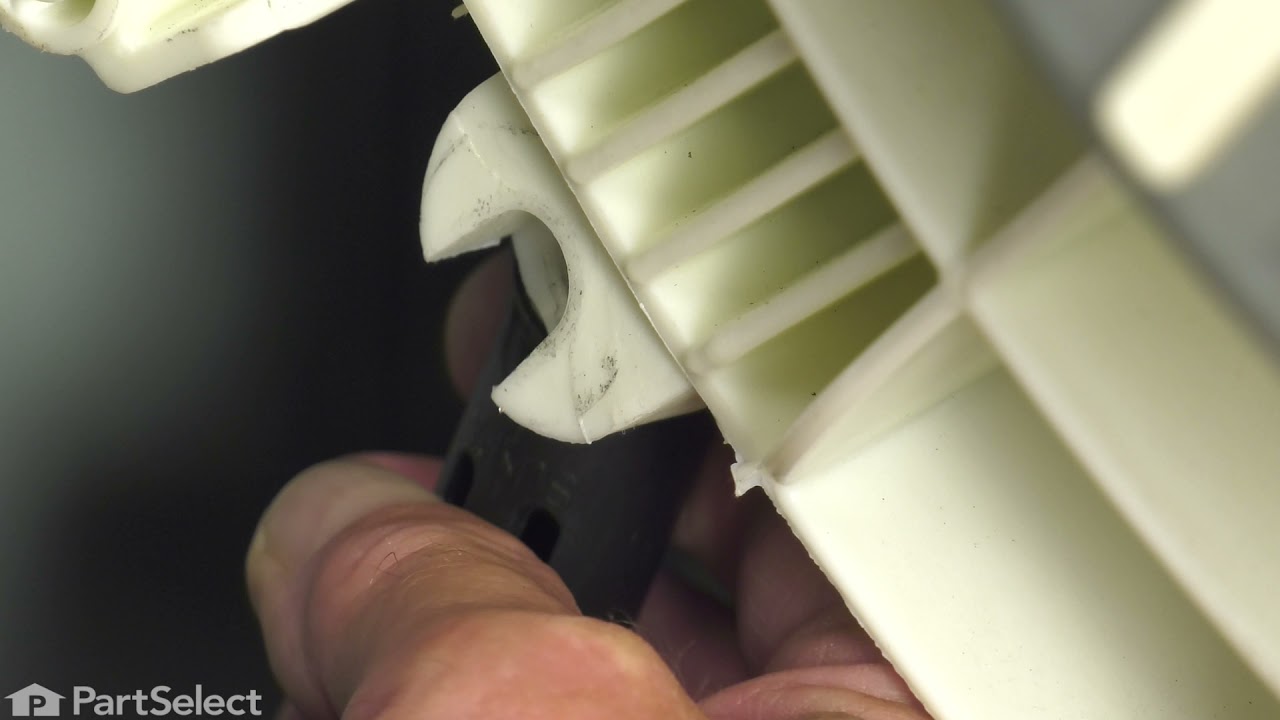
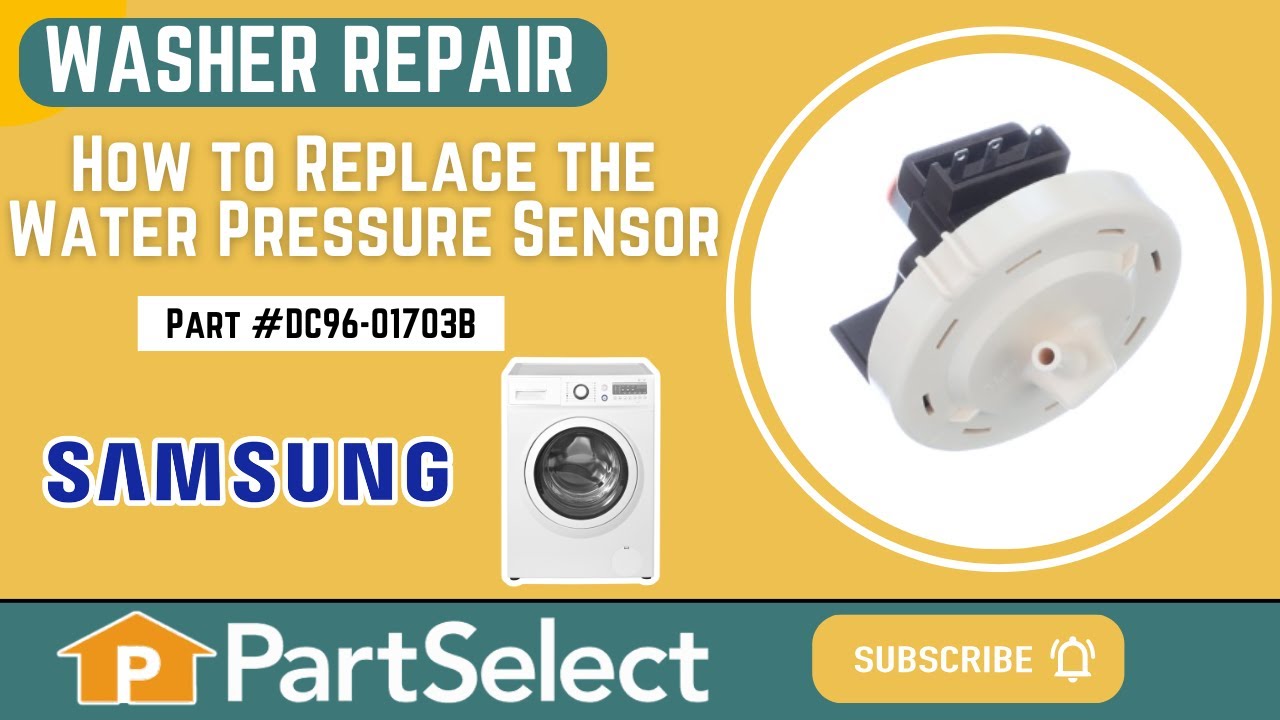
First unplug or turn off thee circuit breaker. Then remove the two screws to the top cover. Slide the cover back about three inches then remove the cover. Next take out the screw to the old sensor. Then unplug the electrical connection by squeezing and the pulling to disengage. Now set the old unit aside. You then grad your eight inch wire tie and hold the with flat side to the right and just to the right of the screw hole for the bracket is a square hole. Feed to wire tie into the square hole with your left hand then loop down left side of the end of new sensor and back up threw the square hole and tighten with the pliers. Your new sensor will be positioned just like it was mounted to the metal bracket. And pretty ridged. Now connect the vacuum hose and electrical connector.