














WED97HEDU1 Whirlpool Dryer - Overview
Sections of the WED97HEDU1
[Viewing 6 of 6]


Keep searches simple, eg. "belt" or "pump".

Idler Pulley
PartSelect #: PS334244
Manufacturer #: 279640
This Idler Pulley includes the tri-ring and gasket and everything included here is manufacturer-certified. This part maintains correct tension on the drive belt in order to spin the drum properly. If ...
$33.95
In Stock
Order within the next 9 hrs and your part ships today!

Dryer Drum Support Roller
PartSelect #: PS11752609
Manufacturer #: WPW10314173
$27.95
In Stock
Order within the next 9 hrs and your part ships today!

Maintenance Kit
PartSelect #: PS373087
Manufacturer #: 4392065
The drum support roller kit (Dryer Repair Kit) allows the dryer to tumble properly by supporting the drum cylinder. The idler pulley provides the tension required for a multi-ribbed belt. The belt att...
$51.13
In Stock
Order within the next 9 hrs and your part ships today!

Multi Rib Belt
PartSelect #: PS382430
Manufacturer #: 661570
The Drive Belt is a 93 1/2" belt which wraps around the dryer drum to allow tension and movement. If broken the dryer will not turn properly, or there may be loud noises. The part is rated as "medium"...
$33.95
In Stock
Order within the next 9 hrs and your part ships today!

Dryer Thermostat Internal bias
PartSelect #: PS11746740
Manufacturer #: WP8577274
This thermostat may differ in appearance, but functions the same as the original part. This part controls the temperature of the inside of the dryer drum and prevents the dryer from overheating.
$45.05
In Stock
Order within the next 9 hrs and your part ships today!

Leveling Foot
PartSelect #: PS1609293
Manufacturer #: 49621
Sold individually.
$10.95
In Stock
Order within the next 9 hrs and your part ships today!

Idler Pulley with Bracket
PartSelect #: PS11726337
Manufacturer #: W10837240
This idler pulley assembly includes the pulley and bracket, ensuring proper tension on the dryer drive belt for smooth drum rotation. Compatible with several Whirlpool, KitchenAid, Maytag, Jenn-Air, A...
$36.95
In Stock
Order within the next 9 hrs and your part ships today!

Moisture Sensor
PartSelect #: PS11741408
Manufacturer #: WP3387223
This is the moisture sensor for your dryer. It helps detect the amount of moisture in your clothes during the dryer cycle. If you notice your clothes are still wet after an automatic dryer cycle is do...
$13.95
In Stock
Order within the next 9 hrs and your part ships today!

Dryer Heater Element
PartSelect #: PS11746337
Manufacturer #: WP8544771
The dryer heating element generates the heat required for drying clothes. Constructed with a nickel-chrome coil, it resists electricity to produce heat. If the dryer no longer heats, inspect the therm...
$134.62
In Stock
Order within the next 9 hrs and your part ships today!

Roller Support Tri-Ring
PartSelect #: PS11755850
Manufacturer #: WPW10512946
If you notice that your dryer is noisy or will not tumble, you may need to replace the tri ring. This part is triangular, and is less than an inch in size. Tri rings can be found both on the idler pul...
$17.01
In Stock
Order within the next 9 hrs and your part ships today!

High Limit Thermostat and Thermal Cut-Off Kit
PartSelect #: PS334387
Manufacturer #: 279973
Also known as Thermal Cut-Off kit. The thermostat acts as a safety mechanism that keeps the dryer from overheating and the fuse is like a backup system - it's set to trip at a higher temperature than...
$63.75
In Stock
Order within the next 9 hrs and your part ships today!

Touch-Up Paint - White
PartSelect #: PS385132
Manufacturer #: 72017
This 18 ml bottle of white appliance touch-up paint is used to cover scratches or marks on your appliance. The white touch-up paint can be used on refrigerators, microwaves, ranges, clothes dryers, an...
$17.95
In Stock
Order within the next 9 hrs and your part ships today!
Common Symptoms of the WED97HEDU1
[Viewing 14 of 14]Noisy
Fixed by
these parts
these parts


Show All
Not Heating
Fixed by
these parts
these parts


Show All
Drum Not Spinning
Fixed by
these parts
these parts


Show All
Too hot
Fixed by
these parts
these parts

Show All
Won’t Start
Fixed by
these parts
these parts
Show All
Door won’t close
Fixed by
these parts
these parts


Show All
Marks left on clothes
Fixed by
these parts
these parts

Show All
Door Sags
Fixed by
these parts
these parts
Show All
Lid or door won’t close
Fixed by
these parts
these parts
Show All
Leaking
Fixed by
these parts
these parts


Show All
Touchpad does not respond
Fixed by
these parts
these parts
Show All
Heat stays on after drum has stopped
Fixed by
these parts
these parts
Show All
Timer Not Working
Fixed by
these parts
these parts

Show All
Locking Issues
Fixed by
these parts
these parts
Show All
Keep searches simple. Use keywords, e.g. "leaking", "pump", "broken" or "fit".
Broken drive belt
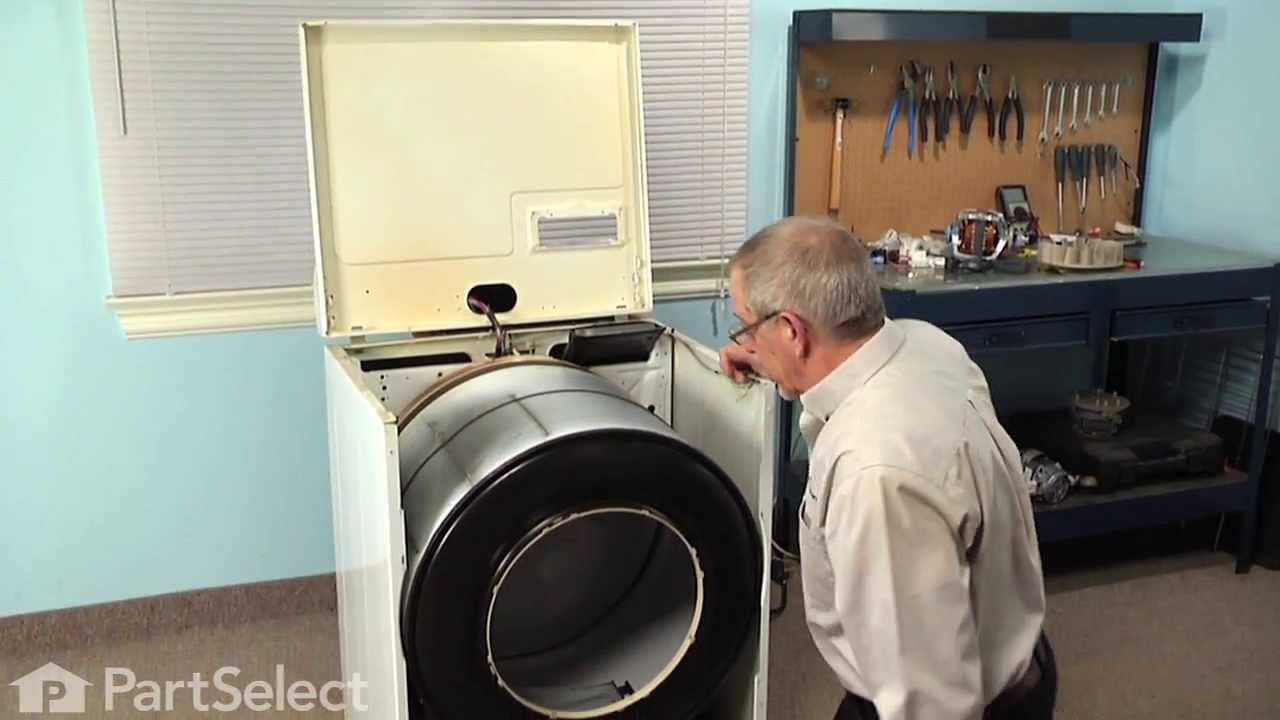
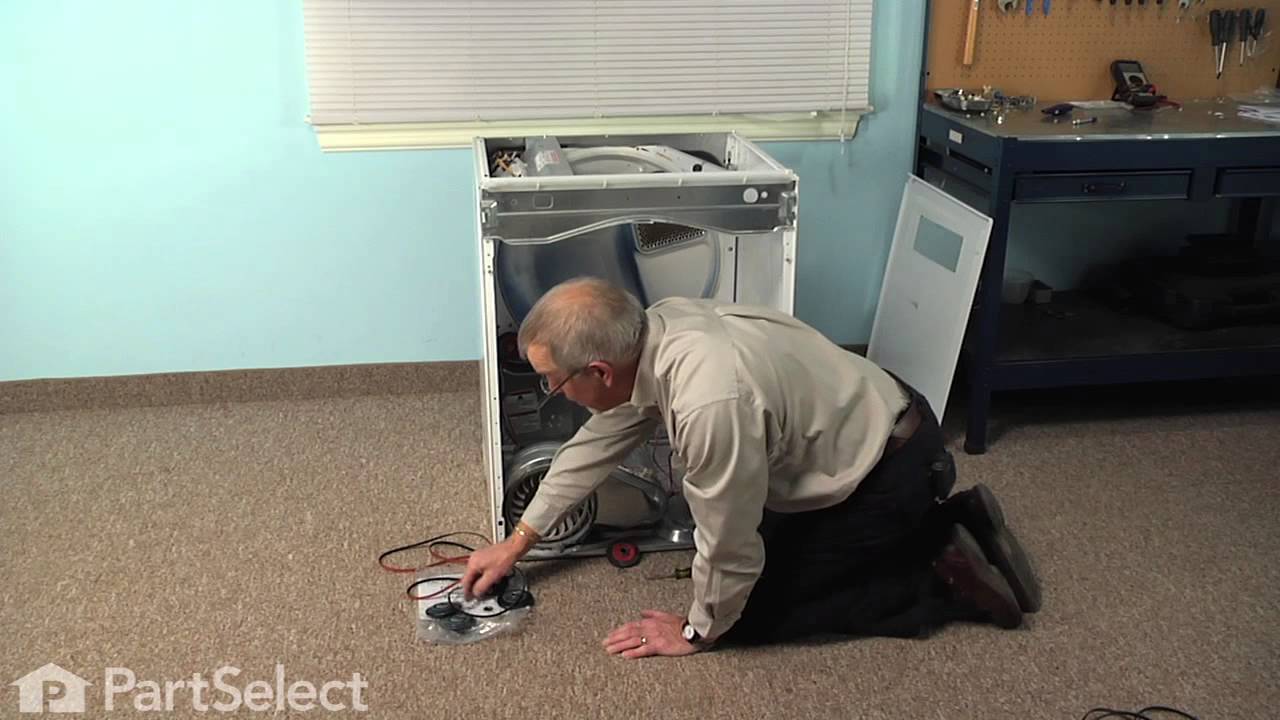
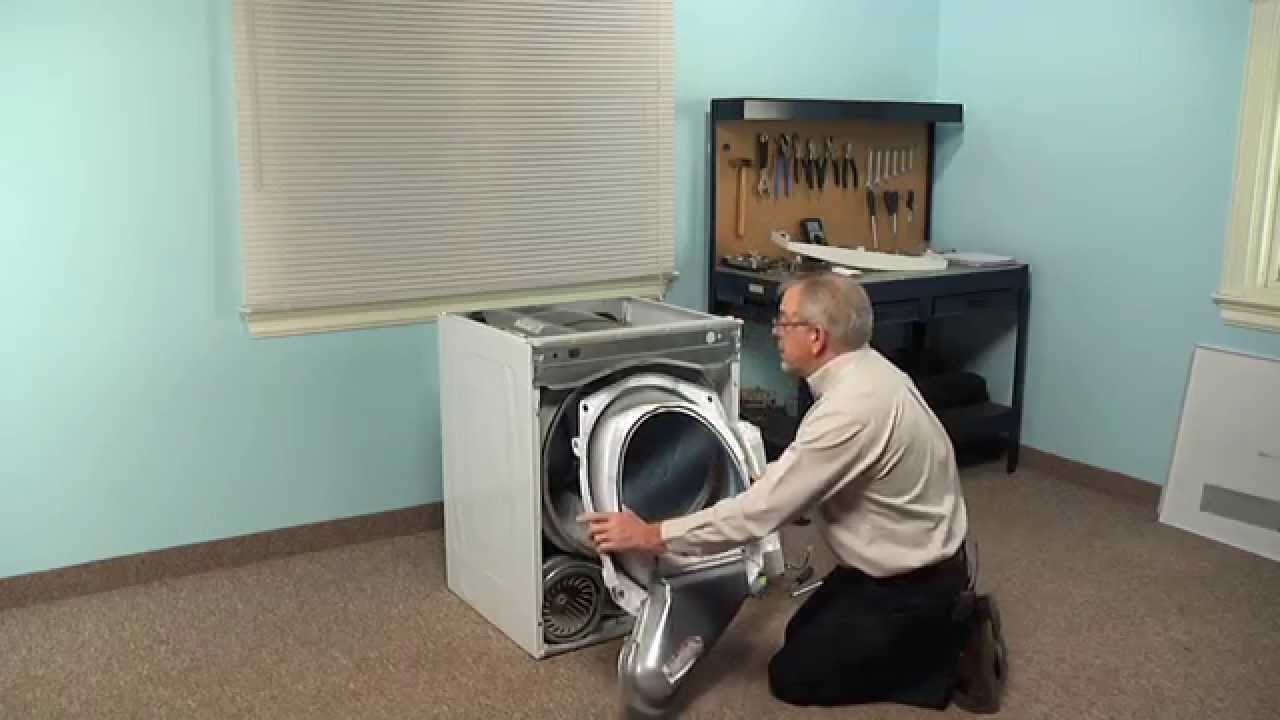
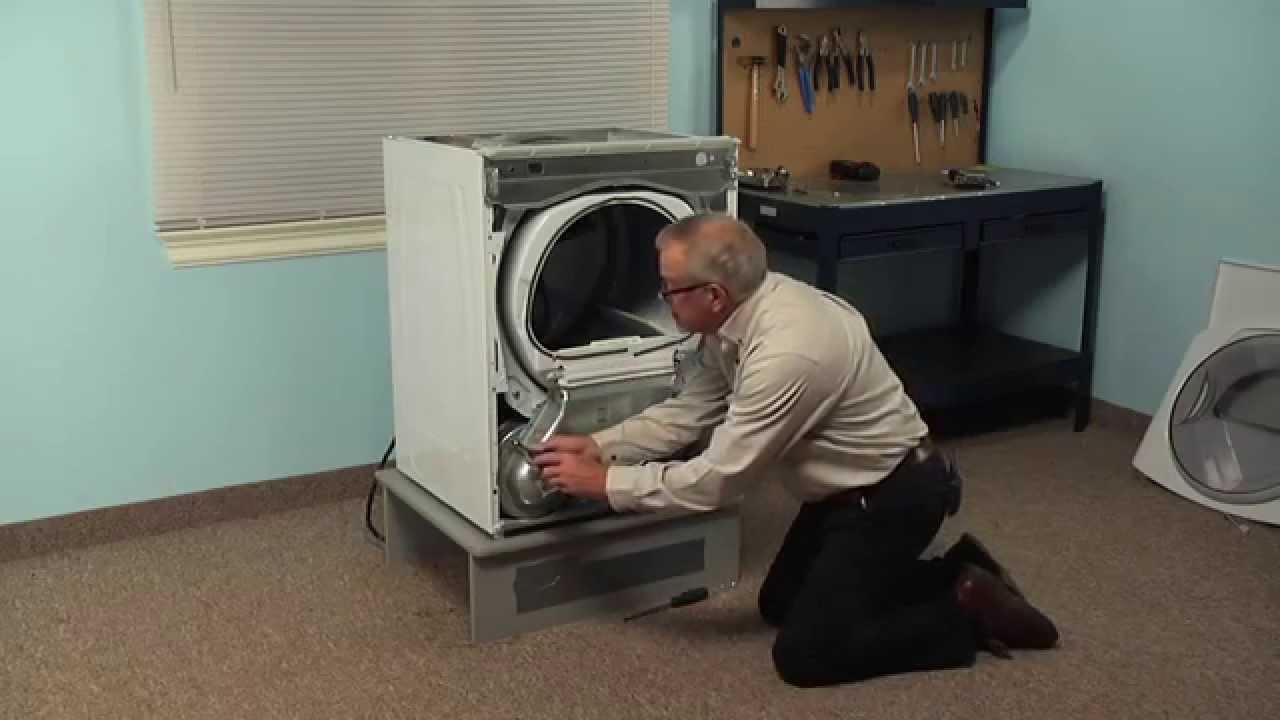
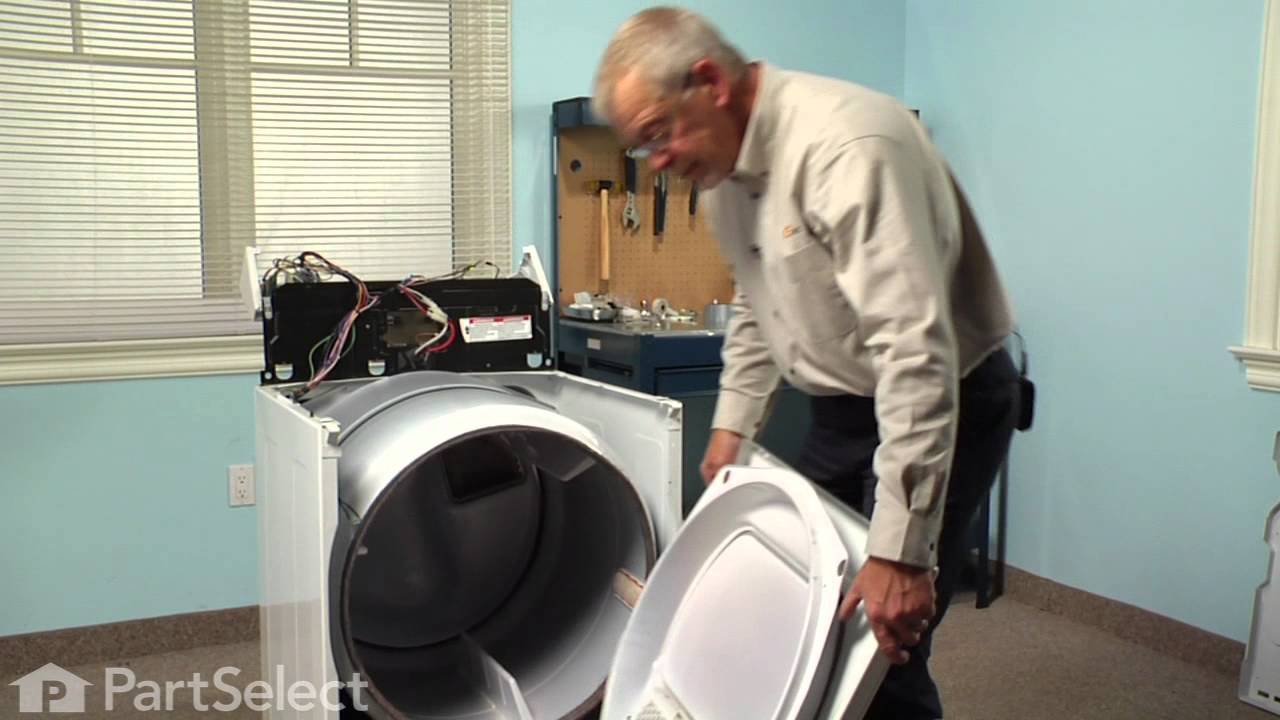
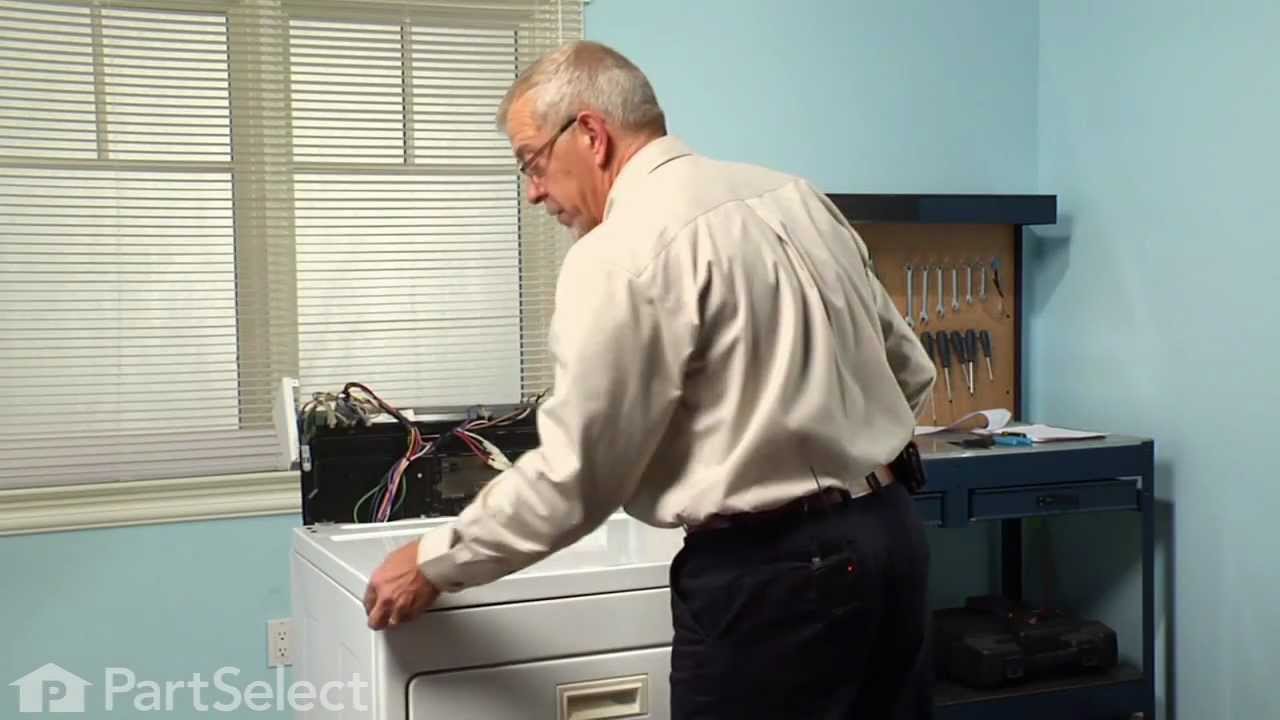
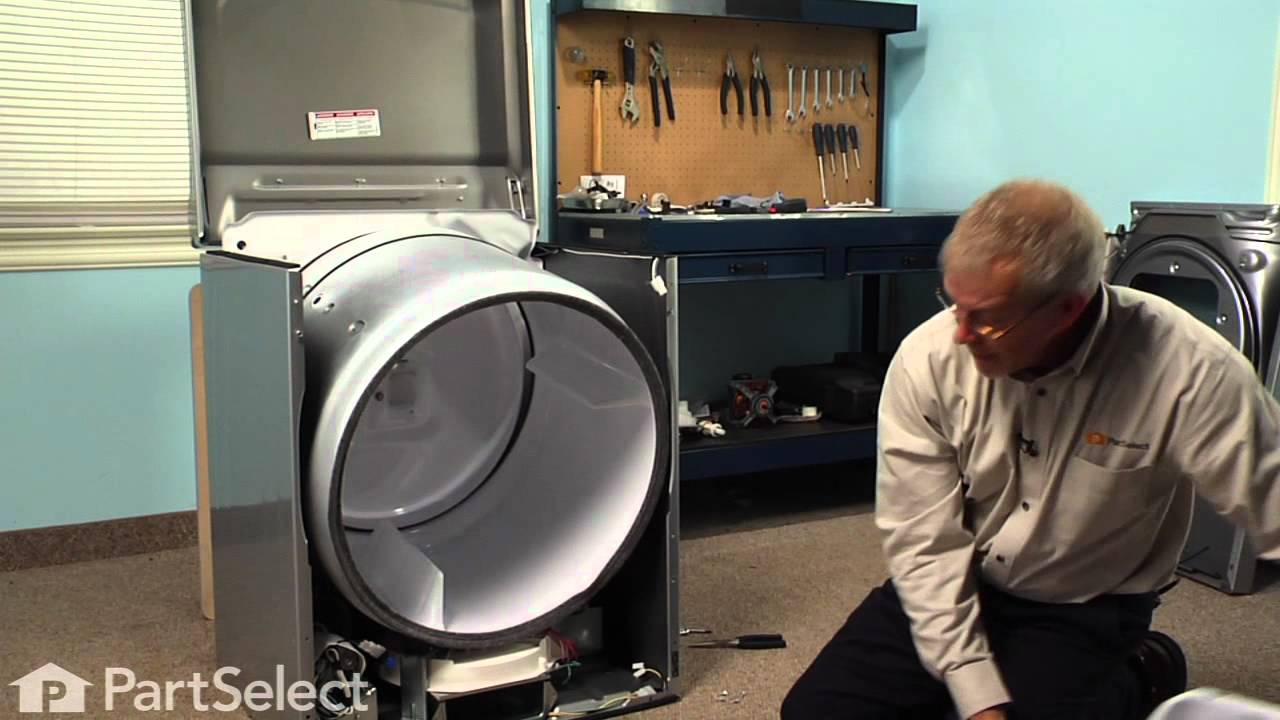
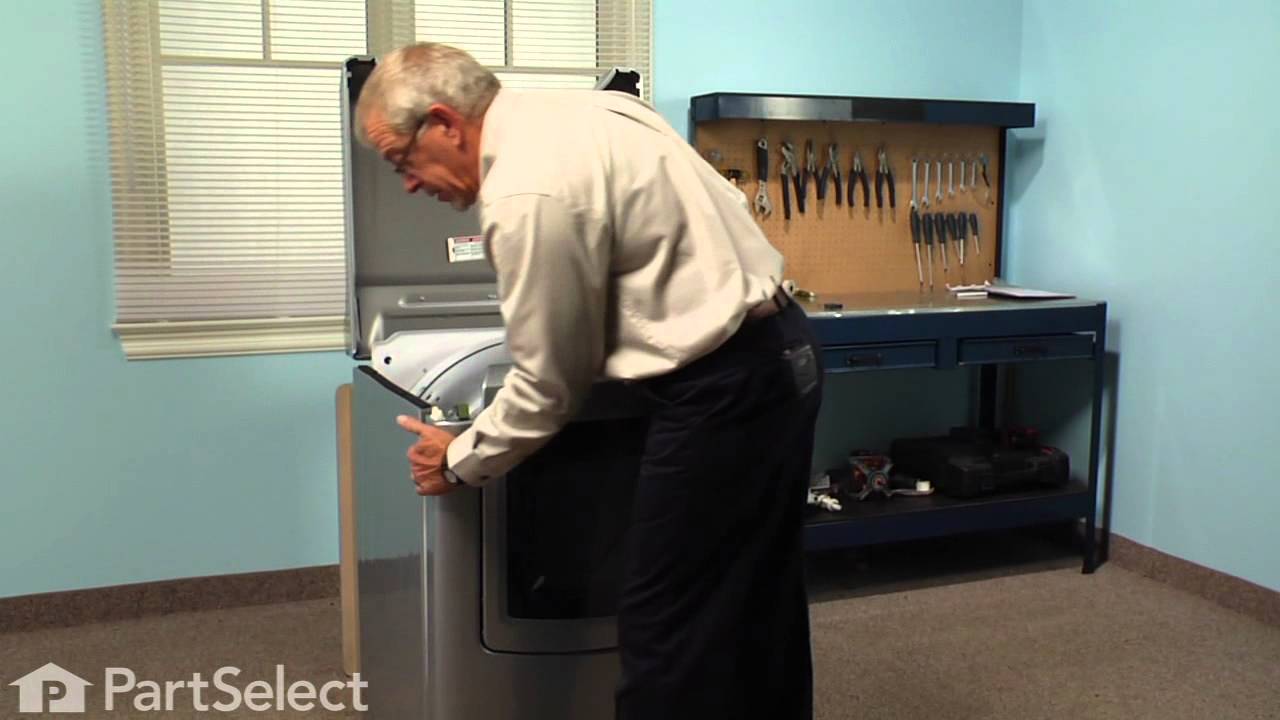
Grow a second set of hands. Always unplug any appliance. Remove lint screen. remove two screws (philips Head). I took a wooden shim lightly tapped w/hammer to pop front of dryer top free. Mine worked on hinges and just flipped back til it rested against the wall. Removed two 5/16 screws inside holding face on carefully raise face section off the support clips at either side on the bottom. Pull drum out (I have the large style drum commercial size [approx.). Clean the inside free of all lint (known to be fire hazard). Sling new belt around drum. Get newly grown set of hands to hold drum in place. Pinch belt to fit between tensioner, lift tensioner and place belt around motor pulley. Spin drum couple times to make certain belt isn't twisted. Reverse dismantle proccess to put back together. Replace all parts that come with kit, you'll feel better knowing you got a new dryer, almost.
Parts Used:
-
DENNIS from ALTOONA, FL
-
Difficulty Level:A Bit Difficult
-
Total Repair Time:1- 2 hours
-
Tools:Nutdriver, Screw drivers
287 of 316 people
found this instruction helpful.
Was this instruction helpful to you?
Thank you for voting!
Dryer making extra noise while running
1st Unpluged power.
2nd removed two screws under lint screen cover.
3rd poped up lid with flathead screwdryer, then removed (2) 5/16 screws from door cover and unpluged lid switch, lifted up dryer door pannel
4th removed drum
5th took out plastic triangle wheel rings
6th removed old belt guild (to motor pully)
7th removed old wheels and plastic rings stops
8th cleaned excessive hair dust with shopvac
9th put new replaicment part in dryer. made sure to turn manually to make sure belt was lined up properly, then put all dryer peices back.
10th aditional work, took back cover off and removed the (4) 1/4 screws for lint screen case (left side in dryer) vacumed out any excessive dirt lint ect, also cleaned any excessive dust I found in back of dryer, dryer , exhaust ect, and put all back together.
JUst like a new dryer aain after all PM was complete.
2nd removed two screws under lint screen cover.
3rd poped up lid with flathead screwdryer, then removed (2) 5/16 screws from door cover and unpluged lid switch, lifted up dryer door pannel
4th removed drum
5th took out plastic triangle wheel rings
6th removed old belt guild (to motor pully)
7th removed old wheels and plastic rings stops
8th cleaned excessive hair dust with shopvac
9th put new replaicment part in dryer. made sure to turn manually to make sure belt was lined up properly, then put all dryer peices back.
10th aditional work, took back cover off and removed the (4) 1/4 screws for lint screen case (left side in dryer) vacumed out any excessive dirt lint ect, also cleaned any excessive dust I found in back of dryer, dryer , exhaust ect, and put all back together.
JUst like a new dryer aain after all PM was complete.
Parts Used:
-
Michael from Haines City, FL
-
Difficulty Level:A Bit Difficult
-
Total Repair Time:1- 2 hours
-
Tools:Nutdriver, Screw drivers, Wrench (Adjustable)
90 of 101 people
found this instruction helpful.
Was this instruction helpful to you?
Thank you for voting!
My Dryer Was Not Heating Up.
I asked for advise, looked around and priced heating elements and thermostats. This was the best combo offered for the price given. It was shipped and received it very quick. Installed it and 5 minutes later, she was running like a champ!
Parts Used:
-
roberto from houston, TX
-
Difficulty Level:Really Easy
-
Total Repair Time:Less than 15 mins
-
Tools:Socket set, Wrench set
164 of 355 people
found this instruction helpful.
Was this instruction helpful to you?
Thank you for voting!