This an authentic OEM 40-Watt replacement light bulb, used in a number of household appliances. It is specially designed to withstand extreme temperatures, which is why these replacement bulbs are mos...
The oven sensor detects the temperature within the oven cavity and sends the information to the control board. If your oven is not heating evenly, has little or no heat when baking, or is too hot, you...
This is a multi-use and multi-appliance screw. It can be used on a microwave, refrigerator, range/oven, air conditioner, dehumidifier, washer, or dryer. The measurements of this screw are 8 x 1/2 inch...
This hinge is located on each side of the oven door. The hinges control the rate that the oven door opens and closes, and allows the door to stay open at an angle. This hinge can be used on either the...
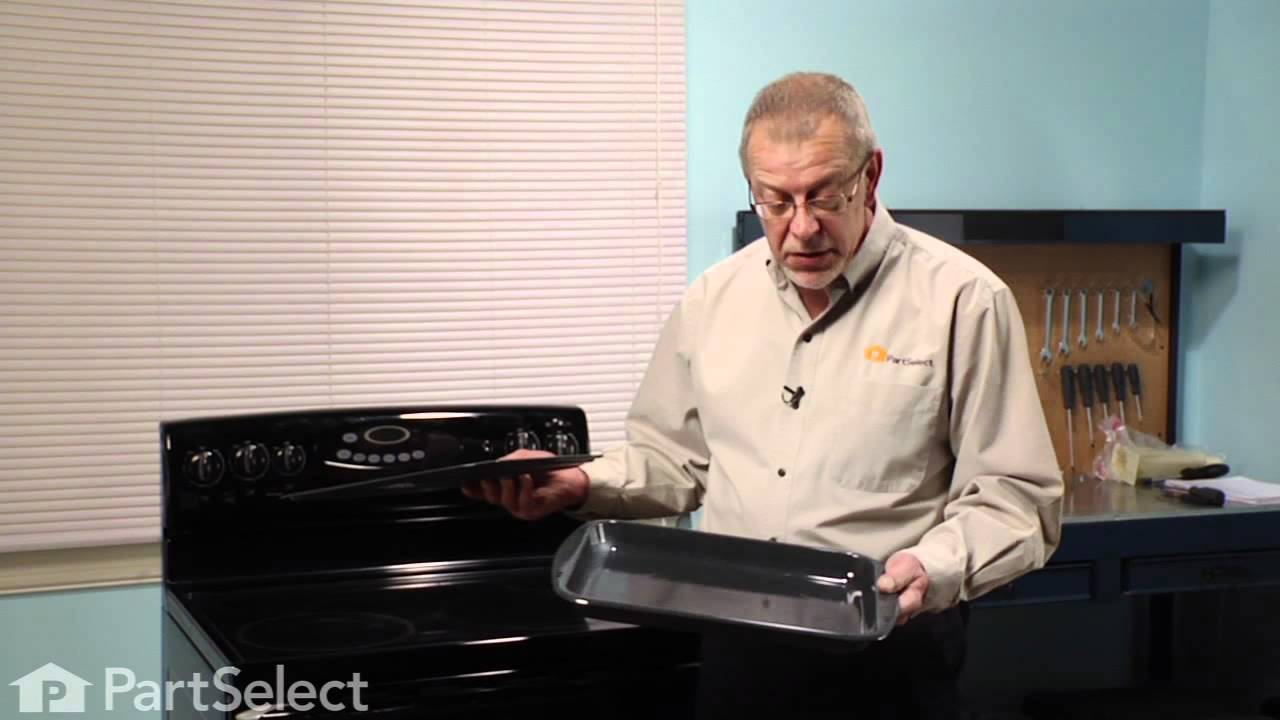
This broiler pan and roasting rack set features a two-piece design that allows fat to drain away for cleaner cooking and reduced splatter. Made with a durable, high-heat resistant porcelain finish, it...
This oven control board and clock is for ranges.
Oven control board and clock monitors the oven temperature and controls the oven heating functions in the range, and includes the digital display fo...
This oven rack provides a stable and reliable surface for cookware during baking and broiling. Measuring approximately 23.5 inches by 16 inches, it is constructed from durable metal with a chrome fini...
This oven door gasket is designed to create a tight, heat-resistant seal around the oven door, helping to maintain consistent internal temperatures during cooking. By preventing heat from escaping, it...
This temperature probe consists of two ends joined together by an insulated wire. The small end is almost four inches long, whereas the longer end is almost seven inches long. The small end, the jack,...
$155.47
Special Order
Questions And Answers for W30400P
Ask our experts a question about this model and we'll get back to you as soon as possible!
1 question answered by our experts.
< Prev
1
Next >
Sort by:
Search filter:
Clear Filter
Your search term must have 3 or more characters.
Keep searches simple. Use keywords, e.g. "leaking", "pump", "broken" or "fit".
Sorry, we couldn't find any existing answers that matched.Try using some different or simpler keywords, or submit your new question by using the "Ask a Question" button above!
Nikolaos
February 12, 2025
Electronic clock board control no lights oven working
Is part wp71001799 good for my oven
For model number W30400P
Hi Nikolaos, thank you for contacting us. Yes, the issue could be with the oven control board. The oven control board, part number PS11743858, you have mentioned, is compatible with your model. We hope that helps!
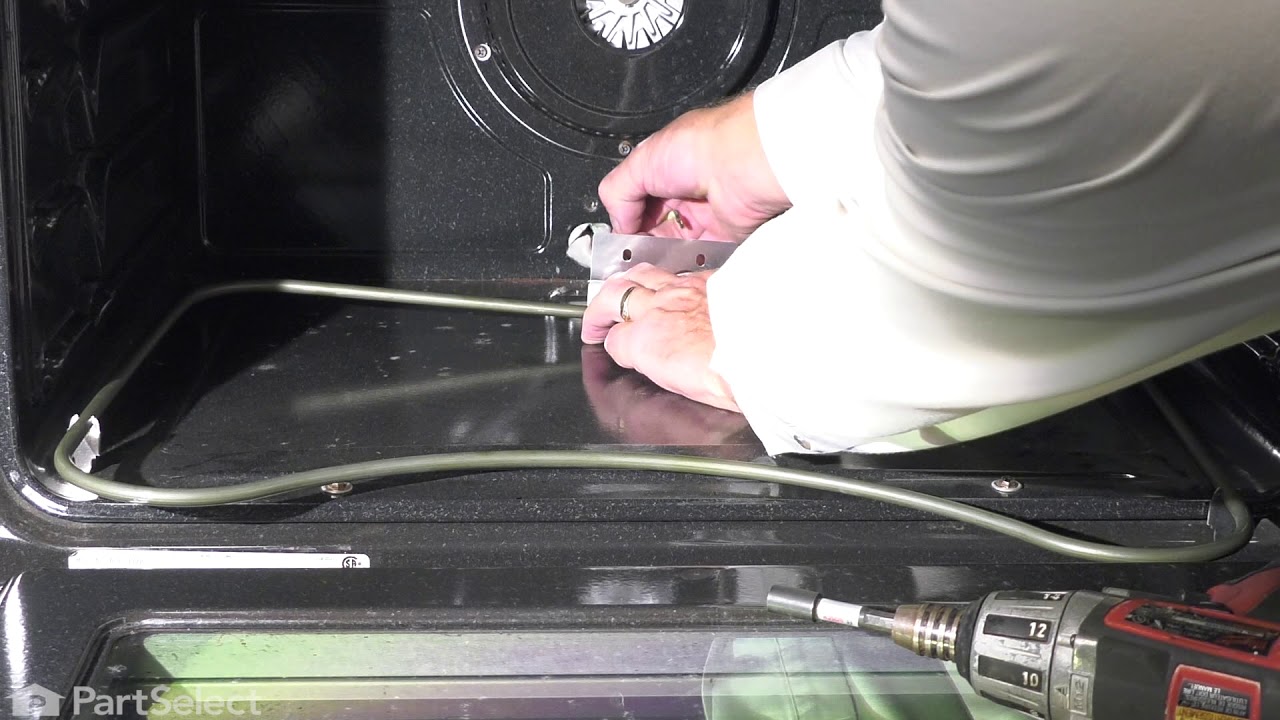
Removed the oven door by opening slightly, then pic door up to remove. Remove 2 screws holding oven sensor in place, gently pull on sensor to remove, had to remove about 8 inches to get at plastic connector. Unplug connector, had to use an adapter cable supplied with the PartSelect kit to install new sensor, push cable back into opening, reinstall 2 screws. The oven works fine! Note that due to thermal lag the temperature overshoots to 370 degrees and undershoots to 340 degrees, this appears to be normal oven operation. Putting door back in place was easy.
Removed the 4 phillip head screws that hold the trim plate on the bottom of the display panel (and you probably could skip this step). Next, I removed the knobs from the front of the display panel. Then I removed the 4 phillip head screws that were located (1 each) behind the knobs. Finally, I removed the 4 hex head screws from the bottom of the front panel. You caan then remove the panel a few inches and remove the two cable connectors. The trick part is to get the flat ribbin cable disconnected. If you squeeze the two small tabs (one on each end of the connector), the connector moves up and spreads open to CAREFULLY remove the ribbon cable. The clock assembly has just two hex head screws holding it in place. Remove them, and reassemble everything in reverse. If you did everything correctly, you should have a very bright stove clock again!
First I removed the two screws that hold the element in place. I then pulled the sensor out about 3 inches and disconnected the two wires. Next, I connected new sensor and screwed the new sensor back in place. One area for caution. Make sure that the electrical connection is pushed in past the insulation on the back side of the oven. Failure to do so will cause the plastic plug connector to melt from oven heat.