














SCA1001KSS LG Microwave - Overview
Sections of the SCA1001KSS
[Viewing 1 of 1]
Keep searches simple, eg. "belt" or "pump".

Halogen Light Bulb - 120V 20W
PartSelect #: PS2351821
Manufacturer #: WB25X10019
This halogen light bulb is a replacement part for the bulb behind the top grill in your microwave. It is sold individually.
$33.98
Special Order

Microwave Fuse
PartSelect #: PS1481237
Manufacturer #: WB27X10928
This ceramic microwave fuse is just over an inch in length. It is white in the center, and metal on both ends. This is a 20-amp fuse, and is used to power your microwave. If the touch pad on the micro...
$25.31
Special Order


Halogen Bulb - 20W - 12V
PartSelect #: PS951718
Manufacturer #: WB01X10239
Sold Individually.
$59.57
Special Order


Halogen Light Bulb - 10W 12V
PartSelect #: PS247364
Manufacturer #: WB36X10163
Sold individually.
$42.54
Special Order

Capacitor
PartSelect #: PS3517241
Manufacturer #: 0CZZW1H004B
Store the electrical energy needed by a microwaves high-voltage heating system with this replacement capacitor. During cooking, the capacitor works with the transformer, diode, and magnetron to help c...
$60.45
In Stock

Turntable Drive Coupler
PartSelect #: PS228022
Manufacturer #: WB06X10312
Also known as Shaft assembly.
$79.17
Special Order

Magnetron Thermostat Assembly
PartSelect #: PS235679
Manufacturer #: WB21X10054
$38.95
Special Order

CONTROL PANEL Assembly Stainless Steel
PartSelect #: PS952666
Manufacturer #: WB07X10775
No Longer Available


Common Symptoms of the SCA1001KSS
[Viewing 5 of 5]Won’t turn on
Fixed by
these parts
these parts


Show All
No heat
Fixed by
these parts
these parts

Show All
Touchpad does not respond
Fixed by
these parts
these parts
Show All
Doesn’t shut off
Fixed by
these parts
these parts
Show All
Tray won’t turn
Fixed by
these parts
these parts
Show All

Keep searches simple. Use keywords, e.g. "leaking", "pump", "broken" or "fit".
Microwave completely stopped working
Turned out the issue was easily solved by replacing a single, inexpensive fuse.
First off, UNPLUG THE MICROWAVE.
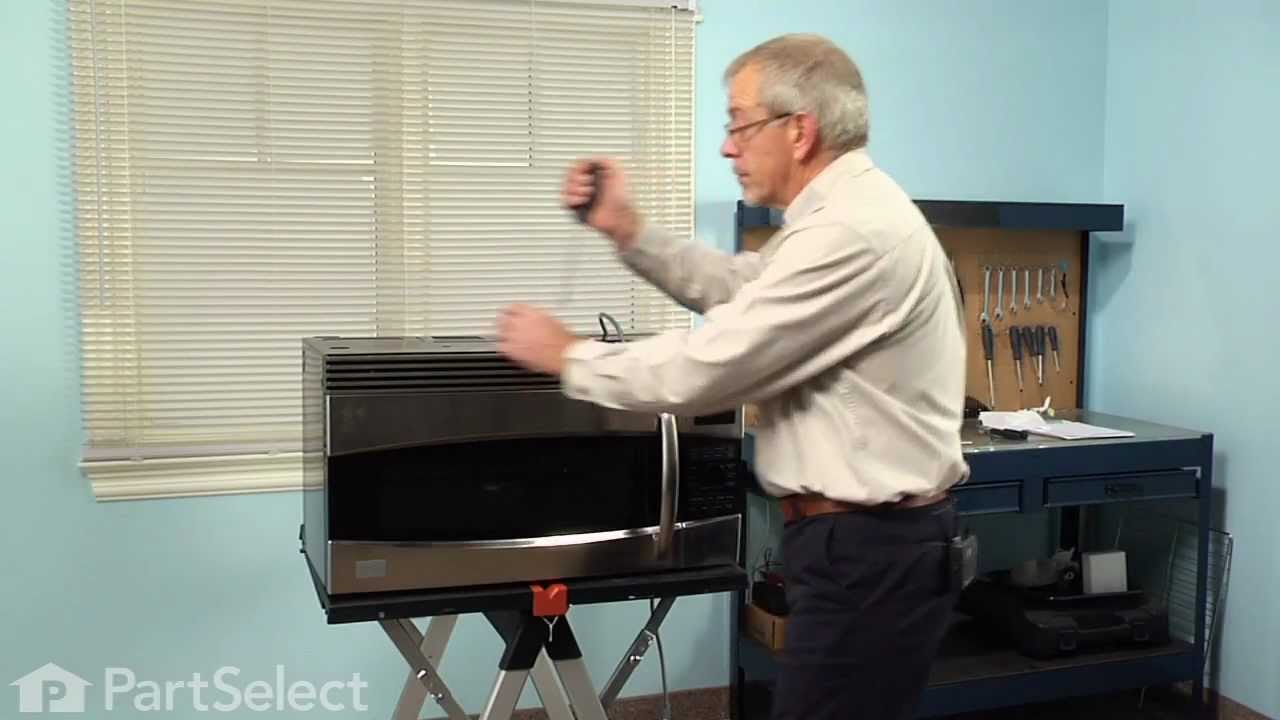
The fuse is located under the plastic grill at the top of the microwave. It's held on by two screws. Once you've removed the screws and taken off the plastic grill, you go to the right side of the microwave and remove another screw that holds a small metal grill in place. Removing the small metal grill is probably the toughest part of this repair. You kind of have to rock it back and forth a bit to get it to release. Once that's off, you can get to the fuse. I removed the burnt out one with a pair of needle nose pliers. I also put a small piece of cardboard under the fuse when I did this so I didn't accidentally drop it into the innards of the microwave. I did the same thing when I replaced the new fuse. I then plugged the appliance back in and made sure it worked. Once that was confirmed, I replaced both grills.
First off, UNPLUG THE MICROWAVE.
The fuse is located under the plastic grill at the top of the microwave. It's held on by two screws. Once you've removed the screws and taken off the plastic grill, you go to the right side of the microwave and remove another screw that holds a small metal grill in place. Removing the small metal grill is probably the toughest part of this repair. You kind of have to rock it back and forth a bit to get it to release. Once that's off, you can get to the fuse. I removed the burnt out one with a pair of needle nose pliers. I also put a small piece of cardboard under the fuse when I did this so I didn't accidentally drop it into the innards of the microwave. I did the same thing when I replaced the new fuse. I then plugged the appliance back in and made sure it worked. Once that was confirmed, I replaced both grills.
Parts Used:
-
Kim from Cliffside Park, NJ
-
Difficulty Level:Really Easy
-
Total Repair Time:15 - 30 mins
-
Tools:Screw drivers
968 of 1266 people
found this instruction helpful.
Was this instruction helpful to you?
Thank you for voting!
Under the vent light bulbs needed to be replaced
Turned of f the circuit breaker to the microwave. Unscrewed the cover (1 screw!) popped out the old bulbs and plugged in the new ones, using the bubblewrap as a handle to be sure my skin didn't touch the light bulbs so the oil from my hands didn't damage or shorten the life of the new bulbs. Turned the circuit back on. That's it!
Parts Used:
-
Robert from Naples, ME
-
Difficulty Level:Really Easy
-
Total Repair Time:Less than 15 mins
-
Tools:Screw drivers
66 of 87 people
found this instruction helpful.
Was this instruction helpful to you?
Thank you for voting!
Halogen bulb beneath microwave lighting the stovetop burned out after 9 mo.
Unscrewed the light cover beneath the microwave with a phillips head screwdriver. The bulb is very tiny and has 2 straight parallel prongs that slide into 2 small holes. Grab bulb from both sides with each hand firmly and slide STRAIGHT out (no twisting or pushing). Don't worry about breaking even though it may take a fair amount of pressure to pull out. New bulb arrived within a couple of days. Due to high shipping cost, suggest buying 2 or more bulbs at once. Bulb is often used as a kitchen night light so that is probably why I only got 9 months out of it.
Parts Used:
-
Edward from Averill Park, NY
-
Difficulty Level:Easy
-
Total Repair Time:Less than 15 mins
-
Tools:Screw drivers
41 of 52 people
found this instruction helpful.
Was this instruction helpful to you?
Thank you for voting!