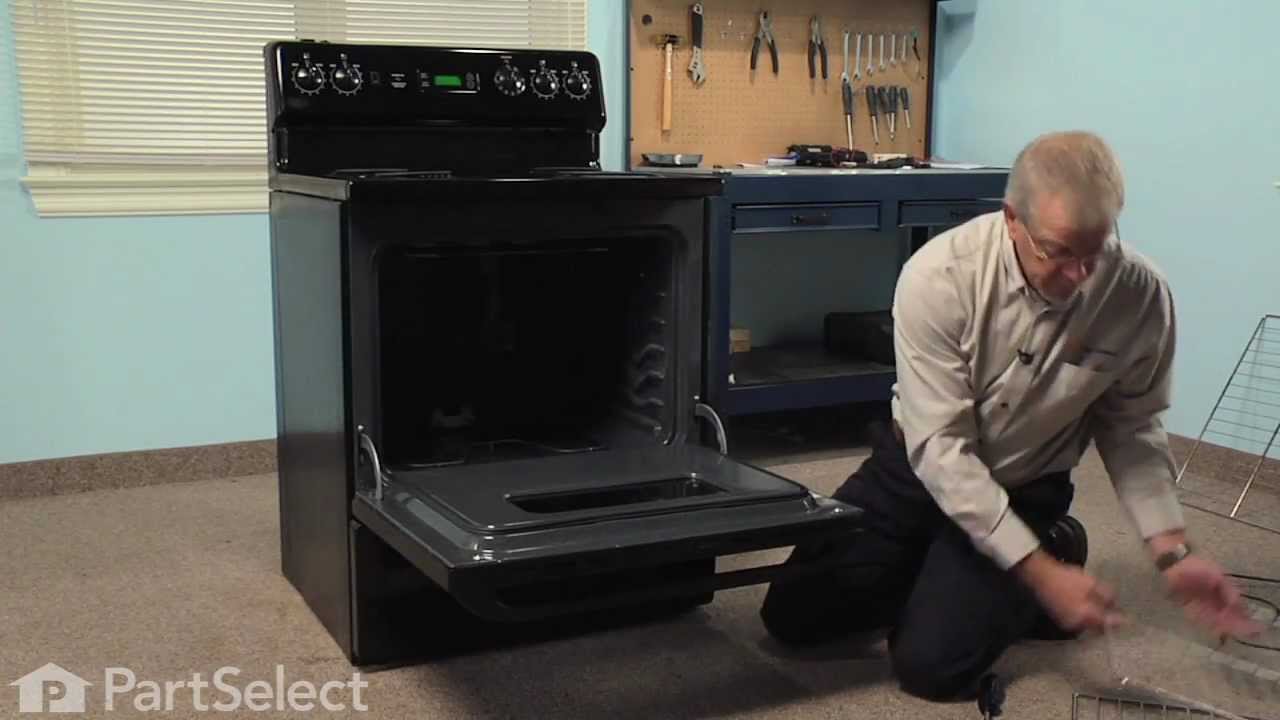
The bake element is located on the bottom of the oven. If your oven will not heat properly it may be due to a faulty or damaged baking element. If you can see that the element has been separated or bl...
This 40-Watt light bulb is sold individually.
It is specially designed to withstand extreme temperatures, so this bulb is compatible with a variety of appliance types including refrigerators, ranges,...
If your stove’s burner isn’t heating right—maybe it’s stuck on high or won’t turn on at all—this control switch could be the fix. It’s made for 6-inch burners and lets you adjust the heat smoothly, no...
If your oven isn’t getting hot enough when you broil, this replacement broil element could be the fix. It’s the part that heats from the top of the oven to give food that crispy finish. Easy to instal...
The electronic oven control board manages heating and temperature functions in wall ovens. Modified wiring may require professional installation. Unplug the oven or shut off the circuit breaker before replacing.
This single chrome oven rack provides a reliable flat cooking surface for your cookware inside of the oven cavity. The oven rack is made of metal and measures approximately 24” wide by 17 1/2” deep. T...
Need a solution for a jittery drawer in your General Electric Range/Stove/Oven? The Genuine Replacement Drawer Glide is the answer. It keeps your broil or storage drawer sliding smoothly on your range...
This right-side drawer glider allows smooth and stable drawer movement. Designed for durability and precise alignment, it supports effortless opening and closing.
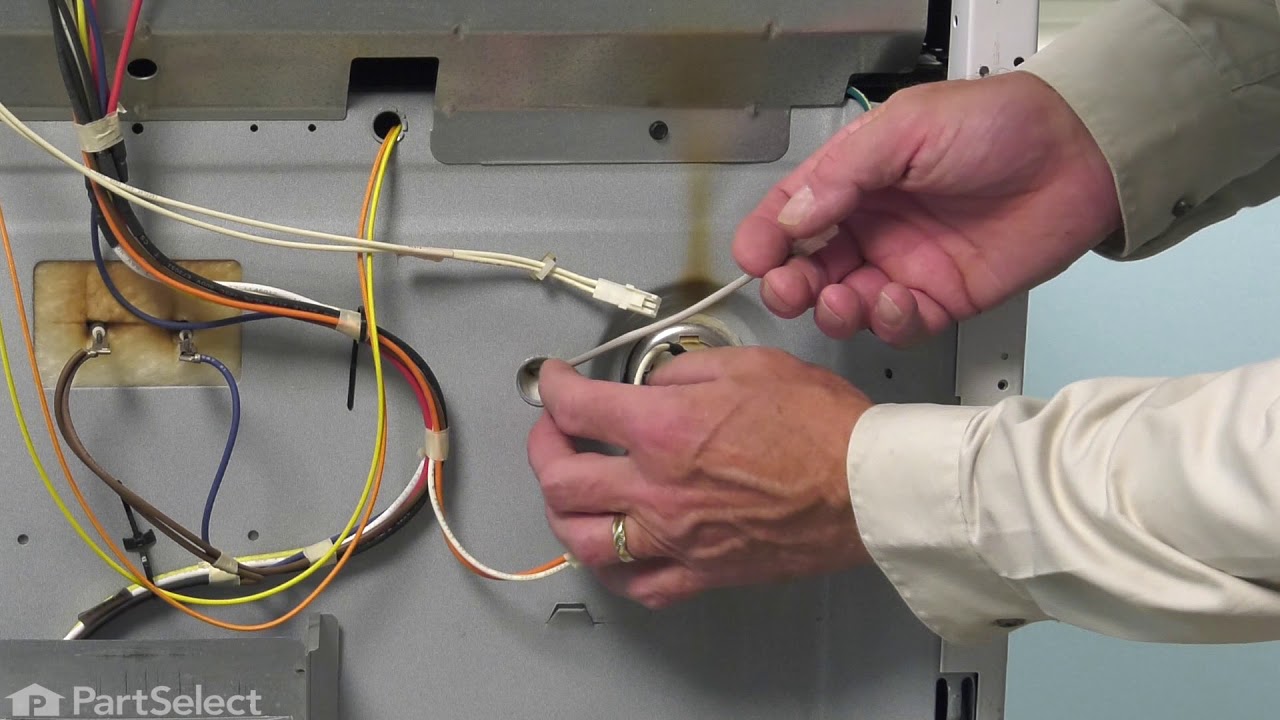
This part is the replacement light socket for your oven. The oven light socket provides power to the light, and at the same time holds the light bulb in place.
$15.95
Special Order
Questions And Answers for RB787WH1WW
Ask our experts a question about this model and we'll get back to you as soon as possible!
4 questions answered by our experts.
< Prev
1
Next >
Sort by:
Search filter:
Clear Filter
Your search term must have 3 or more characters.
Keep searches simple. Use keywords, e.g. "leaking", "pump", "broken" or "fit".
Sorry, we couldn't find any existing answers that matched.Try using some different or simpler keywords, or submit your new question by using the "Ask a Question" button above!
Ryan
August 14, 2021
Hotpoint stovetop oven
Code flashing
F7 and 12 on an alt screen
For model number RB787WH1WW
Hello Ryan, Thank you for your inquiry. These errors indicate an issue with the temperature sensor or the control board. You can test the sensor with a multimeter to see if it has continuity. Also check for any visible damage to the wiring. Good luck with your repair.
My Hotpoint radiant elements sit on crossmembers, attached by screws with springs. What is the best way to go about getting the elements out, and/or back in? - - and, if I buy your 8 inch element, will it work with this crossbar setup? The diagram shows it this way- with the crossbars and spring screws,
but videos and other info do not.
For model number RB787WH1WW
Hi Dave, thank you for the question. Based on our research, the compatible 8-inch element for your model is part number PS243903. To remove the surface elements, first you may need to open the door and unthread the screws at the front securing the main top. With the screws removed, raise the main top and support it with the help of a wooden stick or block. Remove the bottom element support by unthreading the screws securing it and take it out. Now, remove the retaining clips securing the element to the support, disconect the wires from the old element and repeat the process to install the new element. We hope this is helpful!
How to adjust oven thermostat. My oven appears to be cooler than setting.
For model number RB787WH1WW
Hello Gaylan, thank you for the question. According to our research, you may need to replace the temperature sensor, part number PS236490, to solve this problem. We have attached the relevant video that will help you with the installation of this part. Glad to be of assistance!
Hello Sidney, thank you for getting in touch. We have attached a relevant video that may not be of the same model but will help you in removing the bake element. Glad to be of help!
Was this helpful?
Thank you for voting!
< Prev
1
Next >
✖
Ask a Question
Ask our experts a question on this model and we'll respond as soon as we can.
First I slid the stove out and unpluged it, then removed two screws,slid out element, disconected two wires, slid new element in to place, pluged two wires in ,put into place and installed two screws, pluged stove back in, and turned on to try. Works perfect.
1)Turn off power to stove 2)remove 2 bolts holding heating element 3)pull element out of the back of the oven about 8" so that the wire connects is visable 4)pull wire clips off of heating element and remove element from the oven 5)put wire clips on the new heating element 6)push new heating element back into the holes in the back of the oven 7)screw botls back into the oven holding the heating element in place 8)Turn power back on
Repair was very simple. Removed 2 screws under the cooktop, tilt the cooktop back, unplug 4 wires from 8" burner, remove two screws holding retaining clips, install new burner in reverse order. Very simple!