




















RB120PXV3 Whirlpool Wall Oven - Overview
Sections of the RB120PXV3
[Viewing 4 of 4]


Manuals & Care Guides for RB120PXV3
Click to downloadKeep searches simple, eg. "belt" or "pump".

Light Bulb - 40W
PartSelect #: PS884734
Manufacturer #: 8009
This an authentic OEM 40-Watt replacement light bulb, used in a number of household appliances. It is specially designed to withstand extreme temperatures, which is why these replacement bulbs are mos...
$24.14
In Stock
Touch-Up Paint - White
PartSelect #: PS385132
Manufacturer #: 72017
This 18 ml bottle of white appliance touch-up paint is used to cover scratches or marks on your appliance. The white touch-up paint can be used on refrigerators, microwaves, ranges, clothes dryers, an...
$17.95
In Stock

Range Insulation
PartSelect #: PS11750415
Manufacturer #: WPW10208653
Oven Wrap Insulation.
$65.95
In Stock

Air Conditioner Cover Screw
PartSelect #: PS11740701
Manufacturer #: WP308685
Sold individually.
$10.51
In Stock
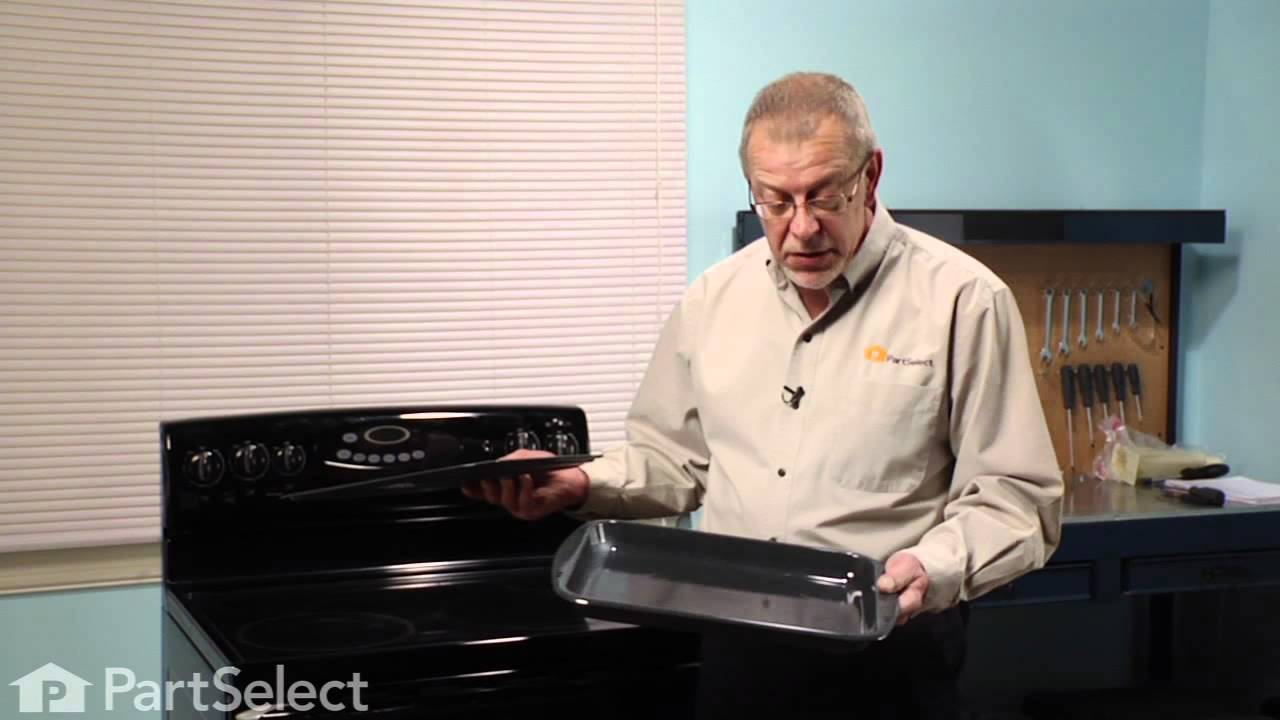
2 Piece Broiler Pan
PartSelect #: PS971245
Manufacturer #: 4396923
This broiler pan and roasting rack set features a two-piece design that allows fat to drain away for cleaner cooking and reduced splatter. Made with a durable, high-heat resistant porcelain finish, it...
$63.09
In Stock
Dryer Support Roller Clip
PartSelect #: PS11746832
Manufacturer #: WP90296
Sold Individually.
$10.51
In Stock

Range Control Knob
PartSelect #: PS11740796
Manufacturer #: WP3150371
Sold Individually. This part has been updated and no longer has the red dot. It is ONLY available in black now. This knob accepts a double flat shaft.
$31.95
In Stock

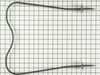
Bake Element - 240V 2100W
PartSelect #: PS340505
Manufacturer #: 326791
If your oven isn’t heating up or your baked goods are coming out uneven, the bottom heating element might be the issue. This part sits at the base of the oven and provides the heat needed for baking. ...
$85.71
In Stock

Dryer Screw
PartSelect #: PS11743744
Manufacturer #: WP681414
This screw is sold individually.
$10.51
In Stock
Common Symptoms of the RB120PXV3
[Viewing 6 of 6]Element will not heat
Fixed by
these parts
these parts


Show All
Little to no heat when baking
Fixed by
these parts
these parts
Show All
Little to no heat when broiling
Fixed by
these parts
these parts
Show All
Oven not heating evenly
Fixed by
these parts
these parts
Show All
Noisy
Fixed by
these parts
these parts

Show All
Door won’t close
Fixed by
these parts
these parts

Show All
Keep searches simple. Use keywords, e.g. "leaking", "pump", "broken" or "fit".
mice had made nests in the insulation wrap in the range
I numbered every part. ex: 1 L., for first part removed left side. I used a magic marker to circle the holes and wrote the number of screws used on the part, set the srews in a separete place, so that I new where these screws went to. The cleanup was pretty time consuming, but I was able to keep my stove, when every repairman I called to fix my stove told me I was better off buying a new stove. ($600.00 stove 2 years old)Please Note: The insulation blanket needed for the entire stove is two pieces, the sides and top are one part # and the bottom and back, are another part #. I did not know this. I just purchased the top and sides. I got lucky, the back and bottom were still in good shape. So I guess I should have read the description of the part more carefully to see what it covers, before I ordered it. It took two people two hours to do the work, it was really nice to have an extra set of eyes, to remember what direction pieces of metal from the stove went. I would do it all over in a heart beat instead of buying a new stove.
Parts Used:
-
Wendy from Red Hook, NY
-
Difficulty Level:Easy
-
Total Repair Time:More than 2 hours
-
Tools:Screw drivers
127 of 206 people
found this instruction helpful.
Was this instruction helpful to you?
Thank you for voting!
Baking element in oven exploded
Removed the broken element by taking out the two screws in the back wall of the oven and unplugging the wires. Then did reverse to install the new element. Very simple repair job.
Parts Used:
-
Chad from Bloomington, MN
-
Difficulty Level:Really Easy
-
Total Repair Time:Less than 15 mins
-
Tools:Screw drivers
57 of 62 people
found this instruction helpful.
Was this instruction helpful to you?
Thank you for voting!
Bottom heating element had burned out.
turned off the breaker (240 volts and it was outside, so it took longer than 15 minutes). Removed two screws in the back of the oven, one on each side of the old element, and pulled the old element forward. The wires on the back add some resistance, but they are long enough to pull forward a short distance (3 inches) without damage. Unplugged the old element, plugged in the new element, pushed it into place, and reinstalled the screws. Turned the power back on and it worked! Saved some money for the holidays! DIY para vida!
Parts Used:
-
Randy from Flagstaff, AZ
-
Difficulty Level:Really Easy
-
Total Repair Time:15 - 30 mins
-
Tools:Screw drivers
27 of 29 people
found this instruction helpful.
Was this instruction helpful to you?
Thank you for voting!