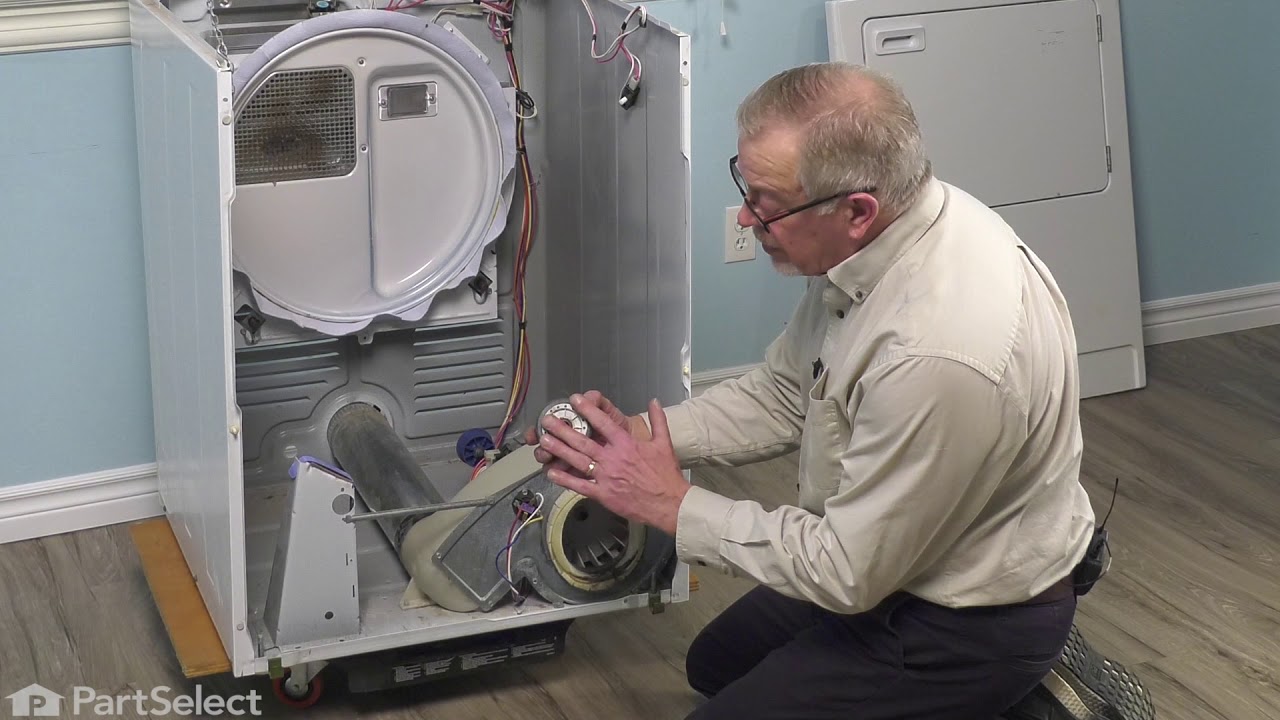
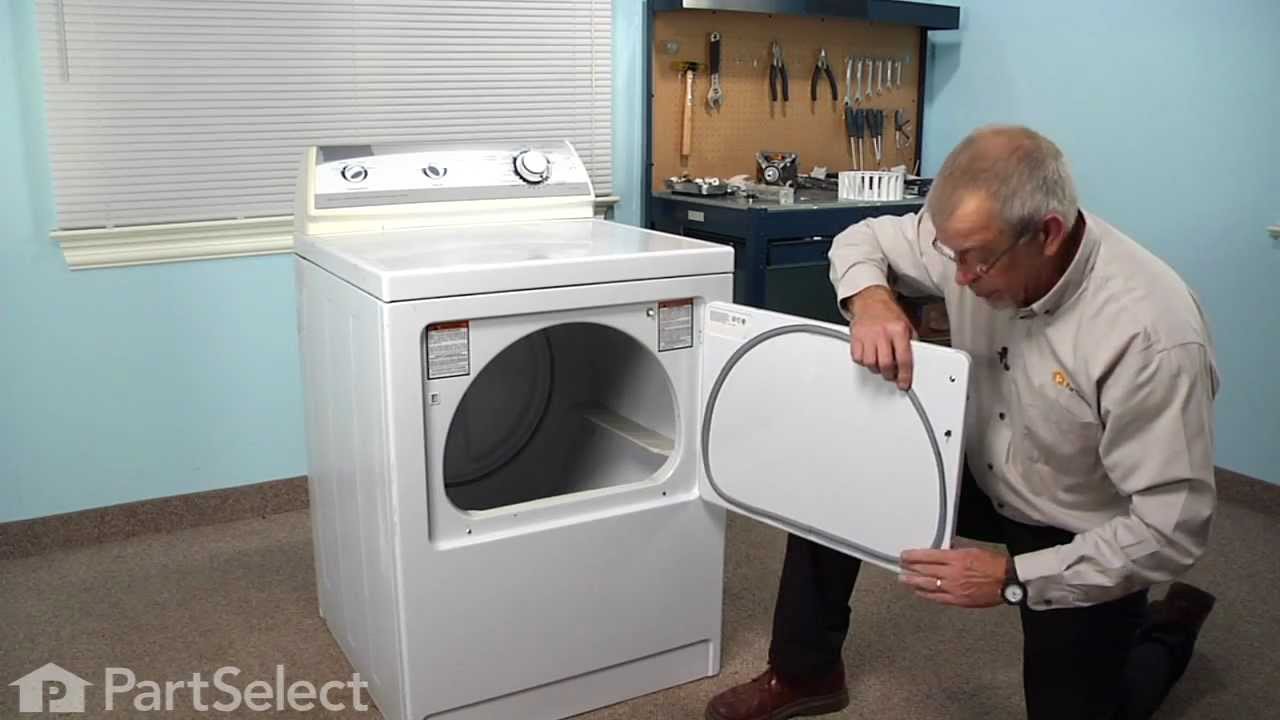
This gas dryer ignition coil set comes with two ignition coils: one three-terminal boost/hold coil, and one two terminal secondary coil. Usually only one of them burns out but you should replace them as a set. Both have to be operational for the gas valve to open.
This kit comes with three separate thermal fuses and is usually used with clothes dryers that have a fan mounted on the motor shaft. Included within this kit is the high limit (Limit: 258) the gas high limit (Limit: 240) and the gas and electric high limit thermostat (Limit: 300).
If your clothes are taking longer to dry or coming out with lint, it might be time to replace your dryer’s lint filter. This easy-to-install part catches lint and debris during each cycle, helping your dryer work better and keeping your clothes cleaner. Just slide out the old filter and pop in the new one—it’s a quick fix that can make a big difference in drying performance and safety.
This part senses if the igniter is hot enough to ignite the flame for heat, allowing the gas valve to open. The sensor is three inches long and is used for many gas clothes dryers. If your dryer is not creating any heat, taking too long to dry or shuts off too soon, you may need to replace the flame sensor. This is a genuine OEM part and ...Read moreis made of both plastic and metal. Please remember to disconnect power to your dryer before starting your repair.
Included in this rear drum support roller kit are 4 screws, 1 spacers, 2 washers, 2 retaining rings, 2 rear rollers, and 2 cylinder support shafts.
*** Note: Per manufacturer this kit has been updated now to have one spacer that is the thickness of 2 spacers. To get these parts separately, please search by model#.
This blower wheel clamp is less than an inch long and is used for some clothes dryers to hold the blower wheel firmly in place. This green clamp is made of metal.
This is the replacement motor pulley for your dryer. The motor pulley transfers momentum from the drive motor to the drum via the drive belt. If the motor pulley cracks or is no longer staying on the drive shaft, you will need to replace it. You will need to access the dryer motor for this repair, by removing the front panel. The motor pu...Read morelley is approximately 1 inch in diameter and is sold individually. This is an OEM part sourced directly from the manufacturer.
Ask our experts a question about this model and we'll get back to you as soon as possible!
We may have answered a similar question already! Search questions and answers left by others using simple keywords like "fit", "broken", "easy", or "quality" to find questions that match.
Search filter:
Clear Filter
Your search term must have 3 or more characters.
Sort by:
Prev
1
2
Next
Sorry, we couldn't find any existing answers that matched.Try using some different or simpler keywords, or submit your new question by using the "Ask a Question" button above!
Suzanne - For model number PYG2300AWW
August 10, 2021
What part is required when clothes take 2 to 3 cycles to dry.
Hello Suzanne, Thank you for the question. Normally this is caused by weak or defective M Series New Style Coil Kit. The coils can be tested using a multi-meter tool. The 2-prong coil read 1,000-1,300 ohms. The 3-prong coil will read 1,300-1,400 ohms across prongs 1 and 2, and 500-600 ohms across prongs 1 and 3. Please let us know if you have any further questions!
Hello Randall,
Thank you for your question. Our sources has a couple suggestions, the first part we suggest checking is the multi rib belt for your model under part PS346995, that could be causing the excess noise or shaking, and if it is not the belt, then its likely to be the rear drum support in the kit for your model under part PS2162268. We hope this helps!
Has a gas leak when off. Don't know if it also leaks when on.
Hi Peter, when dealing with gas leaks we recommend hiring a qualified technician as any self repairs could be unsafe. Thank you for your question and good luck with your repair!
Was this helpful?
Thank you for voting!
Scott - For model number PYG2300AWW
June 14, 2021
Hi, dryer won't start. Sounds like the motor is seized. What other parts do you recommend changing when the motor is being replaced? And what is the estimated cost ? Thank you, Scott
Hello Scott, Thank you for the question. We suggest replacing the Idler Assembly, Belt, Drum Glide and Cushion Kit and Spring due to wear and tear. Prices and Availability are shown on the site. We hope this helps.
I have a Maytag. The dryer drum belt keeps breaking. I replaced the idler pulley. It did not make a difference.
Hello Joseph, Thank you for the question. We suggest checking the Pulley and the drum to make sure they are not misaligned. Also check the Motor Pulley for any damage or wear that could cause damage to the belt. We hope this helps!
See how others fixed this model. Time, tools, difficulty, and steps that lead to victory!View More
Search repair tips from other customers using simple keywords like "replace", "fit", "remove", "inspect". DIY doesn't mean you have to do it alone!
Search filter:
Clear Filter
Your search term must have 3 or more characters.
lint filter broke
485 of 498 peoplefound this instruction helpful.
Jane from Grand Forks, ND
Really Easy
Less than 15 mins
I pulled out the broken lint filter and put the new one back in, real easy. I am so happy with the prompt delivery I got from PartsSelect.com. I ordered on a Monday and and it was delivered on a Wednesday
Was this helpful?
Thank you for voting!
Dryer ran but would not heat
422 of 482 peoplefound this instruction helpful.
Gary from Haverhill, NH
Easy
30 - 60 mins
Nutdriver, Screw drivers, Socket set
PartSelect showed seven different possibilities why the dryer wouldn't heat. I removed the two screws to remove the bottom panel and turned the dryer on and noticed that the heating element that ignites the gas was working fine. This meant that it was not getting gas so it could be the gas valve or one of the two gas valve coils which are
... Read more located on top of the gas valve. I borrowed my neighbor"s ohm meter and touched the two probes on the coils terminals to check for continuity and found that one of the coils read zero. I then took both of the coils out by removing two screws and tested each coil again. One coil read 500-850 and the other read zero. This meant that it was no good so I called for the part and received it in three days. I reassembled the parts and turned the dryer on and it fired up after a few seconds. It works as good as new. The part plus shipping was less than $30. My repairman would have charged me $150-$200. While the dryer was apart I gave it a good cleaning with a vacuum and a toothbrush in delicate areas. I also removed and cleaned the lint trap housing by removing two nuts. I didn't know much about gas dryers, but thanks to PartSelect I easily fixed it myself.
Read less
Was this helpful?
Thank you for voting!
No Heat
389 of 405 peoplefound this instruction helpful.
Stan from Riverside, CA
Easy
30 - 60 mins
Screw drivers, Socket set
Lift the top. Remove (2) screws holding the front of the dryer in place. Lift the front off the 2 retaining clips on the bottom of the dryer. The hardest part of the install was removing and replacing the igniter. A couple of helping hands from the girlfriend to hold the parts in place while I replaced the two screws was very helpfull
... Read more. Installing the multi rib belt was also very easy with the help of a second pair of arms to reach under the drum to thread the belt onto the tensioner. The lint filter, of coarse was just a matter of throwing the old cracked one away and replacing w/ the new.



 My Orders