














PYET444AZW Maytag Dryer - Overview
Sections of the PYET444AZW
[Viewing 10 of 10]


.gif "SUPPLEMENTAL INFORMATION Diagram and Parts List for Maytag Dryer")


Manuals & Care Guides for PYET444AZW
Click to downloadKeep searches simple, eg. "belt" or "pump".

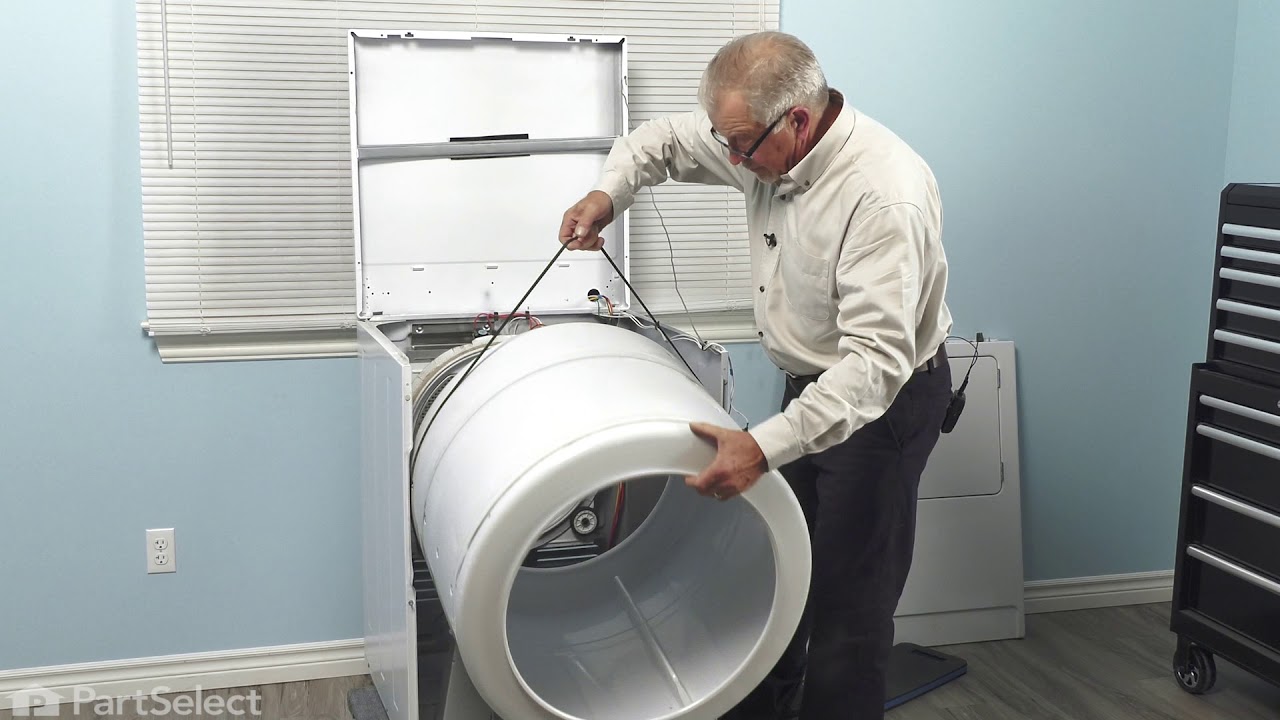
Multi Rib Belt - 92-1/4"
PartSelect #: PS346995
Manufacturer #: 341241
This dryer drum belt has four ridges, three grooves and is 1/4" wide.
$20.95
In Stock

Lint Filter
PartSelect #: PS11742807
Manufacturer #: WP53-0918
If your clothes are taking longer to dry or coming out with lint, it might be time to replace your dryer’s lint filter. This easy-to-install part catches lint and debris during each cycle, helping you...
$54.95
In Stock

Dryer Door Catch Kit
PartSelect #: PS2162263
Manufacturer #: LA-1003
This kit comes in two pieces: the catch and the clip.
$34.05
In Stock

Blower Wheel
PartSelect #: PS16221211
Manufacturer #: W11497304
This wheel has a deep D-shaped shaft receptacle. The spring clamp is not included with this part.
$81.57
In Stock

Rear Drum Support Roller Kit
PartSelect #: PS2162268
Manufacturer #: LA-1008
Included in this rear drum support roller kit are 4 screws, 1 spacers, 2 washers, 2 retaining rings, 2 rear rollers, and 2 cylinder support shafts.
*** Note: Per manufacturer this kit has been upd...
No Longer Available

Blower Wheel Clamp
PartSelect #: PS11740752
Manufacturer #: WP312967
This blower wheel clamp is less than an inch long and is used for some clothes dryers to hold the blower wheel firmly in place. This green clamp is made of metal.
$18.04
In Stock

Motor Pulley
PartSelect #: PS11740721
Manufacturer #: WP31001535
This is the replacement motor pulley for your dryer. The motor pulley transfers momentum from the drive motor to the drum via the drive belt. If the motor pulley cracks or is no longer staying on the ...
$91.90
In Stock

Dryer Screw
PartSelect #: PS11746840
Manufacturer #: WP90767
This screw is sold individually.
$9.85
In Stock

Door Seal
PartSelect #: PS11740719
Manufacturer #: WP31001529
If this part appears to be too wide for your particular appliance, per the manufacturer, all you have to do is pull it apart.
$102.52
In Stock

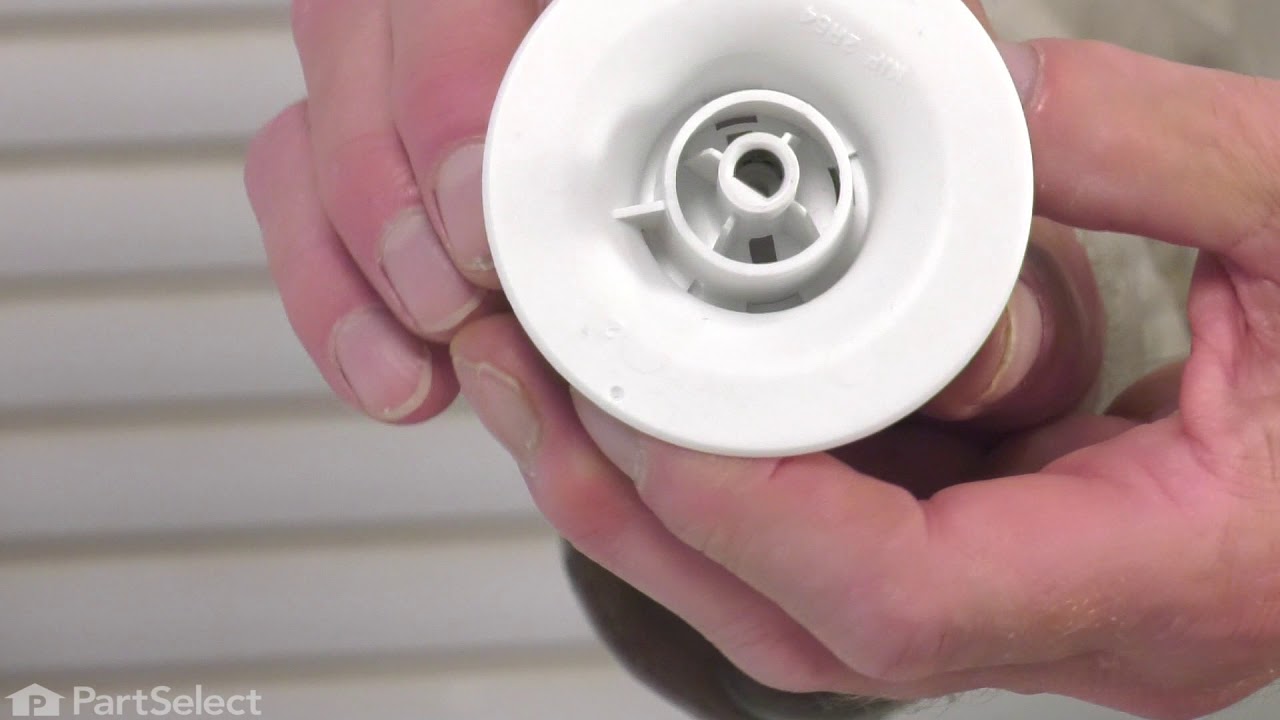
Timer Knob w/Skirt
PartSelect #: PS11741923
Manufacturer #: WP37001184
This white timer knob and skirt assembly is used with for some clothes washers and clothes dryers. The entire assembly is three inches in diameter, and it is made of plastic. There is a gray trim arou...
$63.75
In Stock

Range Screw
PartSelect #: PS11740978
Manufacturer #: WP3196164
This screw is sold individually.
$10.95
In Stock

Drum Felt Seal
PartSelect #: PS11740735
Manufacturer #: WP31001747
Depending upon your model, this seal can be used on either the front or rear drum. The hi-temp adhesive is sold separately.
$47.25
In Stock
Common Symptoms of the PYET444AZW
[Viewing 12 of 12]Noisy
Fixed by
these parts
these parts


Show All
Drum Not Spinning
Fixed by
these parts
these parts

Show All
Door won’t close
Fixed by
these parts
these parts

Show All
Heat stays on after drum has stopped
Fixed by
these parts
these parts
Show All
Too hot
Fixed by
these parts
these parts

Show All
Won’t Start
Fixed by
these parts
these parts
Show All
Not Heating
Fixed by
these parts
these parts
Show All
Door Pops Open
Fixed by
these parts
these parts
Show All
Door latch failure
Fixed by
these parts
these parts

Show All
Marks left on clothes
Fixed by
these parts
these parts

Show All
Will not agitate
Fixed by
these parts
these parts

Show All
Touchpad does not respond
Fixed by
these parts
these parts
Show All
Keep searches simple. Use keywords, e.g. "leaking", "pump", "broken" or "fit".
lint filter broke
I pulled out the broken lint filter and put the new one back in, real easy. I am so happy with the prompt delivery I got from PartsSelect.com. I ordered on a Monday and and it was delivered on a Wednesday
Parts Used:
-
Jane from Grand Forks, ND
-
Difficulty Level:Really Easy
-
Total Repair Time:Less than 15 mins
485 of 498 people
found this instruction helpful.
Was this instruction helpful to you?
Thank you for voting!
broken tumbler belt
1. Removed the screws from the lint catcher
2. Removed the bolts from upper rear of dryer
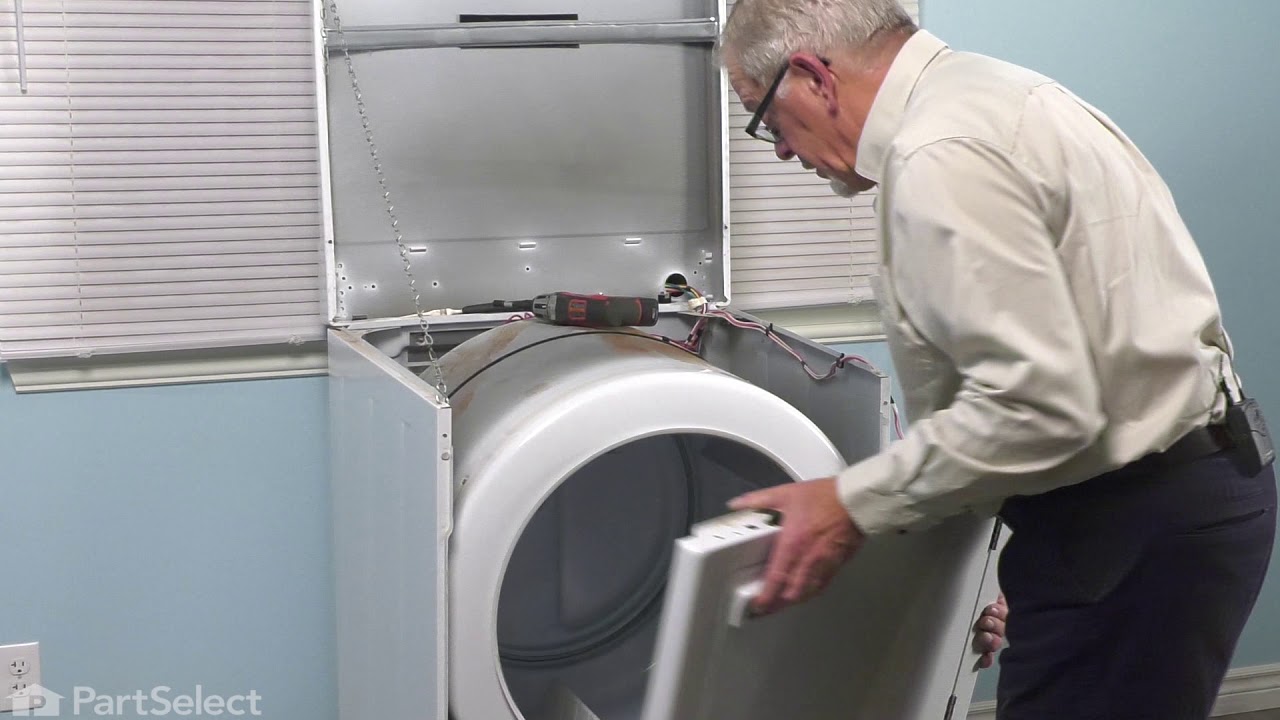
3. Pried off the dryer top from the front (it rests on rear hinges)
4. Disconnected dryer door wiring
5. Removed bolt from inside upper front corners; removed front panel (be careful: the edges are sharp and the tumbler will fall when it loses support)
6. Removed broken belt and lint from interior parts; removed tensioner (which had fallen out of place). Note: The newer models have a tensioner pulley; my older model had a smooth semicircle that was confusing at first glance
7. Flipped dryer onto its back (for easier reinsertion of new belt and tumbler)
8. Placed new belt on tumbler; reinserted tumbler
9. Inserted new belt through tensioner, inserted tensioner "legs" into grooves on floor. Note: The belt will pull the tensioner upright when it's inserted properly (which isn't obvious at first)
10. Made sure belt and tumbler seal were properly installed
11. Replaced parts in reverse order
The process took over an hour because I couldn't figure out how to insert the belt through the tensioner. The trick is to insert the folded belt through the tensioner and onto the motor pulley. If I had to do it again, it would take about 30 minutes (including cleaning lint)
2. Removed the bolts from upper rear of dryer
3. Pried off the dryer top from the front (it rests on rear hinges)
4. Disconnected dryer door wiring
5. Removed bolt from inside upper front corners; removed front panel (be careful: the edges are sharp and the tumbler will fall when it loses support)
6. Removed broken belt and lint from interior parts; removed tensioner (which had fallen out of place). Note: The newer models have a tensioner pulley; my older model had a smooth semicircle that was confusing at first glance
7. Flipped dryer onto its back (for easier reinsertion of new belt and tumbler)
8. Placed new belt on tumbler; reinserted tumbler
9. Inserted new belt through tensioner, inserted tensioner "legs" into grooves on floor. Note: The belt will pull the tensioner upright when it's inserted properly (which isn't obvious at first)
10. Made sure belt and tumbler seal were properly installed
11. Replaced parts in reverse order
The process took over an hour because I couldn't figure out how to insert the belt through the tensioner. The trick is to insert the folded belt through the tensioner and onto the motor pulley. If I had to do it again, it would take about 30 minutes (including cleaning lint)
Parts Used:

-
Michael from San Antonio, TX
-
Difficulty Level:Easy
-
Total Repair Time:30 - 60 mins
-
Tools:Screw drivers, Wrench set
145 of 165 people
found this instruction helpful.
Was this instruction helpful to you?
Thank you for voting!
broken lint filter
First went and got a beer.
Looked at the dryer.
Drank my beer.
Went and got one more, due to long job.
Looked at dryer again.
Opened the door.
Had to get one more beer.
Removed filter.
Got one more cold one.
Put new filter in.
Got one more beer.
Closed door.
Finished!
Looked at the dryer.
Drank my beer.
Went and got one more, due to long job.
Looked at dryer again.
Opened the door.
Had to get one more beer.
Removed filter.
Got one more cold one.
Put new filter in.
Got one more beer.
Closed door.
Finished!
Parts Used:
-
BRUCE from SAN MARCOS, CA
-
Difficulty Level:Really Easy
-
Total Repair Time:Less than 15 mins
145 of 219 people
found this instruction helpful.
Was this instruction helpful to you?
Thank you for voting!