














PFEF375CS3 Frigidaire Range - Overview
Sections of the PFEF375CS3
[Viewing 6 of 6]


Manuals & Care Guides for PFEF375CS3
Click to downloadManual
Owner's Manuals
(3.56MB)
Manual
Owner's Manuals
(4.59MB)
Specs
Product Specifications Sheet
(1.34MB)
Wiring
Wiring Diagram
(0.25MB)
Keep searches simple, eg. "belt" or "pump".

Temperature Sensor
PartSelect #: PS820208
Manufacturer #: 316217002
Also known as Probe. The quick connect on this part may be different than your original part. If it doesn't fit, you have to cut off the quick connect and wire together with porcelain wire nuts.
$81.59
In Stock

Light Bulb
PartSelect #: PS12751166
Manufacturer #: 316538904
This 40-watt appliance light bulb is a reliable replacement for use in select ranges, refrigerators, freezers, and microwaves. It provides bright, consistent lighting to help you see clearly inside yo...
$33.95
In Stock

Main Terminal Block Kit
PartSelect #: PS471605
Manufacturer #: 5304409888
Terminal blocks (also called terminal boards or strips) provide a convenient means of connecting individual electrical wires.
$45.61
In Stock

LENS
PartSelect #: PS16218465
Manufacturer #: 5304524341
This lens covers the interior oven light bulb.
$31.95
In Stock

Broil Element
PartSelect #: PS3506411
Manufacturer #: 318255605
This broil element is found on the roof of the oven and heats food. The most common reasons you would need to replace this part is due to the oven not giving off enough heat, not turning on, or not ba...
$224.10
In Stock


Bake Element
PartSelect #: PS978774
Manufacturer #: 318255401
Do you notice your electric oven not baking as efficiently as it once did? The Frigidaire Bake Element could be your simple solution to that problem. Its a key player in making sure your oven runs smo...
$277.50
In Stock

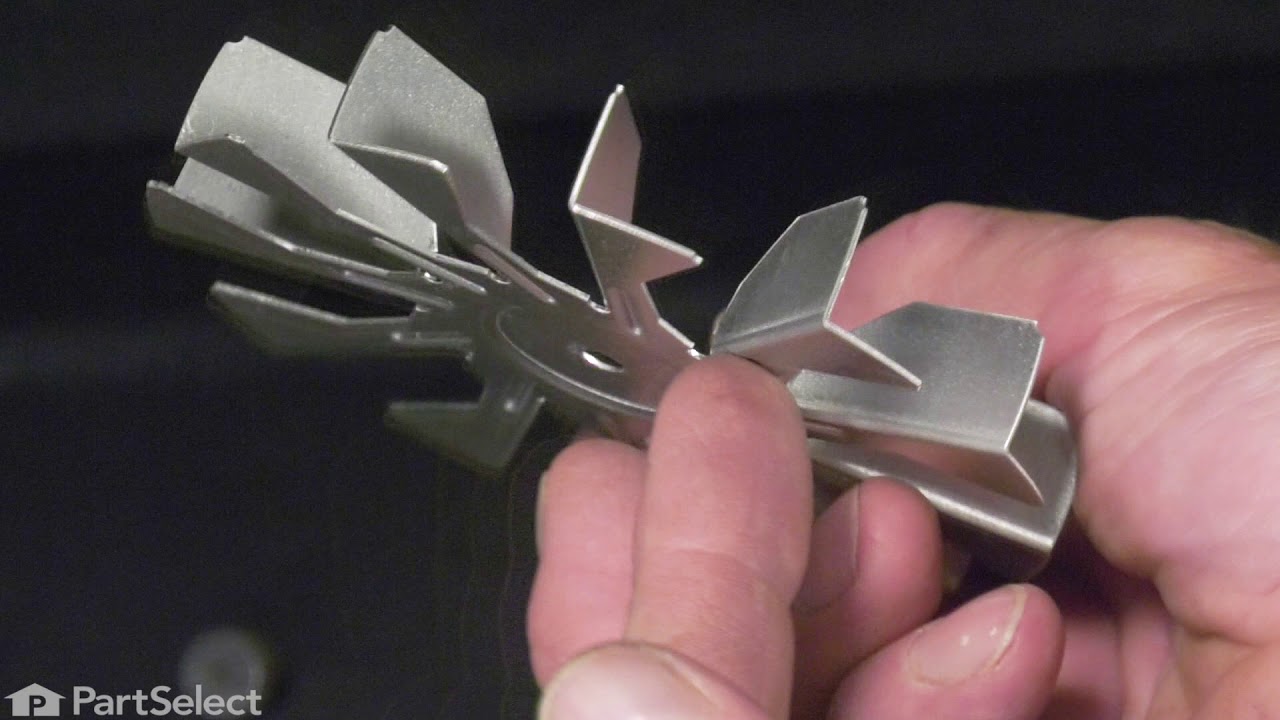
Convection Fan Blade
PartSelect #: PS3409337
Manufacturer #: 318398302
This convection fan blade is designed for use with various makes and models of range and oven and is sold as an individual part. Made of metal and measuring approximately 4.75-inches in diameter, this...
$43.07
In Stock

Drawer Body w/Roll
PartSelect #: PS11766170
Manufacturer #: 5304505701
This range utility drawer body forms the main storage compartment at the bottom of the appliance, providing a convenient space to keep cookware, baking sheets, and other kitchen essentials organized a...
$155.74
In Stock

Radiant Surface Element - Large - 2200W
PartSelect #: PS1993817
Manufacturer #: 903118-9010
Feeling frustrated by an inconsistent heat supply from your stove? Meet the Large Radiant Surface Element from Frigidaire, your secret weapon in the kitchen. This premium quality part, with its whoppi...
$306.72
In Stock

Oven Rack
PartSelect #: PS1146745
Manufacturer #: 318025314
Having trouble with your Frigidaire, Electrolux, White Westinghouse, or Tappan oven range performing below par? Our genuine Frigidaire oven rack could be just what you need to get your appliance back ...
$183.24
In Stock

Common Symptoms of the PFEF375CS3
[Viewing 8 of 8]Element will not heat
Fixed by
these parts
these parts


Show All
Little to no heat when baking
Fixed by
these parts
these parts

Show All
Oven is too hot
Fixed by
these parts
these parts
Show All
Will Not Start
Fixed by
these parts
these parts

Show All
Oven not heating evenly
Fixed by
these parts
these parts
Show All
Little to no heat when broiling
Fixed by
these parts
these parts
Show All
Door won’t close
Fixed by
these parts
these parts


Show All
Door won’t open after self cleaning cycle
Fixed by
these parts
these parts

Show All

Keep searches simple. Use keywords, e.g. "leaking", "pump", "broken" or "fit".
Oven not heating to desired temperature
Replaced clock control by removing surface burner control knobs and plastic nuts, and then the cover over the oven control. Two screw hold the clock in place, after removal and disconnecting the plug-in you can reinstall the new clock control. The Heat Sensor inside the oven will also need to be replaced. It is located inside the oven and attached with two screws; the back of the oven will need to be removed to unplug. Reverse removal procedure and turn the power back on to the stove.
Parts Used:
-
Dan from Bellevue, ID
-
Difficulty Level:Easy
-
Total Repair Time:15 - 30 mins
-
Tools:Screw drivers
155 of 242 people
found this instruction helpful.
Was this instruction helpful to you?
Thank you for voting!
Cord was not tightened enough by delivery crew.
PF alarm appeared on display. Noticed clicking when cord was moved. Had arced for some time and melted original block. New part slightly different. Only has 3 lugs, old one had six. Stack using washers provided. Take note of colors before disassembly. Use caution while working through access opening. The edges are sharp. Only tools needed are phillips screwdriver, deep socket for lug nuts. Nut driver optional. Hope this is helpful.
Parts Used:
-
Timothy from Spring Valley, AL
-
Difficulty Level:Really Easy
-
Total Repair Time:15 - 30 mins
-
Tools:Screw drivers, Socket set
109 of 174 people
found this instruction helpful.
Was this instruction helpful to you?
Thank you for voting!
Broil element wasn't working...
I pulled my unit out of the wall and noticed that the insulation around the top broiler element was a bit brown. Closer inspection revealed that the element had shorted somehow to the oven itself and caused the element to become non-functional. I tried measuring the resistance first, and it was within typical values for the other elements, but I decided to replace the element anyway.
I ordered from PD and the part arrived just a few days letter by regular shipping. I undid the screws holding in the element, undid the wire connectors and replaced the broken element with the new one. The element worked like a charm and I was back in business for cooking.
I ordered from PD and the part arrived just a few days letter by regular shipping. I undid the screws holding in the element, undid the wire connectors and replaced the broken element with the new one. The element worked like a charm and I was back in business for cooking.
Parts Used:
-
Kevin from Alexandria, VA
-
Difficulty Level:Really Easy
-
Total Repair Time:Less than 15 mins
-
Tools:Screw drivers
93 of 132 people
found this instruction helpful.
Was this instruction helpful to you?
Thank you for voting!