Models > NVLR333ET0WB

NVLR333ET0WB Hotpoint Dryer - Overview

Sections of the NVLR333ET0WB

[Viewing 4 of 4]
Keep searches simple, eg. "belt" or "pump".
D-Shaped Knob Clip – Part Number: WH01X10106
D-Shaped Knob Clip
★★★★★
★★★★★
(4)
PartSelect #: PS268493
Manufacturer #: WH01X10106
Sold individually.
$11.49
  Special Order
Door Latch – Part Number: WE1M1011
Door Latch
★★★★★
★★★★★
(2)
PartSelect #: PS3502777
Manufacturer #: WE1M1011
This part helps to keep the door closed while the machine is running.
$19.90
  Special Order
Door Strike – Part Number: WE1X1192
Door Strike
★★★★★
★★★★★
(2)
PartSelect #: PS266893
Manufacturer #: WE1X1192
TThe door strike for your dryer is mounted on the dryer frame that the door shuts onto. It fits into the door catch on the door and keeps the door closed. If the door strike is damaged or missing, the...
$12.12
  Special Order
Rear Drum Bearing Kit – Part Number: WE25M40
Rear Drum Bearing Kit
★★★★★
★★★★★
(2)
PartSelect #: PS267529
Manufacturer #: WE25M40
This rear drum bearing kit comes with a shaft, bearing and installation instructions. The bearing plate comes with a slot in it for the ground strap. Helps keep your dryer running as smoothly as poss...
  No Longer Available
Rotary Start Switch – Part Number: WE4X881
Rotary Start Switch
★★★★★
★★★★★
(1)
PartSelect #: PS268305
Manufacturer #: WE4X881
This part is used to start the dryer once you have selected a setting on the timer.
$105.01
  Special Order
Door Handle - White – Part Number: WE01X20419
Door Handle - White
PartSelect #: PS9494490
Manufacturer #: WE01X20419
This part is on the outer door of the dryer.
  No Longer Available
Drive Belt – Part Number: WE12X10014
Drive Belt
★★★★★
★★★★★
(2)
PartSelect #: PS2350043
Manufacturer #: WE12X10014
This belt has a length of 87 inches, width of 1/4”, flat, with 4 ridges.
$50.77
  Special Order
Adjustable Leveling Screw – Part Number: WE1M642
Adjustable Leveling Screw
★★★★★
★★★★★
(1)
PartSelect #: PS1021358
Manufacturer #: WE1M642
The adjustable leveling screws on the bottom of your dryer can be screwed in or out to lower or raise the leg level. If one of the leveling screws is stripped, damaged, or missing, you may not be able...
$12.28
  Special Order
Drum Slide – Part Number: WE3X87
Drum Slide
PartSelect #: PS267877
Manufacturer #: WE3X87
This slide is sold individually. Some dryers require up to three of these slides . Be sure to check to make sure you order the necessary amount for your dryer.
$19.67
  Special Order
Idler Pulley Wheel – Part Number: WE12X83
Idler Pulley Wheel
PartSelect #: PS265721
Manufacturer #: WE12X83
A dryer's idler pulley wheel serves to help the belt to rotate the drum.
  No Longer Available
Air Duct Felt Seal – Part Number: WE9M10
Air Duct Felt Seal
PartSelect #: PS268331
Manufacturer #: WE9M10
If your dryer is making a squeaking noise this seal may need to be replaced.
  No Longer Available
Blower Wheel – Part Number: WE16M15
Blower Wheel
PartSelect #: PS960003
Manufacturer #: WE16M15
This wheel attaches to the motor.
$94.56
  Special Order

Questions And Answers for NVLR333ET0WB

Ask our experts a question about this model and we'll get back to you as soon as possible!

5 questions answered by our experts.
  • 1
Sort by:
Sorry, we couldn't find any existing answers that matched.Try using some different or simpler keywords, or submit your new question by using the "Ask a Question" button above!
Linda
July 15, 2021
Start just humms. How do i take the top off?
For model number NVLR333ET0WB
PartSelect logo
Hi Linda, 
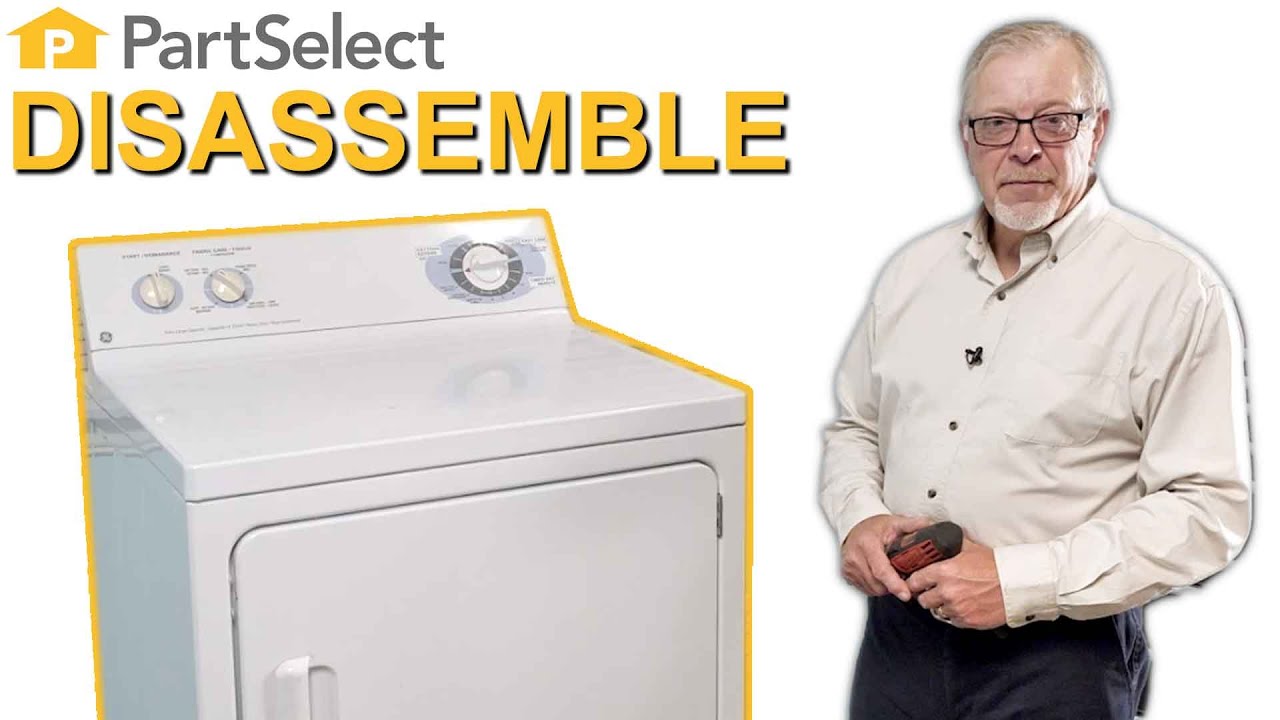
Thank you for your question. If you start the dryer and it just hums, open the dryer door and reach in and turn the dryer drum counter-clockwise a couple of times. Once you have done this, shut the door and see if the dryer starts, if it does not start, then there is an issue with the motor and it will need to be replaced. Here is a link to one of our YouTube videos that you may reference on how to disassemble a GE dryer, https://www.youtube.com/watch?v=qW8cfuUTWqk. The dryer in the video may be different from yours, but it will give you a general idea on how to remove the part. We hope this helps! Good luck with the repair!

2 people found this helpful.

Was this helpful?
Thank you for voting!
Related Parts:
Wes
February 8, 2022
How do I find out the age of my dryer serial# fs231046h
For model number NVLR333ET0WB
PartSelect logo
Hello Wes, Thank you for the question. According to the serial number this product may have been manufactured March of 1985 or 1997 or 2009 or 2021. We hope this helps!

2 people found this helpful.

Was this helpful?
Thank you for voting!
Dennis
February 28, 2023
I have a Hotpoint NVLR333ET0WB clothes dryer. It has 3 cycles. One is timed cycle with no heat and there are two auto cycles, one with med heat and one with high heat. The timed cycle works. The auto cycles no longer advance. It starts fine and heats, but it does not advance, go through cool down and shut off. It just sits where you set it and heats and spins. My guess is there is some form of humidity sensor that should tell it to advance as the clothes dry, however I cannot tell from the parts breakdown what part may be the issue. Can you help troubleshoot?
For model number NVLR333ET0WB
PartSelect logo
Hi Dennis, thank you for getting in touch. Based on our research, if your cycle does not advance after heating, it is possible that your high-limit thermostat, part number PS268083, is malfunctioning. The malfunctioning high-limit thermostat does not turn off the heat after the heat cycle and ultimately control board does not get the signal to initiate the next cycle. In this case, we have to replace the thermostat. Another probability is that the heating element, part number PS265613, is not giving an adequate amount of heat necessary to force the thermostat to cut out the excess heat from the heating element and proceed to the next cycle. If this is not the case, you may have a faulty timer, PS268298, that needs replacement. We hope this information helps!

1 person found this helpful.

Was this helpful?
Thank you for voting!
Related Parts:
BILL
November 23, 2023
The machine starts and the tumbler works, however the timer does not work and it does not heat either.
For model number NVLR333ET0WB
PartSelect logo
Hi Bill, thank you for reaching out. Based on the description that you have provided, we would recommend replacing the timer, part number PS1992601, to fix this issue. We hope this is helpful!

1 person found this helpful.

Was this helpful?
Thank you for voting!
Related Parts:
Michael
April 5, 2023
How do you put the belt on
For model number NVLR333ET0WB
PartSelect logo
Hi Michael, thank you for reaching out. First, shut off the power to the appliance. Remove the top panel with the help of a putty knife. Remove the door switch wire harness and unthread the screws securing the front panel to get access to the drive belt. Now locate the drive pulley under the bottom of the drum, the drive belt goes on the drive pulley. Remove the drive belt then install a new one. Insert a drive belt over the drum with the required position marked on the drum. Now from the bottom set the belt with the drive pulley, and make a loop in the belt to pull over the motor pulley. Attach the front panel and the top panel again. We hope this information is useful!

Was this helpful?
Thank you for voting!
  • 1

Common Symptoms of the NVLR333ET0WB

[Viewing 5 of 5]
Noisy
Fixed by
these parts
Fixing Fixing Fixing
Show All
Door won’t close
Fixed by
these parts
Fixing Fixing Fixing
Show All
Marks left on clothes
Fixed by
these parts
Fixing Fixing Fixing
Show All
Too hot
Fixed by
these parts
Fixing
Show All
Will Not Start
Fixed by
these parts
Fixing
Show All
Keep searches simple. Use keywords, e.g. "leaking", "pump", "broken" or "fit".
dryer belt broke
first I took the dryer apart 1st thing i did was unplug the power supply (safety first) then I removed the top of the unit then removed the front cleaned all the lint from the inside of the cabinet I found the proper belt size on part select.com the next day I had my dryer belt delivered (which cost 1/3 the price of the local repair shop price)
then I placed the belt over the dryer drum and made sure it was in the general location it should be I then replaced the front cover and the top. then I removed the rear cover which was held on by six 5/16 sheet metal screws which gave me access to the drive pulley and belt tensioner the belt goes on by going under the tensioner then around the drive pulley
Then i rotated the drum by hand to make sure everything had clearance I then buttend everything up plugged it and started it up it workd fine and I figure Ill get another 8 years out of it
Thank you partselect.com
Parts Used:
Drive Belt
  • Matt from La Belle, MO
  • Difficulty Level:
    A Bit Difficult
  • Total Repair Time:
    15 - 30 mins
  • Tools:
    Nutdriver, Screw drivers, Socket set
160 of 188 people found this instruction helpful.
Was this instruction helpful to you?
Thank you for voting!
Broken Knob Post
First I unplugged the dryer, then I removed the access panel on the back of the control panel. I removed the wires from the back of the switch...Here is where I messed up. I removed the switch prior to ordering the part, the bad part is the way I removed the part. When you get the new part in you will be able to see how it will be mounted to the control panel. I had no idea, so I did what was necessary to remove it. Needless to say, I bent the hell out of the hole that the switch mounts in. In turn, the installation of the new switch did not go as easily as I would have liked. After straightening out some metal and drowning the thing in epoxy, the new switch is installed. I hooked the wires back up on the back of the switch, plug in the dryer, and dry some clothes. Standing victorious over the dryer with beer in hand, not only did I accomplish the mission but I learned my lesson... destructive removal = BAD!
Parts Used:
Rotary Start Switch
  • Jaren from Lemoore, CA
  • Difficulty Level:
    A Bit Difficult
  • Total Repair Time:
    15 - 30 mins
  • Tools:
    Pliers, Screw drivers
122 of 142 people found this instruction helpful.
Was this instruction helpful to you?
Thank you for voting!
no heat
had to remove top of dryer 2 phillops screws at top in the door opening. flip top out of way take 2 screws out of insides that hold the front on. un hook all plugs and remove front of dryer. once u have did this you need to remove the drum by pulling it out of the bearing in the back un hook the belt from the motor and remove the drum this should expose the element 4 screws and 3 wire to remove it. installation is the same
Parts Used:
Heating Element Coil with Housing - 240V
  • Joshua from Cardington, OH
  • Difficulty Level:
    Very Difficult
  • Total Repair Time:
    30 - 60 mins
  • Tools:
    Nutdriver, Pliers, Screw drivers, Socket set, Wrench (Adjustable), Wrench set
108 of 134 people found this instruction helpful.
Was this instruction helpful to you?
Thank you for voting!