This 18 ml bottle of white appliance touch-up paint is used to cover scratches or marks on your appliance. The white touch-up paint can be used on refrigerators, microwaves, ranges, clothes dryers, and freezers. This is a genuine OEM part and includes a brush applicator. Please remember to wear gloves to protect your hands when applying this paint.
This is a multi-use and multi-appliance screw. It can be used on a microwave, refrigerator, range/oven, air conditioner, dehumidifier, washer, or dryer. The measurements of this screw are 8 x 1/2 inch. It has 6 threads. Refer to the manual provided by the manufacturer for further information on repair and accurate guidance. Remember to wear work gloves as a safety precaution.
This temperature sensor is for refrigerators.
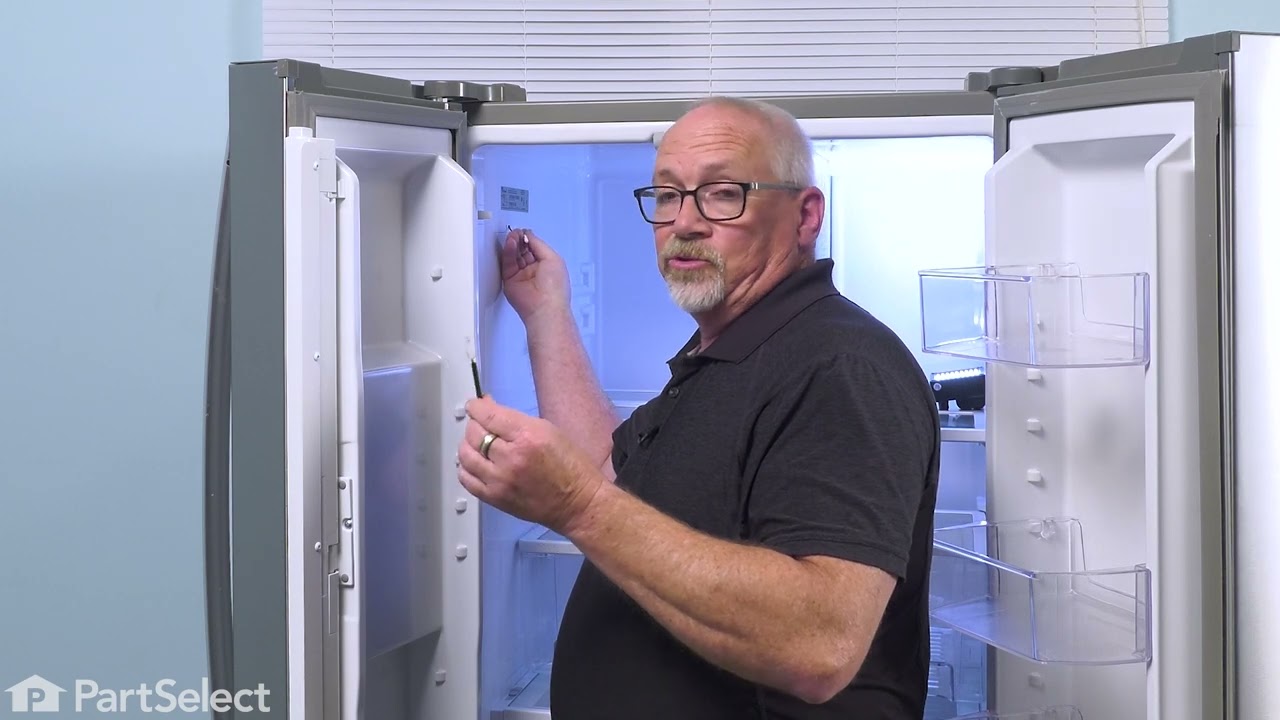
The temperature sensor senses the temperature inside the refrigerator and sends information to the electronic control.
Unplug the refrigerator and safely store any food that could deteriorate while the power is off before installing this part. Wear work gloves to protect your hands. The ...Read morethermistor itself, part WPW10383615, should test at these Ohms depending on temperature. It's recommended to test at room temperature and again in a glass of ice water to make sure it's sensing temperatures properly. So it should read around 3000 - 5000 Ohms at room temperature 7000 - 10000 Ohms at 0°C and 20000 Ohms at -15°C.
If your refrigerator or freezer is too warm, or making noises, you may need to replace the fan blade. The fan blade attaches to the evaporator motor, which is in the freezer section, to help circulate the cold air into the refrigerator and freezer sections. The fan blade is white in color and made from plastic. This is a genuine OEM part...Read more. Please be sure to disconnect the power to your refrigerator before starting your repair.
The compressor run capacitor keeps the refrigerator motor running smoothly. Be sure to unplug the appliance before installation and verify the part number for compatibility.
Need more room in your freezer? This shallow wire shelf gives you extra space to organize frozen foods and makes it easier to find what you need. It’s sturdy, coated to resist wear, and helps cold air flow better. Just slide it into place—no tools needed—and enjoy a more organized freezer.
Food that freezes in the refrigerator may point to a temperature sensor problem. The sensor works like a small thermometer by tracking the temperature inside the compartment. As the temperature changes, it sends a signal that helps the appliance control its cooling cycles. Replacement may be needed if testing shows that the sensor gives t...Read morehe wrong reading or has damaged wires. Disconnect electrical power before opening the appliance. Follow the service guide to find the correct sensor location, and make sure the plug is fully connected during installation.
This defrost heater element melts frost from the evaporator fins in refrigerators. Unplug the refrigerator before installing and wear work gloves for safety. Verify compatibility with your model.
Ask our experts a question about this model and we'll get back to you as soon as possible!
We may have answered a similar question already! Search questions and answers left by others using simple keywords like "fit", "broken", "easy", or "quality" to find questions that match.
Search filter:
Clear Filter
Your search term must have 3 or more characters.
Sort by:
Prev
1
Next
Sorry, we couldn't find any existing answers that matched.Try using some different or simpler keywords, or submit your new question by using the "Ask a Question" button above!
Mike - For model number MZF34X16DW01
March 18, 2020
I put the temp gauge to the recommended colder setting, but it keeps going back to the cold setting. Some of the products in the freezer remain soft. What can i do?
Hello, Thank you for your question. Typically it can take 24 hours for the temperature to balance out. When you are having temperature problems in your fridge, there are a few parts that could cause the issue. You can use a multi meter to test most of the parts. Make sure you cut power to your appliance before doing any repairs or tests. First you should test your defrost thermostat. Place the thermostat in ice cold water for 2-3 minutes after removing it from your appliance. It should be reading 0 ohms to be working correctly. Another part to check would be your defrost heater. Remove it from the appliance. It should be reading anywhere between 0 - 50 ohms to be working. You could check your temperature sensor. To find the correct reading for this part you will have to refer to your tech sheet that comes with your appliance. You can usually find this tech sheet behind the bottom grille of your fridge on either the right or left side. These are the most common parts that cause this issue in your appliance. So it is suggested you check them first. I hope that helps. Good luck with your repair.
1 personfound this instruction helpful.
Was this helpful?
Thank you for voting!
Stephen - For model number MZF34X16DW01
July 16, 2025
I need part # for Maytag top freezer shelf. 24.5" x 16"
Thanks
Hi Stephen, thank you for reaching out. The top freezer shelf for your model is part number PS11727909. Glad to be of help!
The Freezer was unplugged by mistake, and all the meat inside thawed. The Freezer was cleaned out of the meat, and cleaned , but when plugged in it would not start again so what could be the problem?
Hello William, thank you or your question. It the compressor will not come on, you may need to replace the Compressor start relay PS12070730. It attaches to the compressor and helps start the compressor motor. We hope this helps.
Was this helpful?
Thank you for voting!
James - For model number MZF34X16DW01
August 6, 2025
My upright freezer is not getting cold anymore. Everything is defrosting. I started at the top and now the entire appliance is warm. Is there anything they i can do to fix it?
Hello James, thank you for getting in touch. Make sure the thermostat is set to the correct temperature, around 0 °F or -18 °C. Check the door gasket, part number PS11731151, a loose or damaged gasket allows warm air to the freezer. If the freezer is over packed, it can also restrict air flow, preventing proper cooling. Clean the condenser coils, dirty condenser coils can restrict airflow and heat exchange, leading to cooling problems. Check the evaporator fan, if the fan blades are not blocked or damage, replace the fan motor, part number PS11753712. If the motor is faulty, it won't circulate cold air properly. We hope this helps.
See how others fixed this model. Time, tools, difficulty, and steps that lead to victory!View More
Search repair tips from other customers using simple keywords like "replace", "fit", "remove", "inspect". DIY doesn't mean you have to do it alone!
Search filter:
Clear Filter
Your search term must have 3 or more characters.
Scratches in Surface
83 of 227 peoplefound this instruction helpful.
Michelle from Richardson, TX
Really Easy
Less than 15 mins
This product comes in a bottle with a brush like Liquid Paper. It goes on incredibly easy. A second coat might be needed. I wanted to prevent rust from setting in so I covered the scratches and dings. The paint is a little brighter since my washer is 10 years old but it still looks great.
Was this helpful?
Thank you for voting!
The freezer wasn't defrosting.
18 of 32 peoplefound this instruction helpful.
Nancy from JAMESTOWN, NY
Very Easy
Less than 15 mins
took the old thermistor out and put the new one in.
Was this helpful?
Thank you for voting!
Fridge would not start
9 of 11 peoplefound this instruction helpful.
Glen from PT CHARLOTTE, FL
Really Easy
15 - 30 mins
Nutdriver
Unplug the fridge then wheel the refrigerator out to where you can get to the back - you will probably have to disconnect the ice maker water hose. Using the nut driver remove all the screws from the lower panel on the fridge. You will not have to remove the water hose connection just move the panel around a little. Look on the left side
... Read more(facing the back of the fridge) you will see the capacitor held onto the compressor with a spring clip. Just pull the clip toward you and that will free the capacitor. Pull up on the capacitor and that will unplug it from the compressor. Be careful not to touch the two poles on the old capacitor. Capacitors store electricity and it could give you a jolt. I used electrical tape to insulate the poles and then threw it away. Plug in the new capacitor- re-hook the clip, reinstall the back panel, plug it in and verify that the fridge is working. Hook your water hose back up and move it back into place and you are done.



 My Orders