This 18 ml bottle of white appliance touch-up paint is used to cover scratches or marks on your appliance. The white touch-up paint can be used on refrigerators, microwaves, ranges, clothes dryers, an...
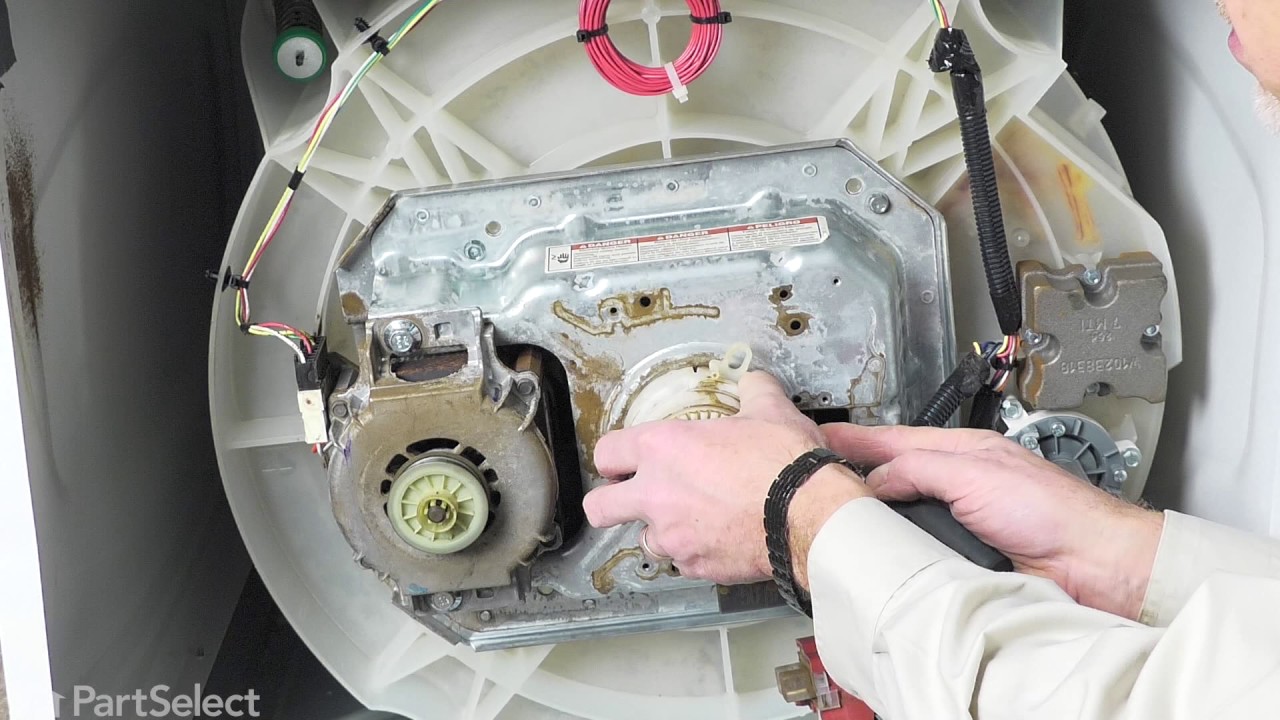
If your washer is noisy, spins slowly, or leaves clothes soaking wet, this splutch cam kit might be the fix. It helps your machine switch between washing and spinning by connecting the motor to the ba...
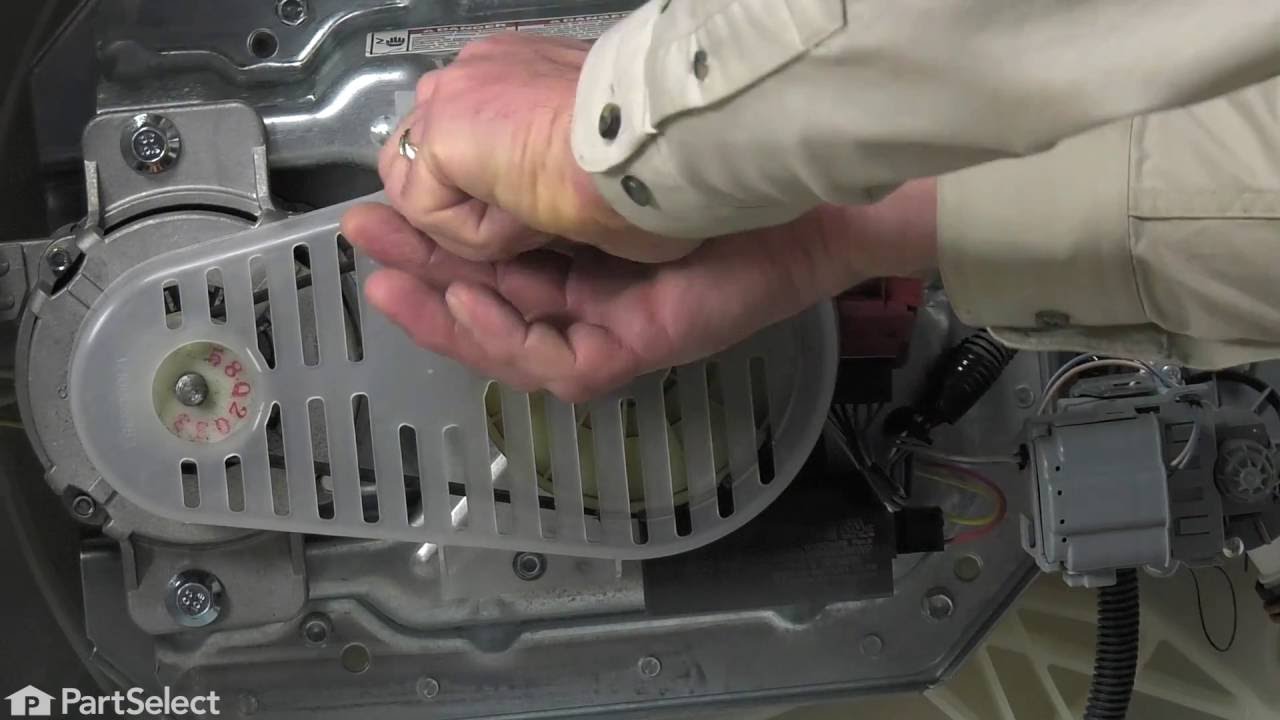
If your washer isn’t spinning or making strange noises, the drive belt might be worn out. This genuine replacement belt connects the motor to the drum, helping it spin and tumble your clothes properly...
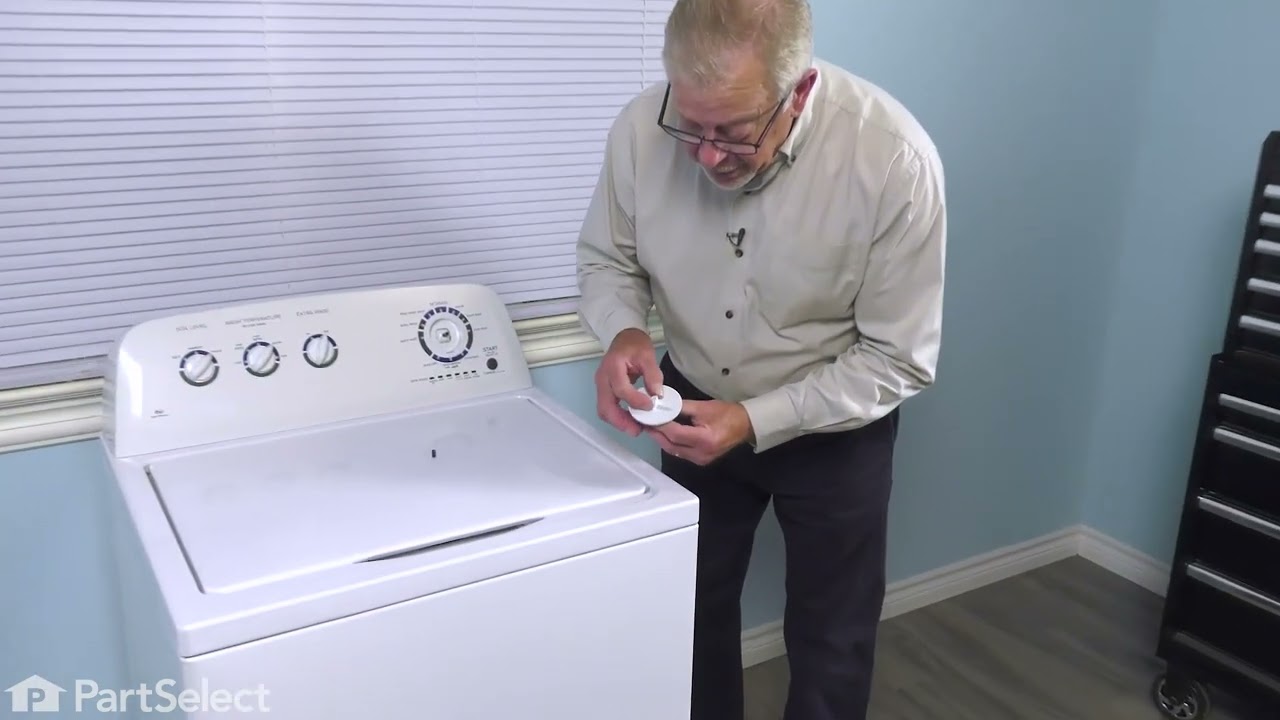
This door strike is a crucial safety component in top-load washing machines, designed to engage with the door latch and keep the lid securely closed during operation. Located along the door frame, it ...
Keep your top-load washer running safely and smoothly with this replacement lid lock assembly. It’s designed to secure the lid during active cycles, preventing interruptions and ensuring the machine o...
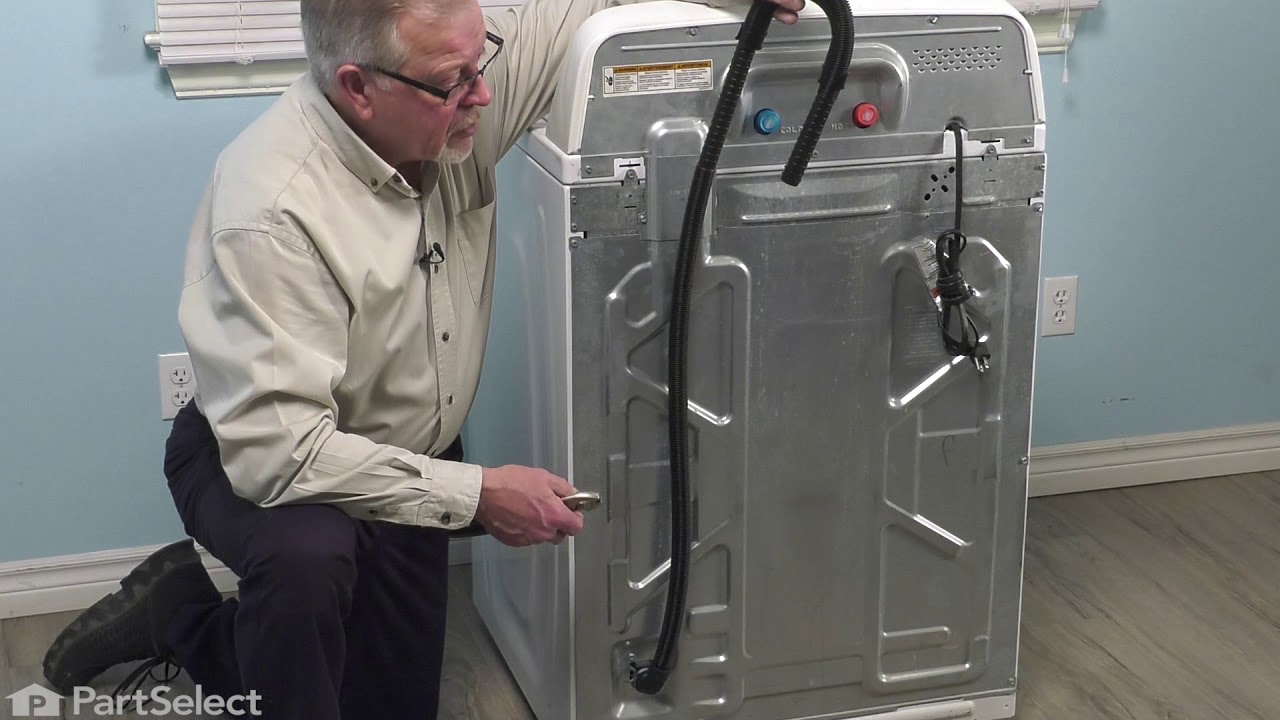
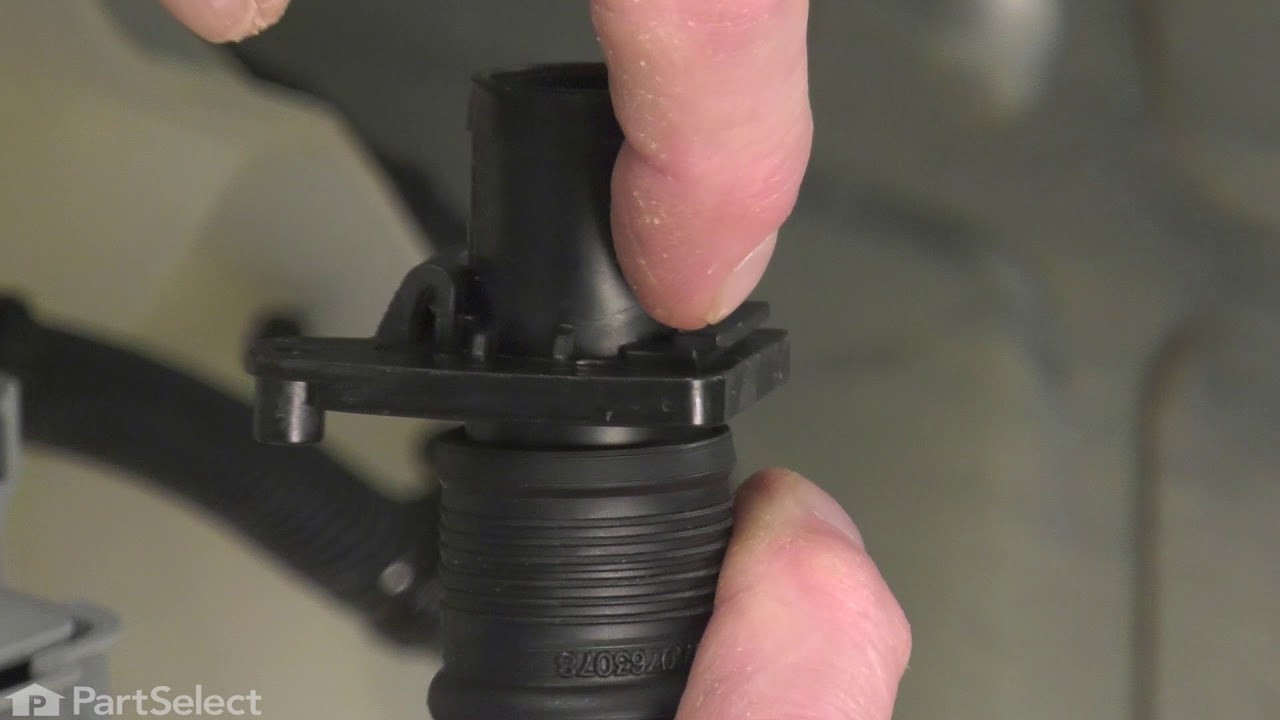
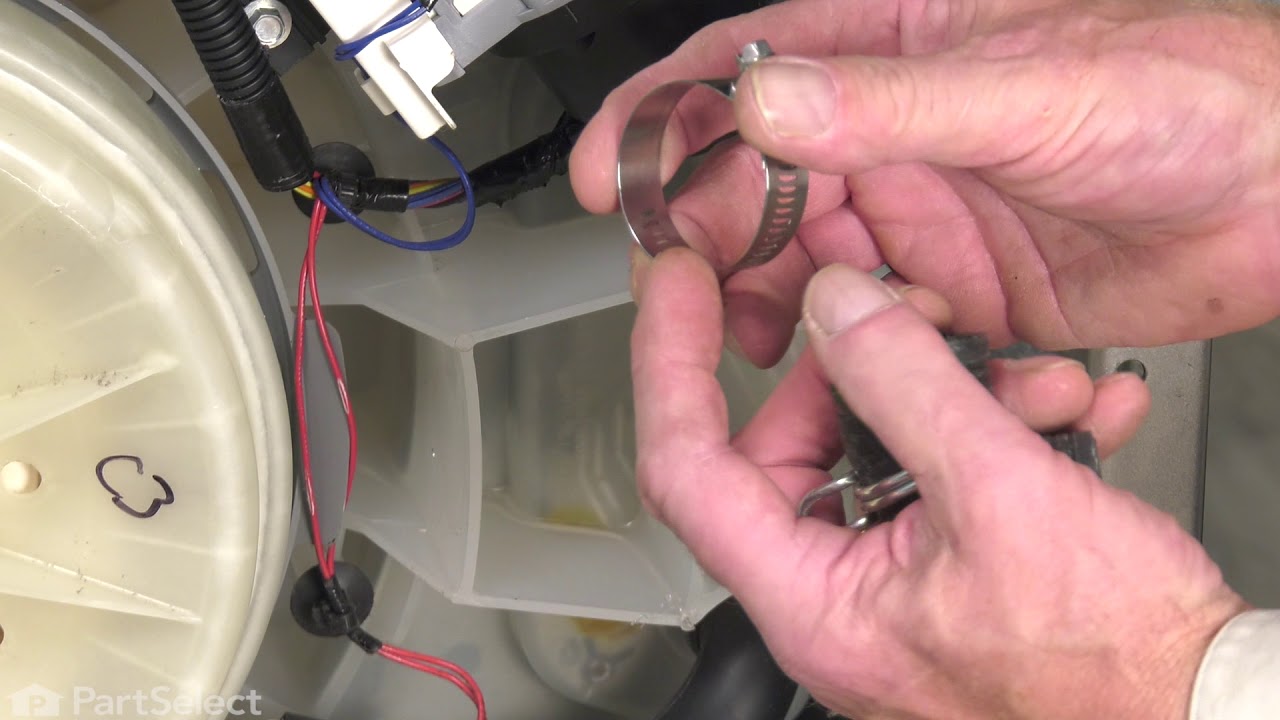
The tub-to-pump hose carries the water from the tub to the drain pump. Unplug the washer and shut off the water supply before installing this part. Wear work gloves to protect your hands
$40.37
In Stock
Questions And Answers for MVW6200KW3
Ask our experts a question about this model and we'll get back to you as soon as possible!
2 questions answered by our experts.
< Prev
1
Next >
Sort by:
Search filter:
Clear Filter
Your search term must have 3 or more characters.
Keep searches simple. Use keywords, e.g. "leaking", "pump", "broken" or "fit".
Sorry, we couldn't find any existing answers that matched.Try using some different or simpler keywords, or submit your new question by using the "Ask a Question" button above!
Wayne
April 6, 2026
The drum fills to the same water level independent of level selector setting. Could this simply be replacement of water level sensor?
For model number MVW6200KW3
Hello Wayne, thank you for reaching out. Yes, the issue could be due to a faulty water level sensor. The water level sensor for your model is integrated into the main control board. This means you cannot replace the sensor alone; you must replace the entire control board, part number PS16875537. We hope this helps!
The machine is not turning and there is power at the outlet
For model number MVW6200KW3
Hello Keon, thank you for reaching out to us. Check the lid lock assembly, part number PS17217010. If the lid lock is not engaging the machine won't agitate or spin unless lid lock confirms closed. You can test it using a multimeter, if it fails the continuity test replace it. If the lid lock assembly is working, inspect the drive motor, part number PS11770267. If the cycle starts but the drum is not spinning or the motor hums, it could be faulty and will need to be replaced. We hope this information helps!
Well, first investigated and found loose nut on drive clutch. First take off the two screws with nut drive then cover off using a screwdriver blade to snap off the cover. Then socket ratchet to take off the nut on drive clutch. take off belt by slowly rotating the drive gear. two screws that hold the electronics to the upper drive clutch and put aside, so you can snap off the cover for drive clutch on upper part with screwdriver and off the parts come and install whole unit back as took it apart. Line up the new upper clutch so that is position as was before. (Using parts diagram helps a lot as www. partsselect.com has for you or Maytag.com.) Then put the electronic part board back on and the gear and nut. Make sure it is tight by several attempts to make sure it's snugged up good and then slowly roll belt back on the pulley and motor drive. Put your cover guard back on with two screws and done.
Pushed in on door strike and rotated it counterclockwise, removed broken strike and installed new strike. NOTE: when removing the old strike (turning counterclockwise) it felt like it might break and/or was attached with an screw that I didn't see but it came right out.