














MEW7627AS00 Maytag Wall Oven - Overview
Sections of the MEW7627AS00
[Viewing 7 of 7]


Keep searches simple, eg. "belt" or "pump".

Touch-Up Paint - White
PartSelect #: PS385132
Manufacturer #: 72017
This 18 ml bottle of white appliance touch-up paint is used to cover scratches or marks on your appliance. The white touch-up paint can be used on refrigerators, microwaves, ranges, clothes dryers, an...
No Longer Available

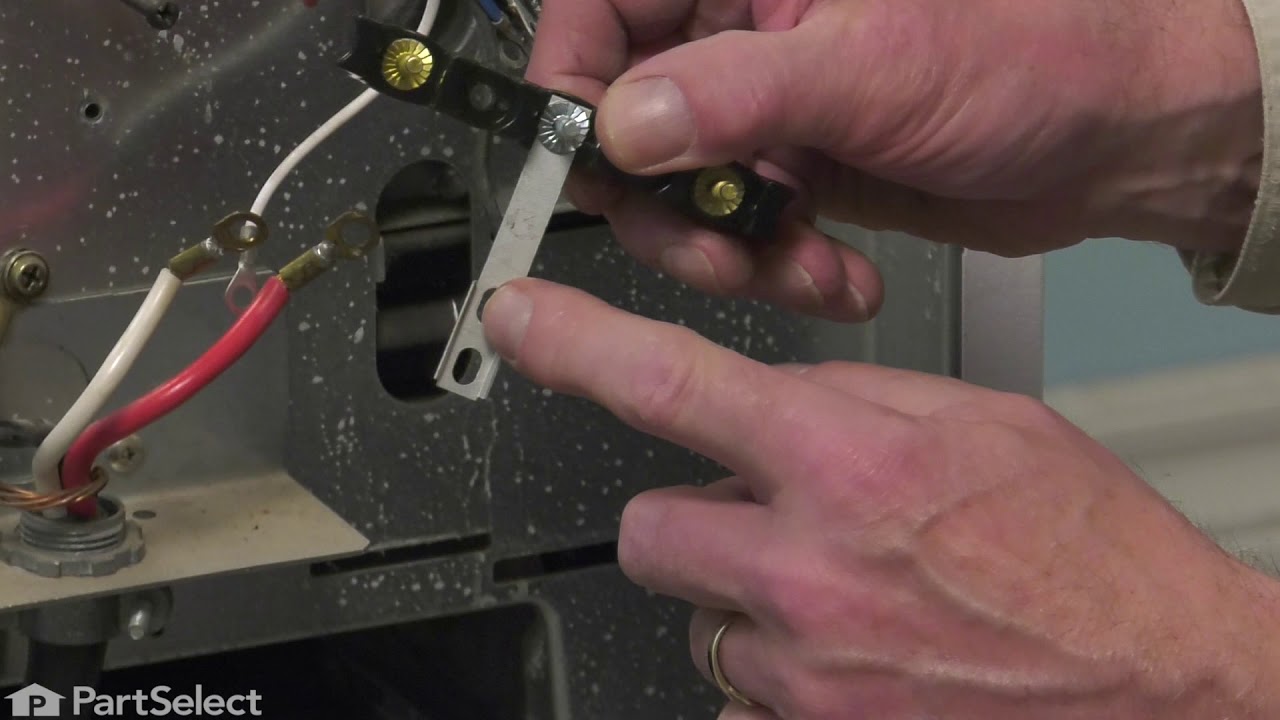
Range Terminal Block
PartSelect #: PS11750972
Manufacturer #: WPW10245259
It provides a way of connecting individual electrical wires and offers protection of the device from electrical surges (voltages and/or currents).
$39.55
In Stock


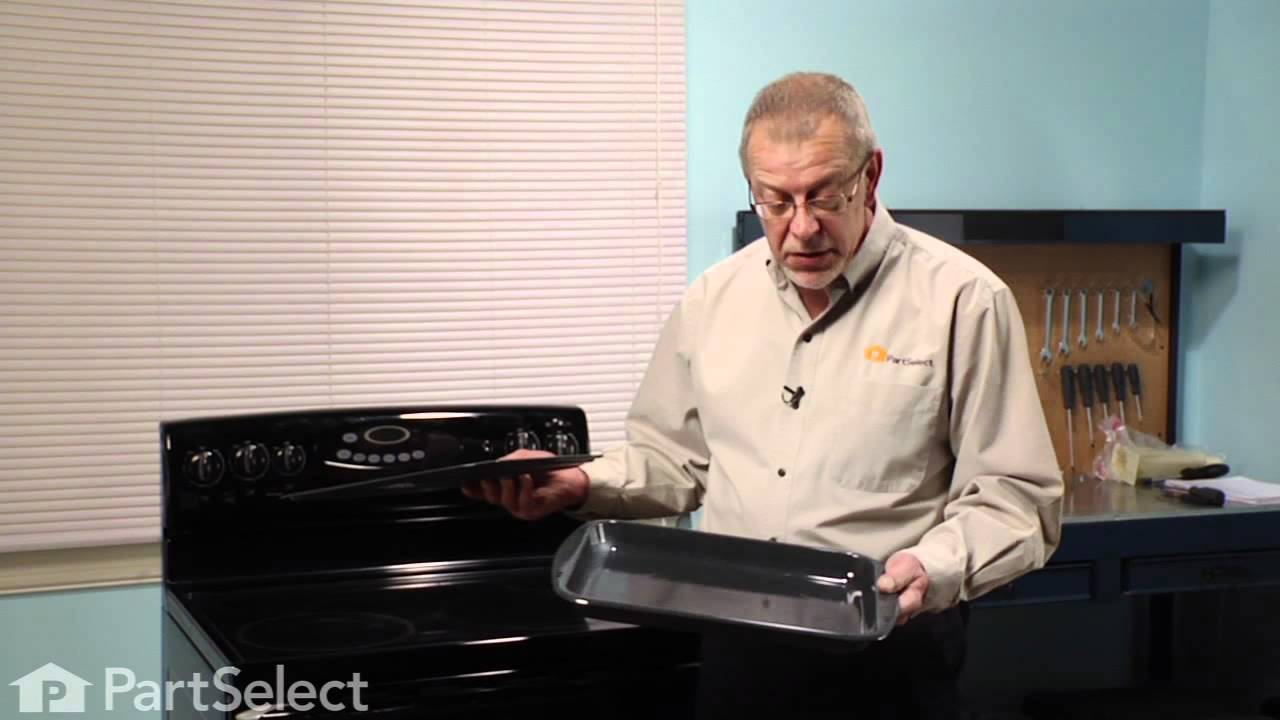
2 Piece Broiler Pan
PartSelect #: PS971245
Manufacturer #: 4396923
This broiler pan and roasting rack set features a two-piece design that allows fat to drain away for cleaner cooking and reduced splatter. Made with a durable, high-heat resistant porcelain finish, it...
$63.09
In Stock

Range Sensor
PartSelect #: PS11744233
Manufacturer #: WP74008369
This sensor detects the temperature within the oven cavity.
$153.16
In Stock

Dryer Screw
PartSelect #: PS11746840
Manufacturer #: WP90767
This screw is sold individually.
$9.85
In Stock

Thermostat
PartSelect #: PS11742549
Manufacturer #: WP4449751
If your oven isn’t heating properly or seems to be getting too hot, the high-limit thermostat might be the issue. This part helps keep things safe by shutting off the heat if the temperature gets too ...
$138.98
In Stock

Wall Oven Thermal Fuse
PartSelect #: PS11756140
Manufacturer #: WPW10545291
The thermal fuse protects the oven from damage in the event of an electrical short or overheating.
$45.05
In Stock


Screw
PartSelect #: PS11741605
Manufacturer #: WP3400832
This screw is sold individually.
$9.85
In Stock

Light Cover Lens
PartSelect #: PS11754414
Manufacturer #: WPW10412722
This oven light lens cover is a durable, heat-resistant component designed to shield the interior light bulb from heat, debris, and everyday wear while still allowing bright, clear illumination inside...
$27.95
In Stock

Broil Element
PartSelect #: PS11751382
Manufacturer #: WPW10260252
This broil element generates the high heat needed for broiling and for cooking from the top of the oven. Installed at the top of the oven cavity, it helps provide even heating for browning, roasting, ...
$129.16
In Stock
Common Symptoms of the MEW7627AS00
[Viewing 6 of 6]Will Not Start
Fixed by
these parts
these parts


Show All
Element will not heat
Fixed by
these parts
these parts

Show All
Little to no heat when baking
Fixed by
these parts
these parts

Show All
Oven not heating evenly
Fixed by
these parts
these parts
Show All
Door won’t open after self cleaning cycle
Fixed by
these parts
these parts
Show All
Touchpad does not respond
Fixed by
these parts
these parts
Show All
Keep searches simple. Use keywords, e.g. "leaking", "pump", "broken" or "fit".
Burned terminal block and filter board
Removed and replaced above named parts, rewired.Be sure to tighten all nuts that secure wires. I believe this is what caused the problem.
Parts Used:
-
Joseph from Decatur, GA
-
Difficulty Level:Easy
-
Total Repair Time:30 - 60 mins
-
Tools:Nutdriver, Screw drivers, Socket set, Wrench set
95 of 208 people
found this instruction helpful.
Was this instruction helpful to you?
Thank you for voting!
oven temp wrong
Remove the oven door. Remove 3 self tappers on rear wall of oven to take off a round access panel. Pull out a pre-cut rectangle of insulation. Next I removed the 2 screws holding the sensor in place. Pulling the sensor out a bit told me I was "touching" the correct wires in the SMALL rectangular opening. The wires are not visable and 2 hands do not fit in this small opening.I looked at the NEW sensor to see the release on the sensor plug. Slip the angled needle nose into the opening and grasp the plug/release side. The plug pulled apart easily. The sensor wire pulls out with a little bit of twisting to fit it out the hole. The new plug pushes in and has to be worked down to where you can reach it. The same angled plier works to re-attach it. It takes longer to read this than to do the job. Best of luck, Al
Parts Used:
-
Alan from Wallkill, NY
-
Difficulty Level:Easy
-
Total Repair Time:Less than 15 mins
-
Tools:Nutdriver, Pliers
12 of 13 people
found this instruction helpful.
Was this instruction helpful to you?
Thank you for voting!
Scratches in Surface
This product comes in a bottle with a brush like Liquid Paper. It goes on incredibly easy. A second coat might be needed. I wanted to prevent rust from setting in so I covered the scratches and dings. The paint is a little brighter since my washer is 10 years old but it still looks great.
Parts Used:
-
Michelle from Richardson, TX
-
Difficulty Level:Really Easy
-
Total Repair Time:Less than 15 mins
83 of 227 people
found this instruction helpful.
Was this instruction helpful to you?
Thank you for voting!