














MEW6630BAS Maytag Wall Oven - Overview
Sections of the MEW6630BAS
[Viewing 3 of 3]


Keep searches simple, eg. "belt" or "pump".

Door Hinge
PartSelect #: PS11744215
Manufacturer #: WP74008014
This hinge is located on each side of the oven door. The hinges control the rate that the oven door opens and closes, and allows the door to stay open at an angle. This hinge can be used on either the...
$172.03
In Stock

Dryer Screw
PartSelect #: PS11746840
Manufacturer #: WP90767
This screw is sold individually.
$9.85
In Stock

SEAL- DOOR
PartSelect #: PS11743859
Manufacturer #: WP71001841
This oven door gasket is designed to create a tight, heat-resistant seal around the oven door, helping to maintain consistent internal temperatures during cooking. By preventing heat from escaping, it...
$128.55
In Stock


Inner Oven Door Glass - Single Glass
PartSelect #: PS2087058
Manufacturer #: 74009648
The manufacture has substituted this part to a single piece of glass. Must use original window frame when replacing this part.
$123.50
Special Order

Door Window Gasket
PartSelect #: PS11744279
Manufacturer #: WP74009029
This door window gasket creates a secure seal around the viewing window, helping retain heat and prevent air leaks. Maintaining a proper seal improves efficiency and performance, making replacement ne...
$108.03
Special Order


Electronic Clock Assembly
PartSelect #: PS11743864
Manufacturer #: WP71001872
This part controls the functions of your oven such as bake, broil, timed bake and the clock.
$466.74
Special Order


Handle Spacer
PartSelect #: PS2093382
Manufacturer #: 8010P073-60
Sold Individually.
No Longer Available

Common Symptoms of the MEW6630BAS
[Viewing 4 of 4]Door won’t close
Fixed by
these parts
these parts


Show All
Oven not heating evenly
Fixed by
these parts
these parts
Show All
Will not program
Fixed by
these parts
these parts

Show All
Touchpad does not respond
Fixed by
these parts
these parts
Show All
Keep searches simple. Use keywords, e.g. "leaking", "pump", "broken" or "fit".
Oven door wouldn't close completely
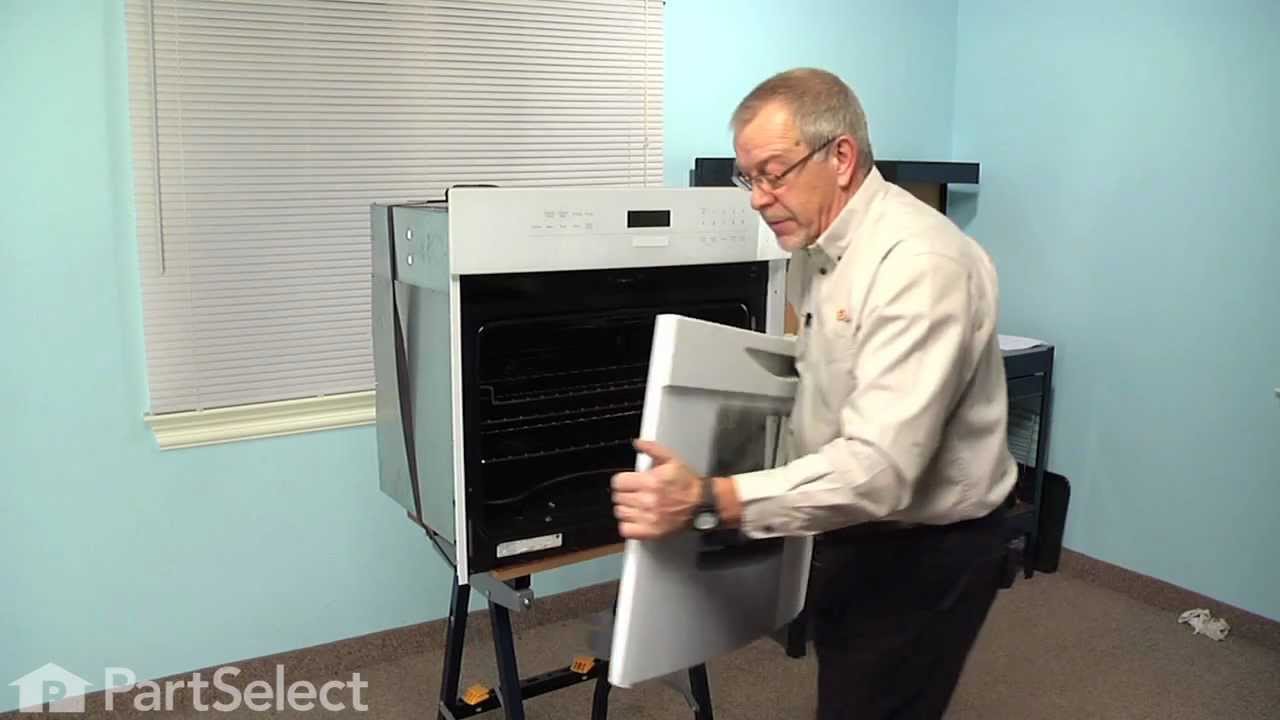
Parts arrived in three days and it was an easy swap of the hinges but the same problem still existed: the oven door wouldn't close completely, so the oven light stayed on and the convection wouldn't work either unless the door closed all the way. The replacement hinge's springs apparently aren't strong enough to close it and the springs aren't adjustable - which is a design flaw. I did correct the problem though, by using three dollars worth of 1" round magnets, which I placed inside the door: they stay put and are strong enough to pull the door tight.
Parts Used:
-
William from Statesville, NC
-
Difficulty Level:Easy
-
Total Repair Time:15 - 30 mins
-
Tools:Screw drivers
61 of 73 people
found this instruction helpful.
Was this instruction helpful to you?
Thank you for voting!
Dim display
This is a Jenn-Air double oven. Turned off circuit breaker to the oven. Removed 7 screws that hold the top panel in place. Removed 3 cable/connectors from the clock module so panel can be removed from oven and placed on a table. Unscrew 4 hex head screws attaching clock module to front panel. Press on two tabs and remove circuit board from plastic frame. Replace with new board reversing dis-assembly sequence.
After examining the old board I discovered that the 470 microfarad aluminum electrolytic capacitor (in the corner) was badly deformed. I replaced this. Now I have a spare board. I believe that the failure (common in Jenn-Air ovens) starts with a transient on the power line (it did with mine). This damages the capacitor which progressively gets worse. This capacitor probably acts as a low pass filter on the power supply for the display. If any of you are into electronics, I would suggest wiring a zener diode across the capacitor to suppress transients. I wish the Jenn-Air engineers had put this in the design. It would have avoided a lot of costly repairs and saved them the bad reputation that they have as a result of this board failing over and over again.
After examining the old board I discovered that the 470 microfarad aluminum electrolytic capacitor (in the corner) was badly deformed. I replaced this. Now I have a spare board. I believe that the failure (common in Jenn-Air ovens) starts with a transient on the power line (it did with mine). This damages the capacitor which progressively gets worse. This capacitor probably acts as a low pass filter on the power supply for the display. If any of you are into electronics, I would suggest wiring a zener diode across the capacitor to suppress transients. I wish the Jenn-Air engineers had put this in the design. It would have avoided a lot of costly repairs and saved them the bad reputation that they have as a result of this board failing over and over again.
Parts Used:
-
Gregory from Ann Arbor, MI
-
Difficulty Level:Really Easy
-
Total Repair Time:Less than 15 mins
-
Tools:Screw drivers, Socket set
29 of 31 people
found this instruction helpful.
Was this instruction helpful to you?
Thank you for voting!
The oven door outer glass was shattered
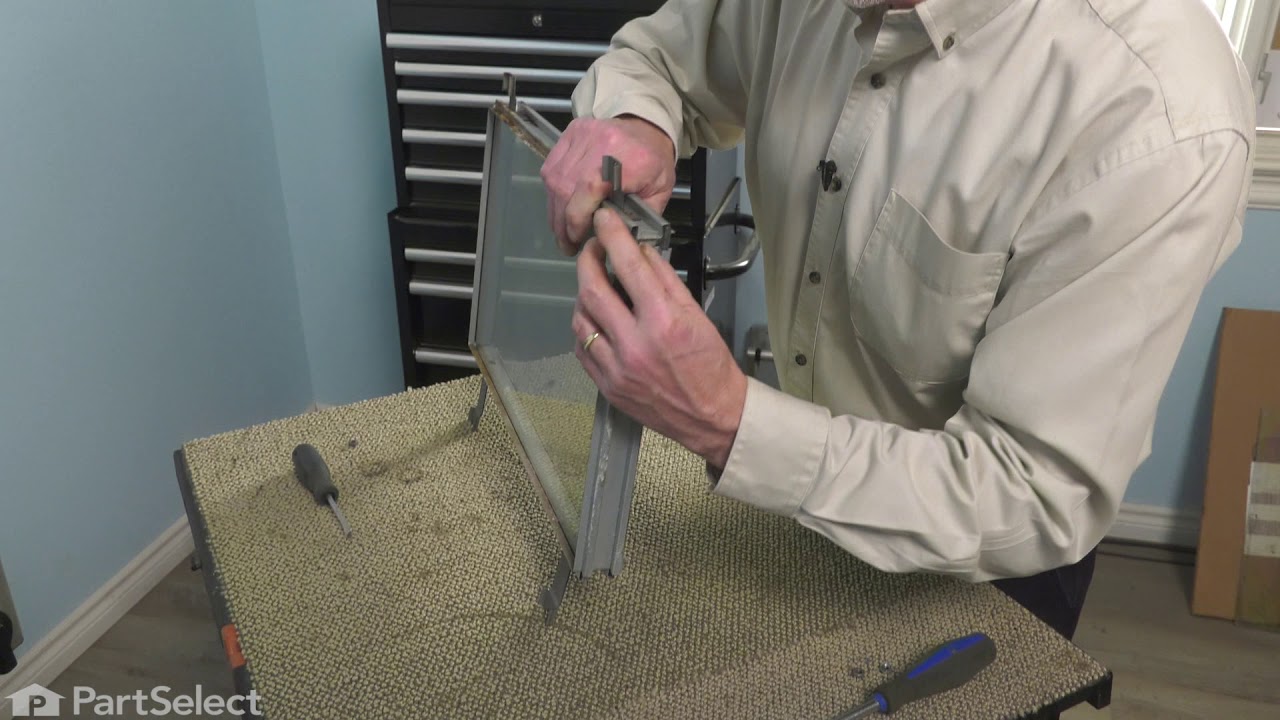
I ordered the door glass from Part Select, which arrived quickly and in good condition. I loosened two sets of screws under the bottom glass holder frame, removed three screws at the top of the door to give more room. Slid the glass in place, re-installed and tightened the screws.The stove door looks great and works great. Great customer service too.
Parts Used:
-
William from El Paso, TX
-
Difficulty Level:Easy
-
Total Repair Time:Less than 15 mins
-
Tools:Screw drivers
23 of 27 people
found this instruction helpful.
Was this instruction helpful to you?
Thank you for voting!