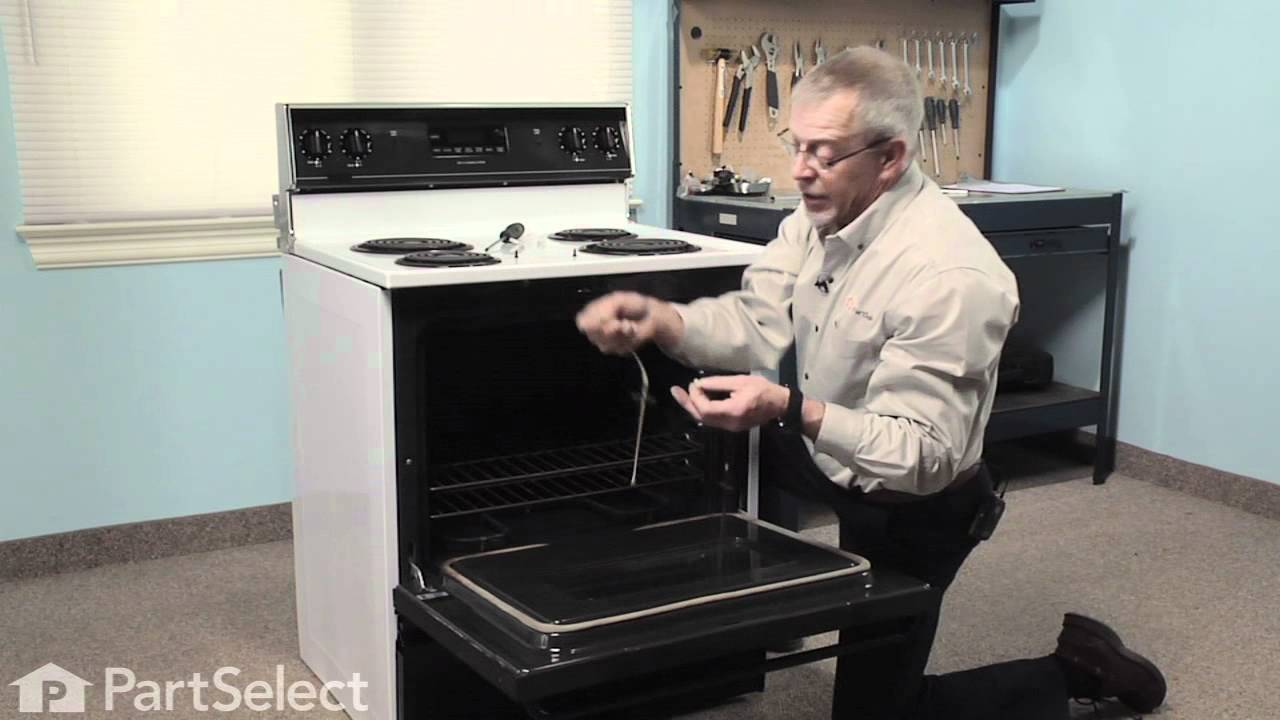
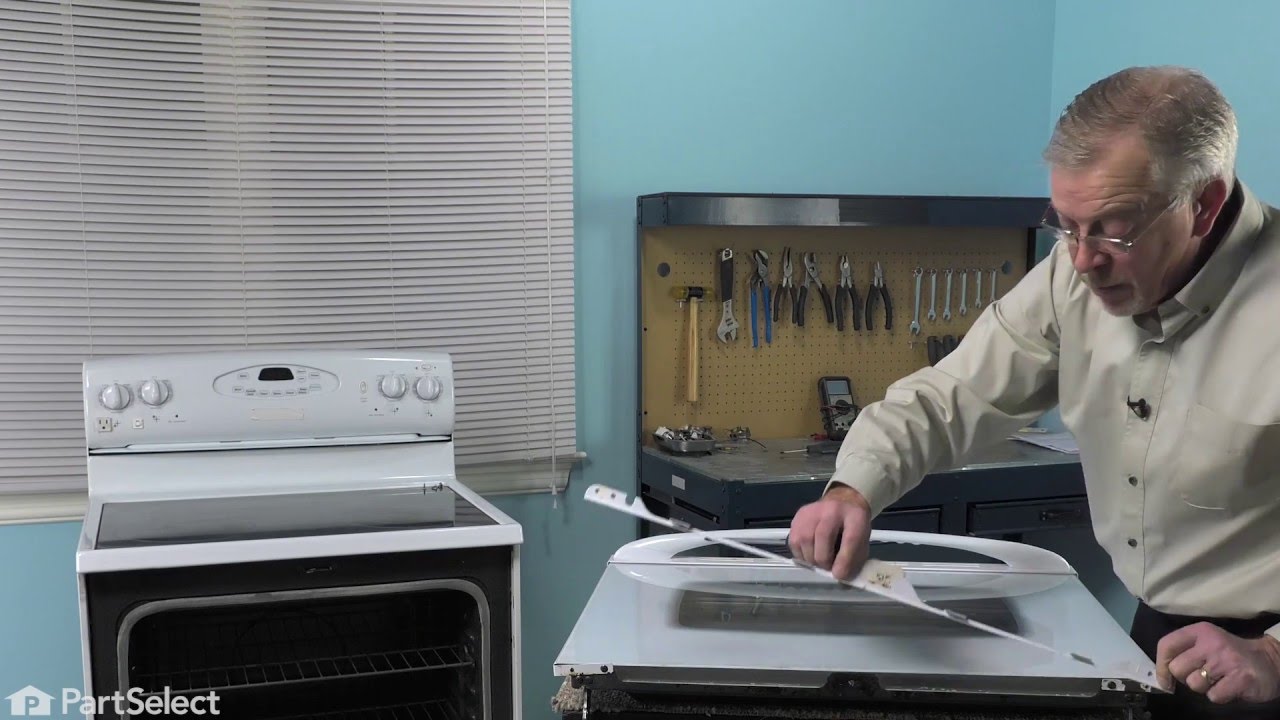
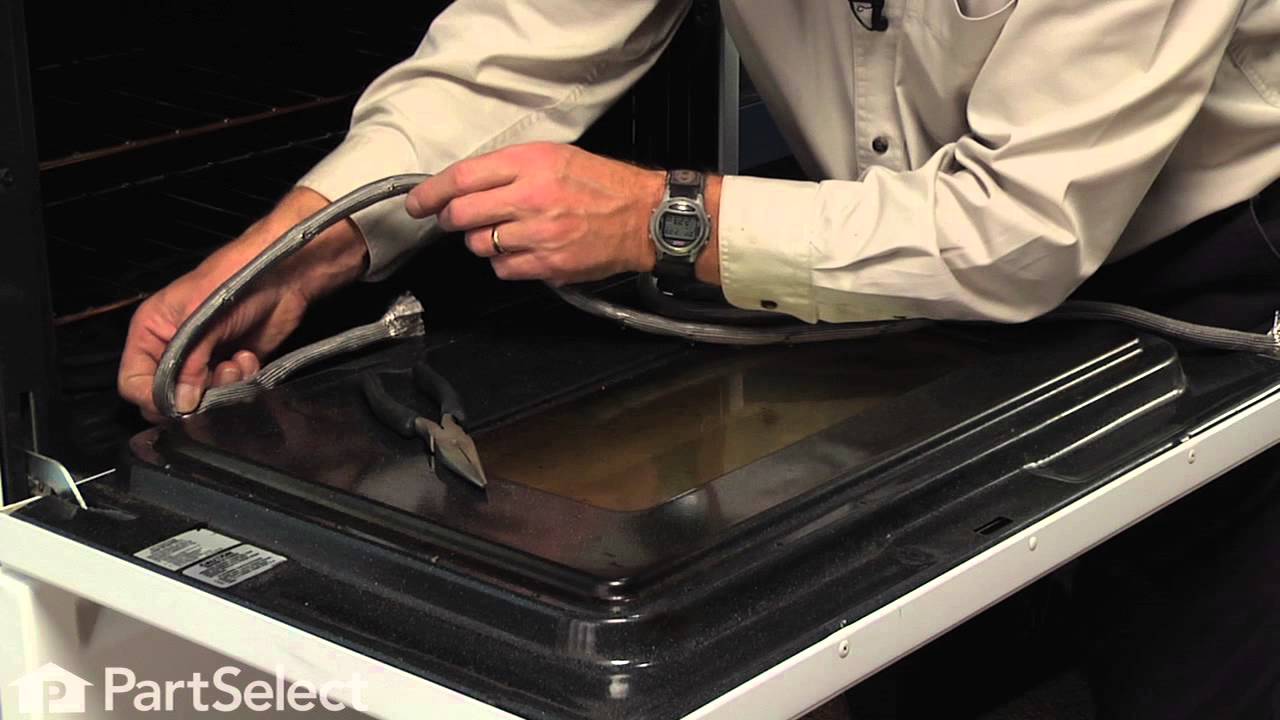
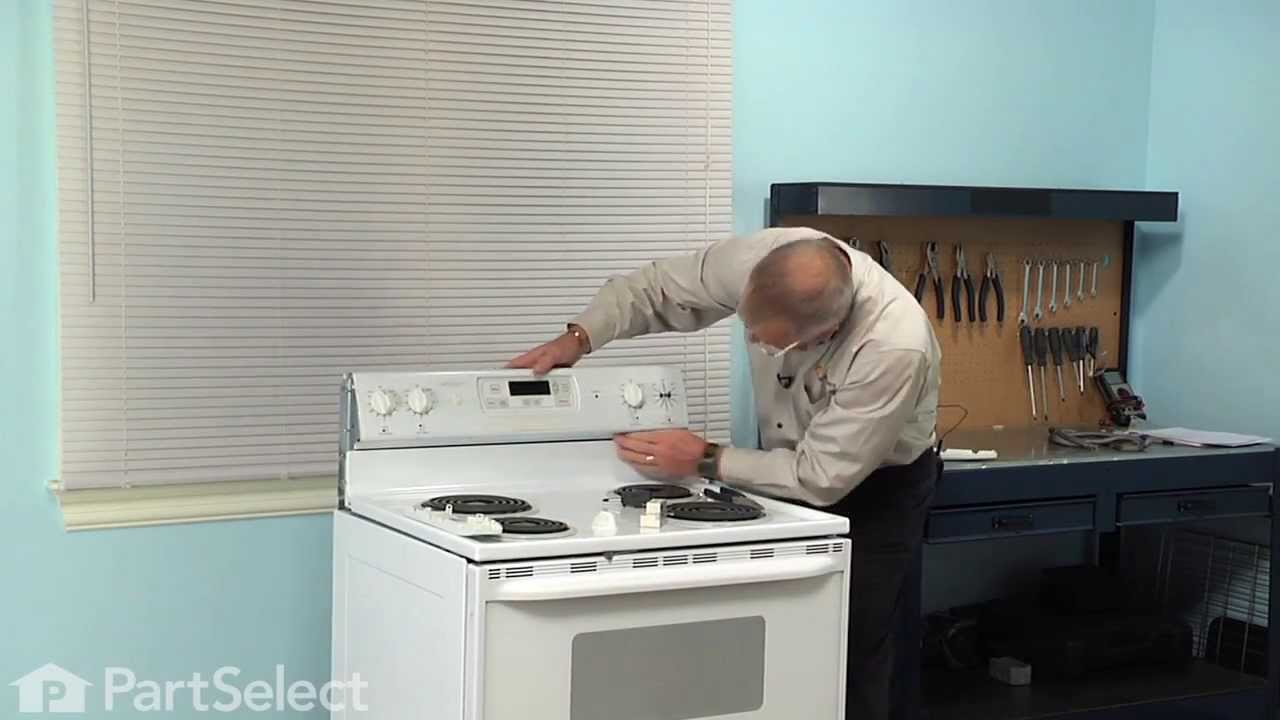
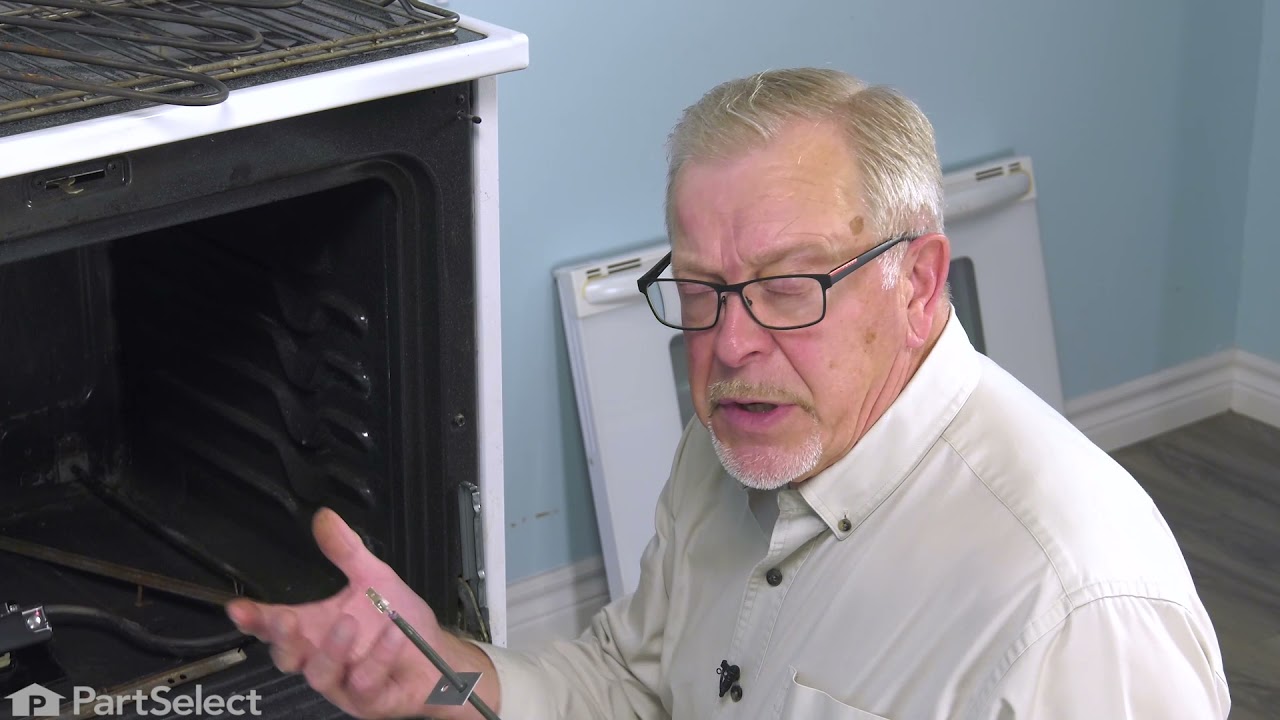
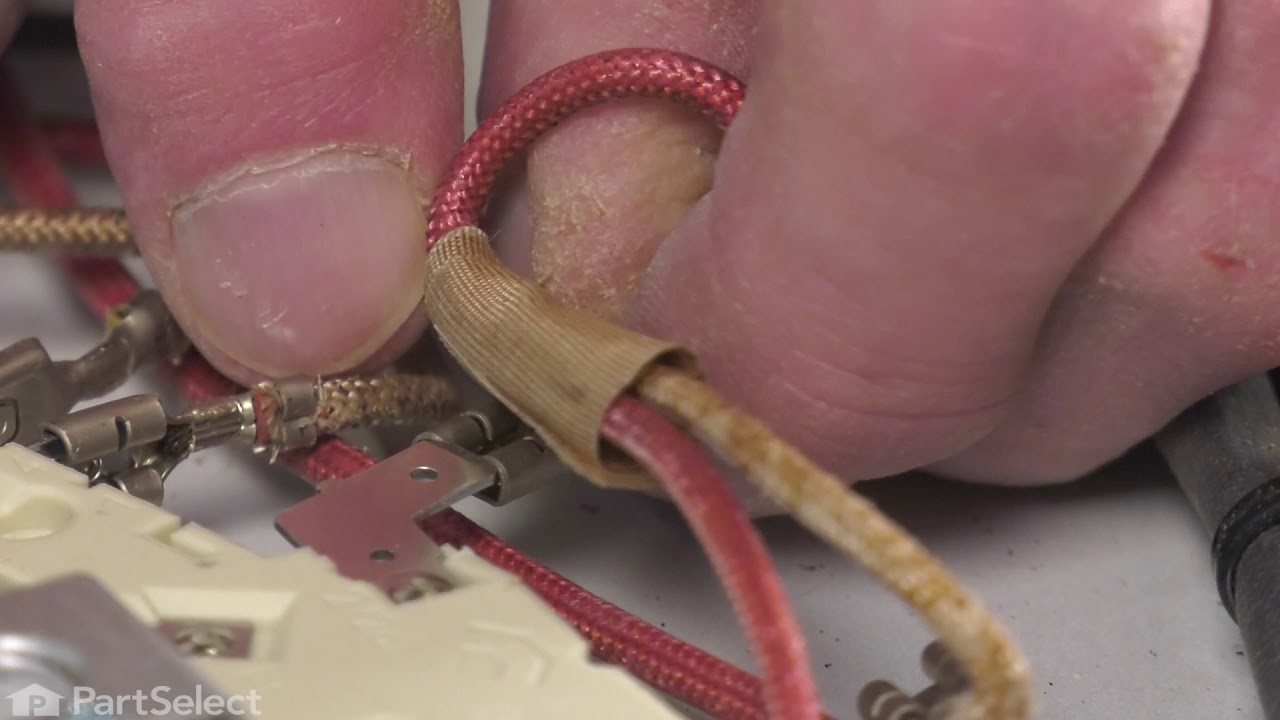
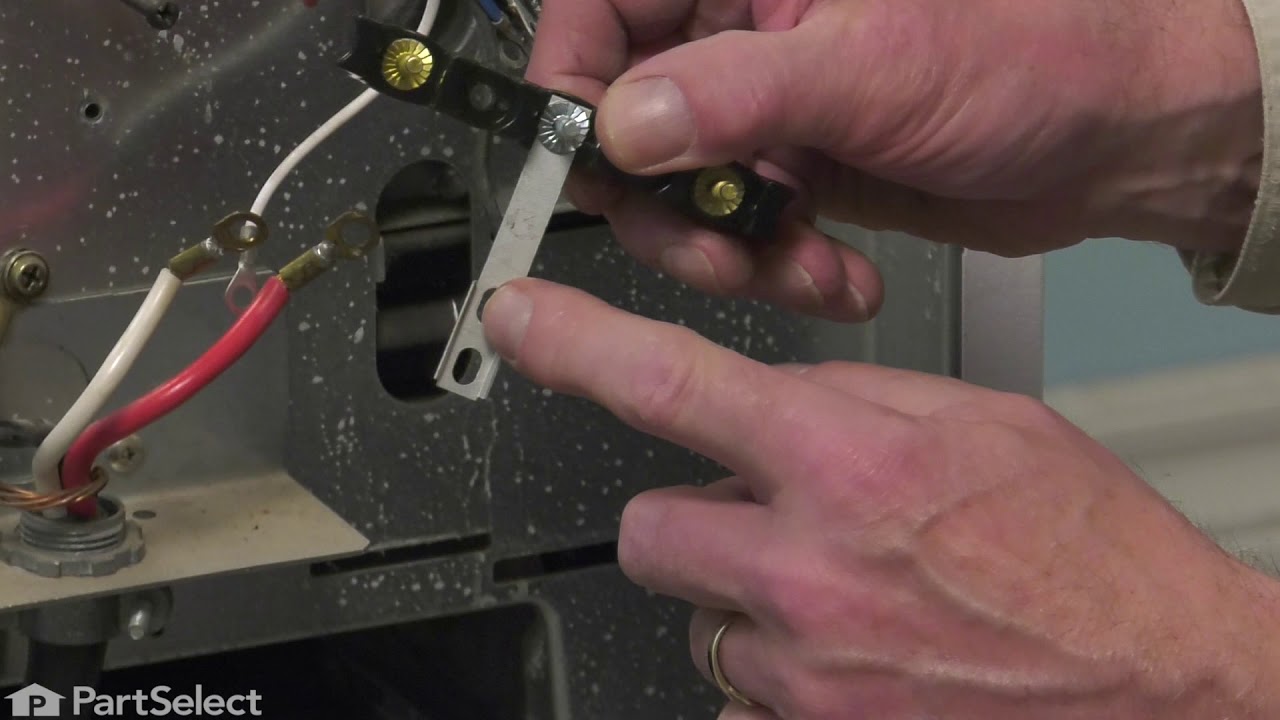
This lower bake element provides consistent heat for baking in select Whirlpool, KitchenAid, Maytag, Jenn-Air, Amana, Inglis, and Magic Chef ovens. Measuring 18 7/8" x 15 7/8", it features spade conne...
The oven sensor detects the temperature within the oven cavity and sends the information to the control board. If your oven is not heating evenly, has little or no heat when baking, or is too hot, you...
This part is a replacement halogen lamp for your oven. The bulb is 25 watts and 120 volts. If your light bulb is burned out, this is the part that replaces it. Be sure to turn off power to your range ...
This is a multi-use and multi-appliance screw. It can be used on a microwave, refrigerator, range/oven, air conditioner, dehumidifier, washer, or dryer. The measurements of this screw are 8 x 1/2 inch...
The Dual Radiant Surface Element with Limiter is an OEM replacement designed to efficiently distribute heat across the cooking surface of ranges. Equipped with a limiter for safety, it prevents overhe...
Keep your oven safe and functional with this replacement interior door glass, the heat-resistant panel that lines the inside of your oven door. With dimensions of approximately 20 5/8" x 13 1/8", it f...
This is a replacement screw and washer for your oven/range. It is a Phillips-head screw approximately half an inch long, and the washer is approximately 1 inch in diameter. The screw attaches the oven...
It provides a way of connecting individual electrical wires and offers protection of the device from electrical surges (voltages and/or currents).
$41.51
In Stock
Questions And Answers for MER6772BAW
Ask our experts a question about this model and we'll get back to you as soon as possible!
3 questions answered by our experts.
< Prev
1
Next >
Sort by:
Search filter:
Clear Filter
Your search term must have 3 or more characters.
Keep searches simple. Use keywords, e.g. "leaking", "pump", "broken" or "fit".
Sorry, we couldn't find any existing answers that matched.Try using some different or simpler keywords, or submit your new question by using the "Ask a Question" button above!
FRANK
January 8, 2020
Upper oven light will not turn off. Tried shutting down power by turning off at breaker, waiting 60 seconds, then restored power. Light remained on. Tried opening door and holding in sensor button on panel, light stayed on. Replaced the control panel about 2-3 years ago. All has been working fine since then until recent light problem.
For model number MER6772BAW
Hello FRANK and thank you for writing.
Possible Cause: Unseated Door
If the oven door does not connect with the door light switch, the oven light will stay on. To test, open the oven door and press the door light switch. If the light turns off, the door will need to be adjusted. If it does not the switch might be defective. We hope this helps. Please contact us anytime if you require further assistance.
1 personfound this helpful.
Was this helpful?
Thank you for voting!
Claudette
December 14, 2021
The original part I'm looking for is 7403052460 (switch ignition) but it seems that it’s discontinued. Which part is replacing it. Maytag Gemini stove range.
For model number MER6772BAW
Hello Claudette, Thank you for the question. The 7403052460 is not showing to be a valid part number. If you need the switch to control the Dual Element you will need Part #: PS11744018. The Switch for the Small Element is Part #: PS11744486 and the Large Element Switch is Part #: PS11744487. If you need help placing an order, customer service is open 7 days a week. Please feel free to give us a call. We look forward to hearing from you!
After replacing the bottom oven baking element, it still will not heat up. The broiling element works fine. The control panel says it's on, but it doesn't work. Any ideas?
For model number MER6772BAW
Hello F, thank you for your question. Our two recommendations are the temperature sensors PS1570174 and PS11744537 and the control board PS2357564. If you need help placing an order, customer service is open 7 days a week. Please feel free to give us a call. We look forward to hearing from you.
Was this helpful?
Thank you for voting!
< Prev
1
Next >
✖
Ask a Question
Ask our experts a question on this model and we'll respond as soon as we can.
Removed the oven door by opening slightly, then pic door up to remove. Remove 2 screws holding oven sensor in place, gently pull on sensor to remove, had to remove about 8 inches to get at plastic connector. Unplug connector, had to use an adapter cable supplied with the PartSelect kit to install new sensor, push cable back into opening, reinstall 2 screws. The oven works fine! Note that due to thermal lag the temperature overshoots to 370 degrees and undershoots to 340 degrees, this appears to be normal oven operation. Putting door back in place was easy.
This particular model has a bracket that holds the element close to the oven ceiling, so I had to unscrew that as well as the element mounting screws on the back oven wall. The hardest part (not that hard) was the connectors were really tightly clamped to the element terminal. I had to use pliers to help wiggle them off the tips. Recommend doing this very gently yet firmly - I was worried about ruining the connectors or the wires to the oven. The element was deader than dead and actually fell apart in three places once it was detached. The new replacement element arrived a couple days later. Putting it in was a breeze, although the oven is quite dark and I needed Mrs. Handyman to hold a flashlight so I could get the screws in. Oven works fine now.
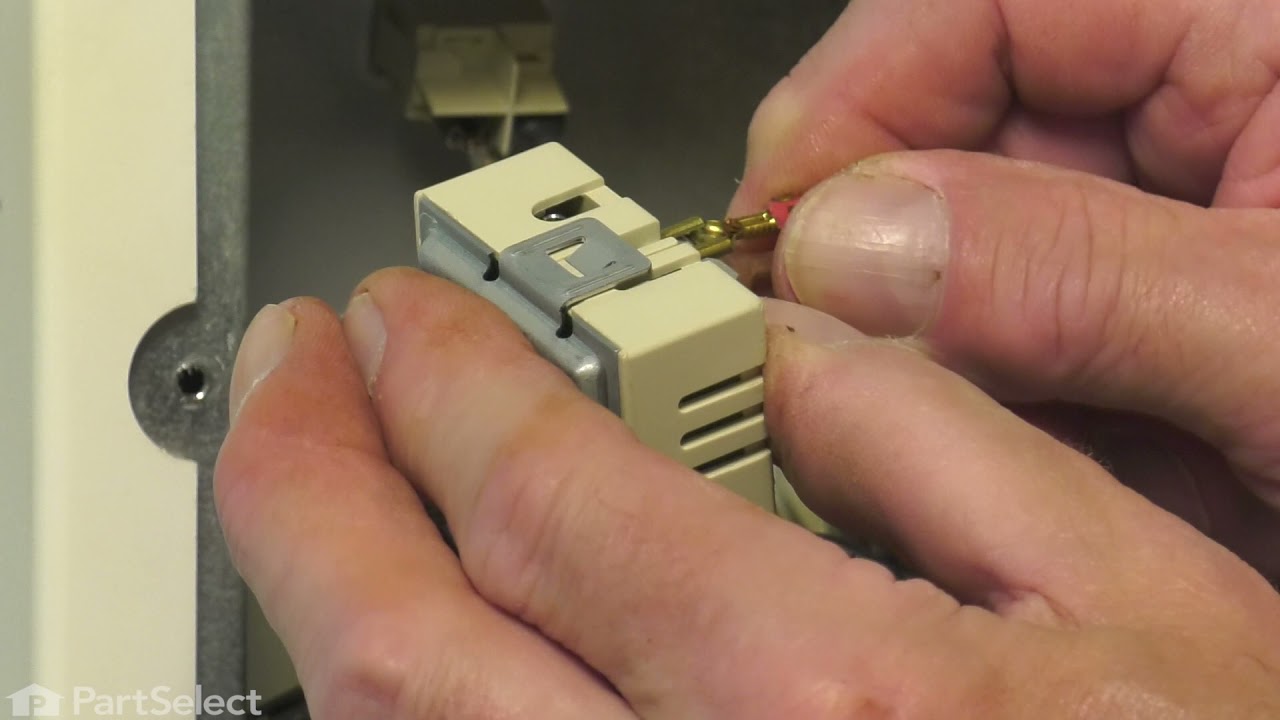
Moved the Appliance out unplugged it and removed the backing plate then Remove the Knob and unscrew the infinite switch then marking the 5 wires to know where the go on the new switch, removing and replaced it with the new one