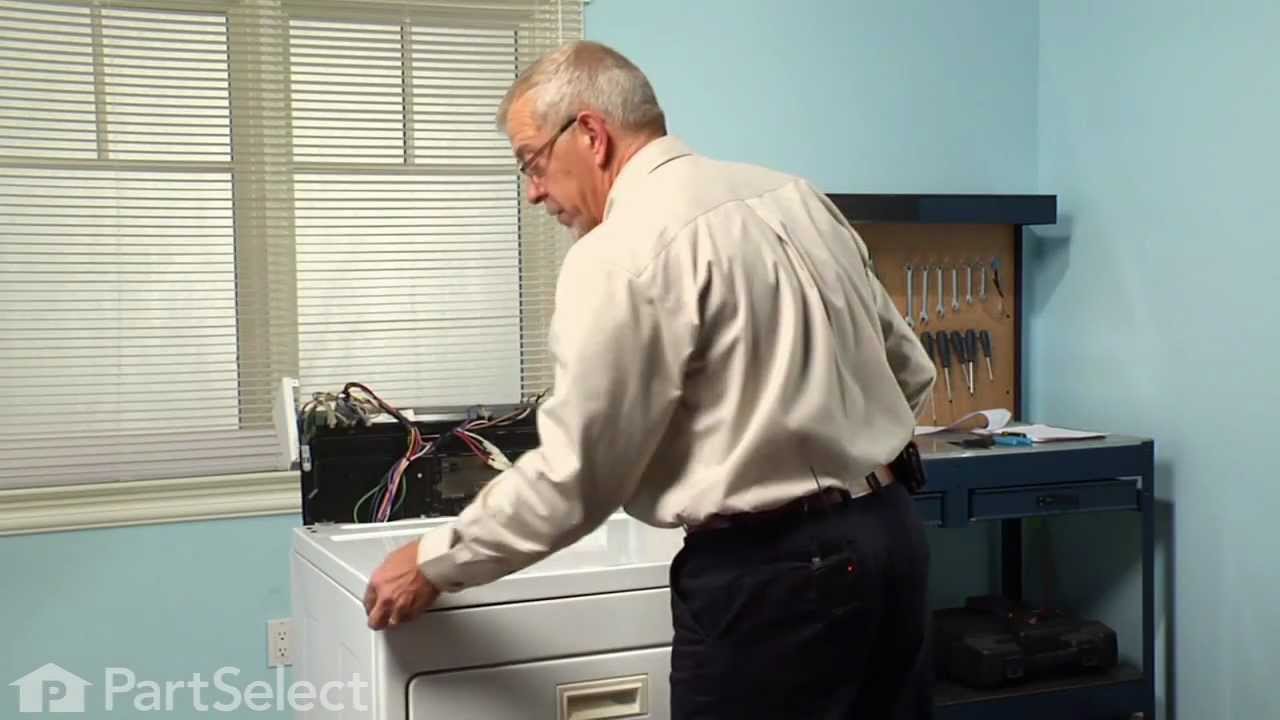
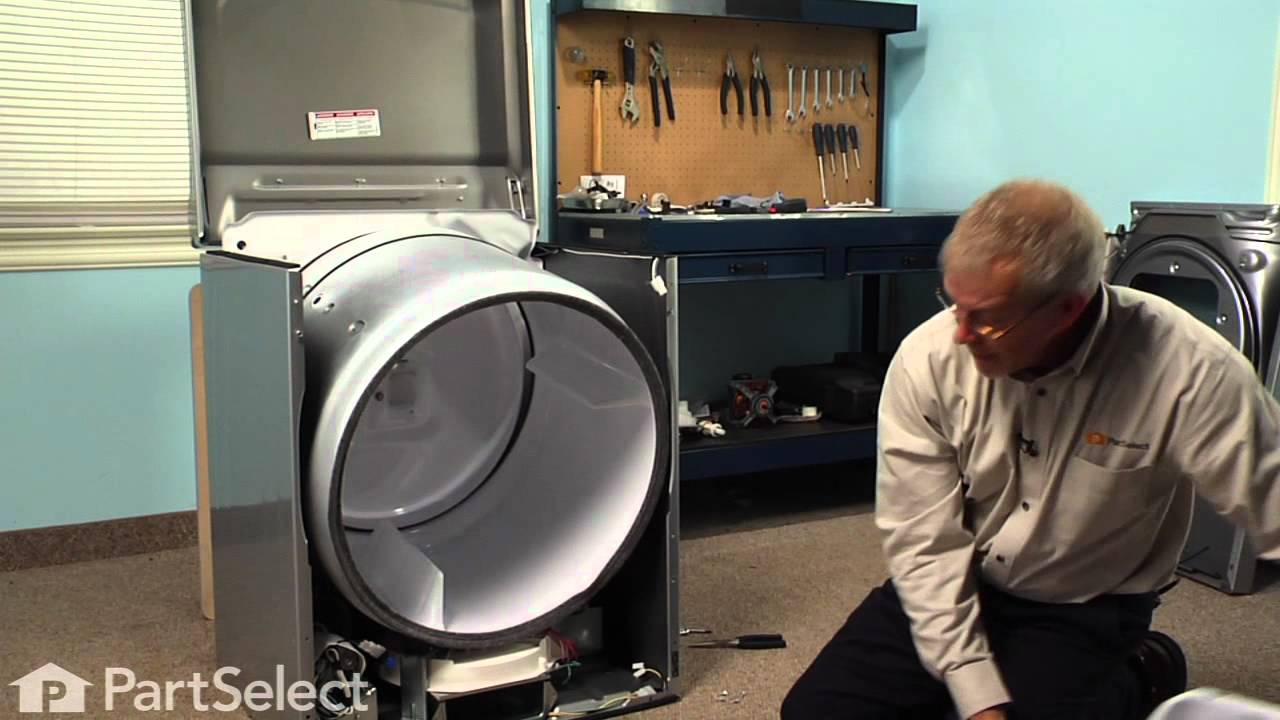
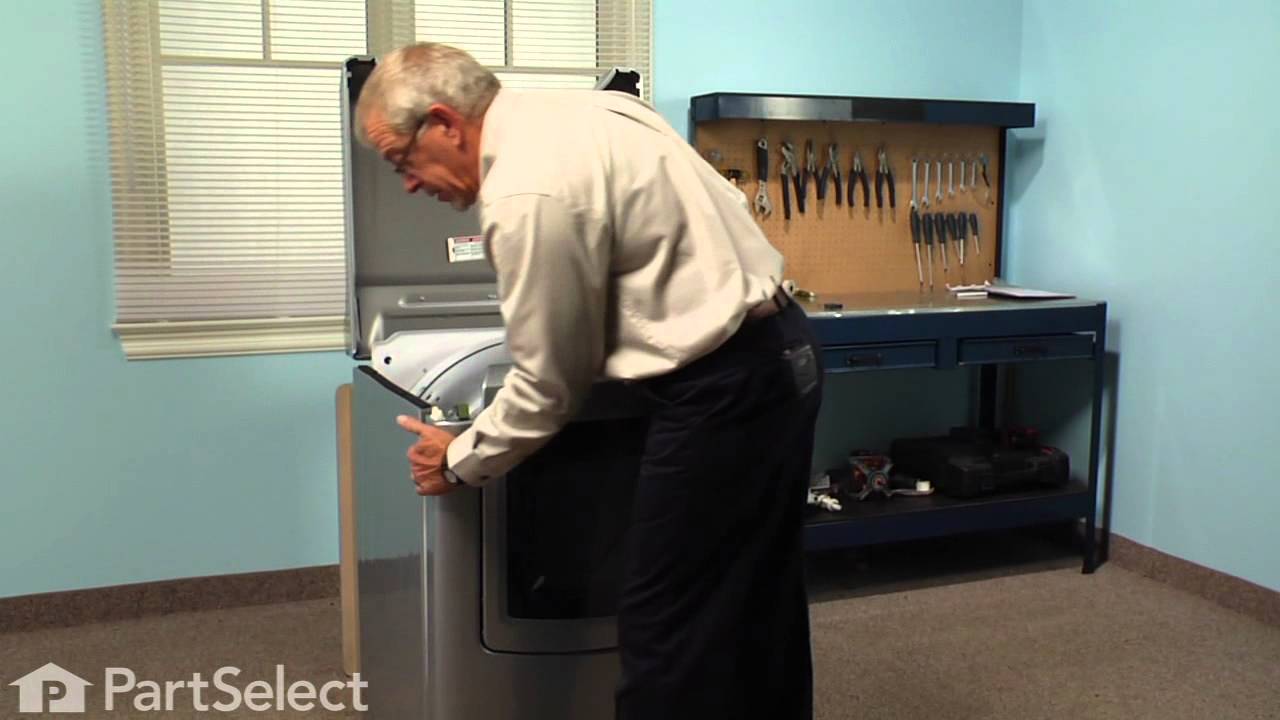
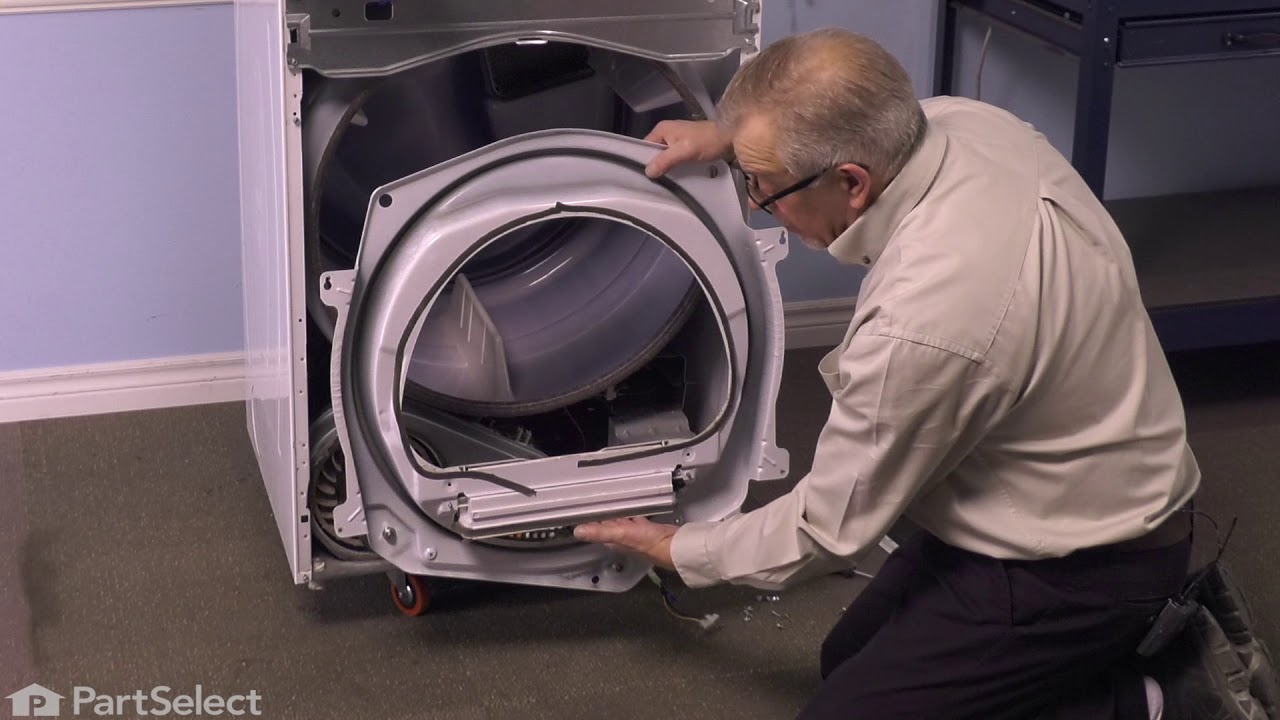
This dryer repair kit consists of five commonly replaced dryer parts: one multi-rib belt (part #661570V and measures 93 1/2 inches long), four drum support rollers, one idler assembly, nine tri-rings,...
This Idler Pulley includes the tri-ring and gasket and everything included here is manufacturer-certified. This part maintains correct tension on the drive belt in order to spin the drum properly. If ...
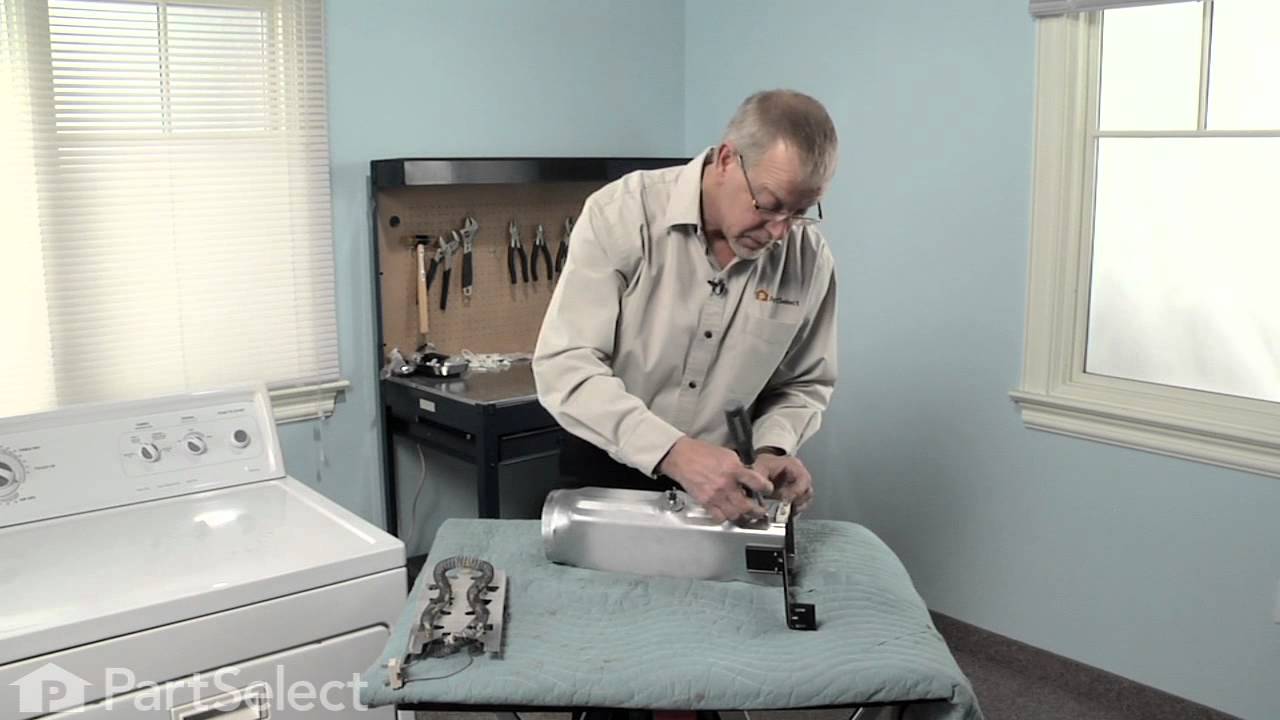
When connected to electricity the dryer heating element glows red hot and generates heat. When air is blown over it, it heats the air which is used to dry the clothes. The heating element fits inside ...
The Drive Belt is a 93 1/2" belt which wraps around the dryer drum to allow tension and movement. If broken the dryer will not turn properly, or there may be loud noises. The part is rated as "medium"...
This thermostat may differ in appearance, but functions the same as the original part. This part controls the temperature of the inside of the dryer drum and prevents the dryer from overheating.
This is the moisture sensor for your dryer. It helps detect the amount of moisture in your clothes during the dryer cycle. If you notice your clothes are still wet after an automatic dryer cycle is do...
If you notice that your dryer is noisy or will not tumble, you may need to replace the tri ring. This part is triangular, and is less than an inch in size. Tri rings can be found both on the idler pul...
This 18 ml bottle of white appliance touch-up paint is used to cover scratches or marks on your appliance. The white touch-up paint can be used on refrigerators, microwaves, ranges, clothes dryers, an...
This front-load door hinge is a genuine replacement component designed to support the door on compatible washers and dryers, ensuring smooth and secure pivoting during opening and closing. Constructed...
$137.74
In Stock
Questions And Answers for MED5630HW2
Ask our experts a question about this model and we'll get back to you as soon as possible!
2 questions answered by our experts.
< Prev
1
Next >
Sort by:
Search filter:
Clear Filter
Your search term must have 3 or more characters.
Keep searches simple. Use keywords, e.g. "leaking", "pump", "broken" or "fit".
Sorry, we couldn't find any existing answers that matched.Try using some different or simpler keywords, or submit your new question by using the "Ask a Question" button above!
Jule
January 4, 2025
dryer has power, but will not start the drying cycle.
For model number MED5630HW2
Hi Jule, thank you for reaching out. Ensure that the door is fully closed, and the latch is engaging properly. A faulty door switch can prevent the dryer from starting. If that is not the case, then the problem seems to be with the thermal fuse, and you may need to replace it. The part number is PS11766766. We hope this solves your problem!
3 peoplefound this helpful.
Was this helpful?
Thank you for voting!
Ron
December 18, 2024
dryer heats fine for most of the load, but not completely drys large bath towels. We have to dry an extra 20-30 minutes. Any suggestions?
For model number MED5630HW2
Hello Ron, thank you for contacting us. If your dryer heats fine for most of the load but does not completely dry large bath towels, requiring an extra 20-30 minutes, here are a few suggestions to consider:
1. Check the Lint Screen and Vent: Ensure that the lint screen is clean and that the vent is not clogged, crushed, or kinked. Poor airflow can impact drying times and overall performance.
2. Avoid Overloading: Make sure you are not overloading the dryer. Large bath towels can be dense and may require more space for air to circulate effectively.
3. Check the Dryer Settings: Ensure that you are using the appropriate cycle for heavy items like towels. A higher heat setting or a longer cycle may be necessary.
4. Inspect the Dryer Drum: Check the dryer drum for any objects that may be causing friction or preventing the towels from tumbling properly.
5. Check the Dryer Vent System: Confirm that your vent system falls within the recommended run length and number of elbows for the type of vent you are using. Refer to the Installation Instructions for details.
If these steps do not resolve the issue, then you may need to replace the lint filter, part number PS11755878, to solve the problem. A faulty lint filter can cause the dryer to heat but not drying clothes. Glad to be of help!
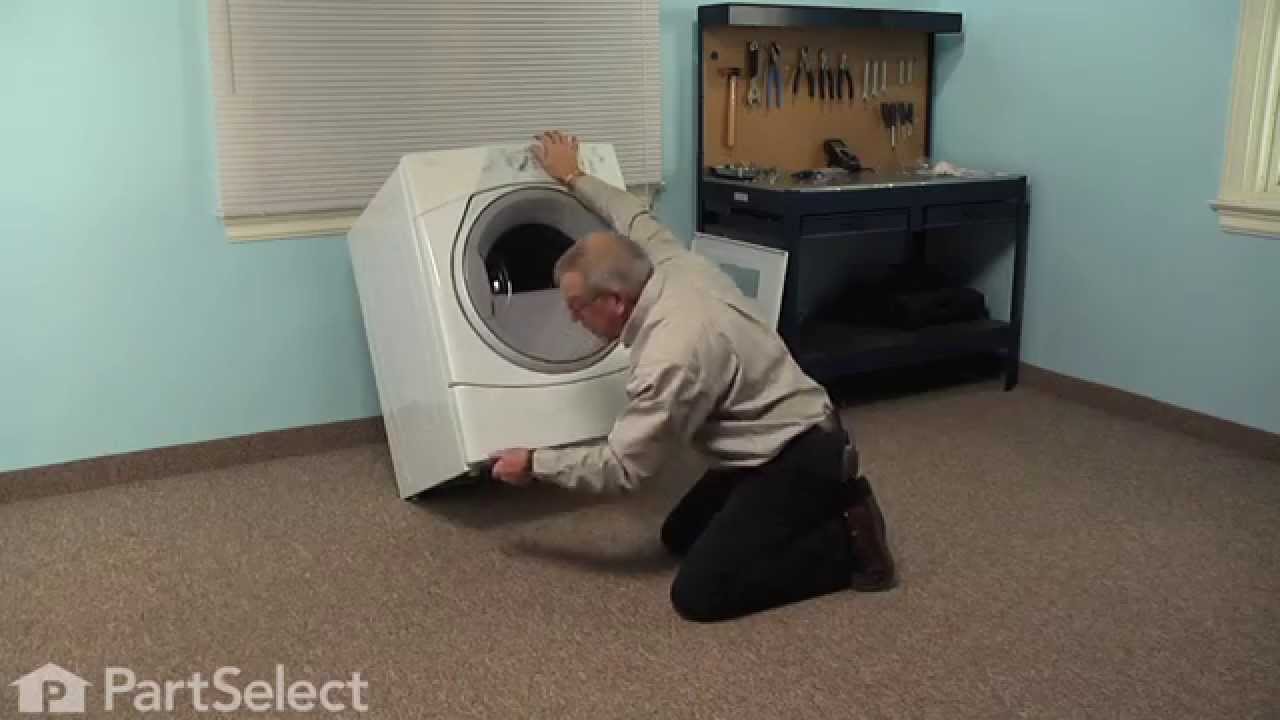
Remove the kick plate from the bottom of the dryer by sliding a putty knife along the top edge to release the plastic clamps, one on each side about 4" in from the edges. The kick plate folds out and down. You will see the heat shield on the right, held in by one hex head screw. Remove screw and heat shield. The element is positioned in an open-front housing and is fastened to the left side of the housing by two hex head screws, located on the "rail" of the element and right near the two wires. Remove the hex-head screws that hold the element in place and disconnected the two wires by pulling them out by hand or with needle nose pliers. The only difficulty here is the cramped working area...I recommend a stubby socket driver for these two screws. Most of this I had to do by feel because I could not see the screw heads. Once the screws are out and the wires have been disconnected, slide the old element straight out toward you. You may need to disconnect a small plastic hose located to the left front of the element, but this hose just pulls right off. Vacume the dust & lint build-up out of the whole area, wipe out the element housing and clean up the whole underside of the dryer prior to installing the new element. Installation is reverse of removal. It also might be a good opportunity to clean out your exhaust duct and the vent to the outside. (Never use the aluminum foil-accordian-type duct.) If the exterior dryer vent has any kind of screen over it, remove it and get rid of it. Screens collect lint, lint builds up and burns out elements.
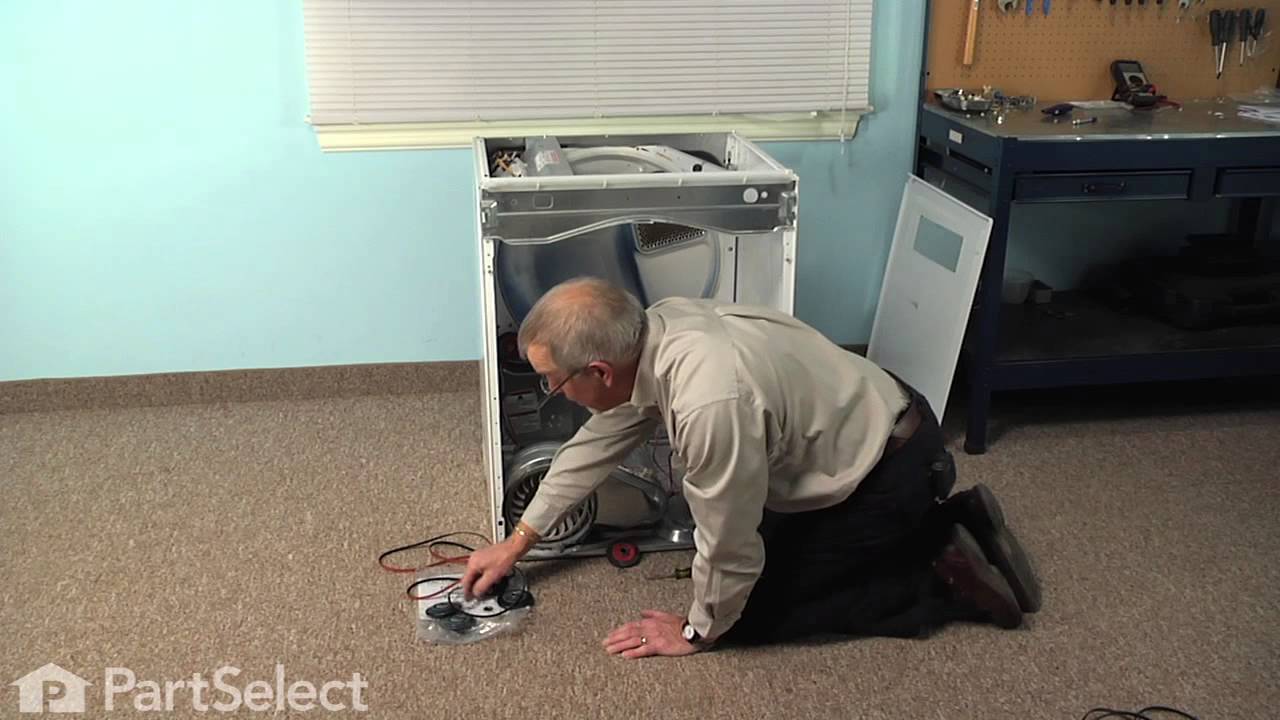
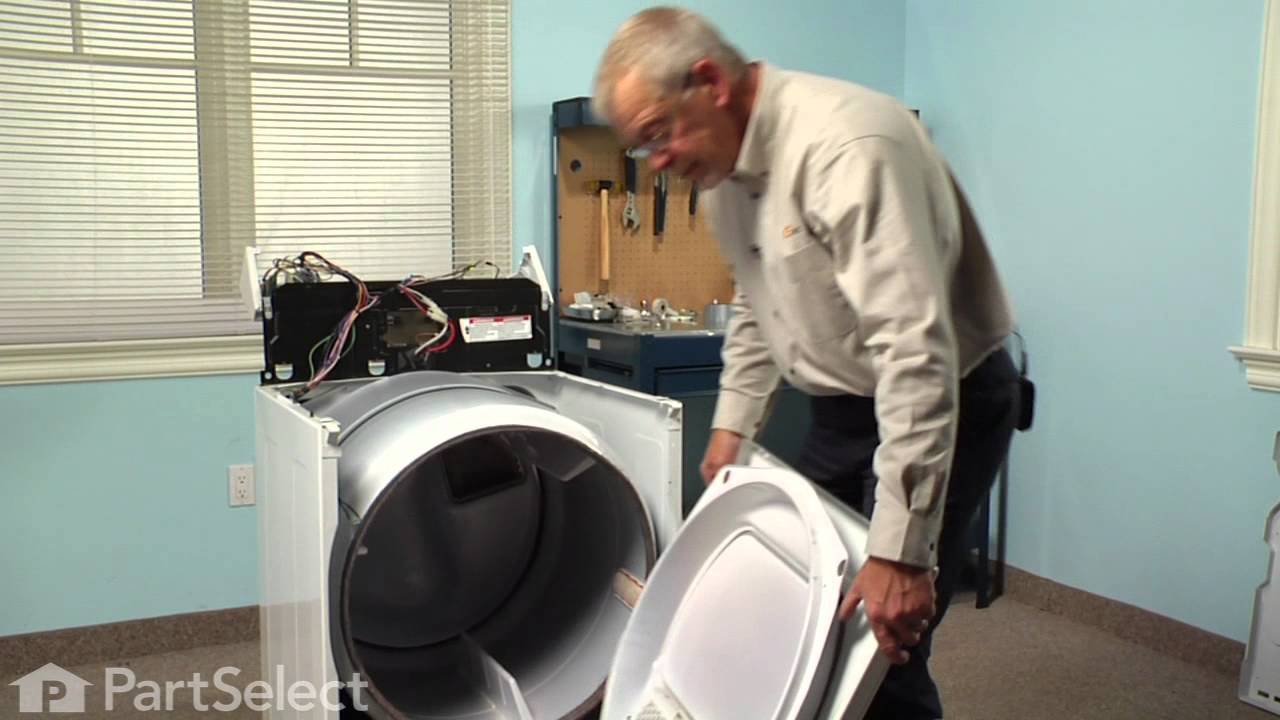
The issue was the idler pulley. First I began opening up the front panel based on a youtube video but soon realized the model was slightly different and required a lot more items to remove. I saw the pulley in the back with nothing in the way so I put the front panel crap back on and removed the rear panel. There it was, very simple to remove and replace. I'm not looking forward to drum rollers though. Hopefully they're aren't as difficult as they appear.
I purchased the dryer repair kit with the drum belt, wheels and idler pulley. I watched the instructional videos online and it seemed fairly straight forward. Breaking down the dryer and replacing the pulleys was easy enough. My problem began when I tried to feed the drum belt around the idler pulley. After finishing the job, the dryer would not turn and the sensor light stayed on. I thought something else was broken with the dryer and spent hours trouble shooting other problems that I was having. Finally I figured out that the drum belt was not installed correctly around the idler pulley. However, I could not get it properly installed from the front of the machine so I tried from the rear still with no avail. I finally had to fish the old belt out of the garbage can that I had thrown away earlier. I lined up the old belt with the new one in the kit and discovered that the new belt was much smaller, so I put the old one back on the drum. Here's the lesson I learned...make sure the belts are the same size before attempting to install. The old idler was responsible for the squeaking and that stopped but I am still using the same old drum belt. Hope it lasts.