














MDE16CSDZW Maytag Dryer - Overview
Sections of the MDE16CSDZW
[Viewing 9 of 9]


Keep searches simple, eg. "belt" or "pump".

Drum Support Roller Kit
PartSelect #: PS1570070
Manufacturer #: 12001541
This drum support roller includes one drum roller and two bearings. Most dryers use two drum rollers, and it is recommended to change both at once.
$33.28
In Stock

Roller Shaft
PartSelect #: PS11743031
Manufacturer #: WP6-3129480
This roller shaft is the axle for the drum roller, also known as drum roller axle.
No Longer Available

Front Glide Kit
PartSelect #: PS1804752
Manufacturer #: 306508
This front glide kit comes with a blue plastic glide, a brown cork pad, and two metallic rivets. Two kits are required per appliance. A rivet tool is required for this installation.
$19.14
In Stock

Dryer Retaining Ring
PartSelect #: PS11746909
Manufacturer #: WP9703438
This metallic retaining ring is less than an inch in diameter. It is made entirely of metal.
$12.00
In Stock

Multi Rib Belt - 91-5/8 Inches
PartSelect #: PS11741110
Manufacturer #: WP33002535
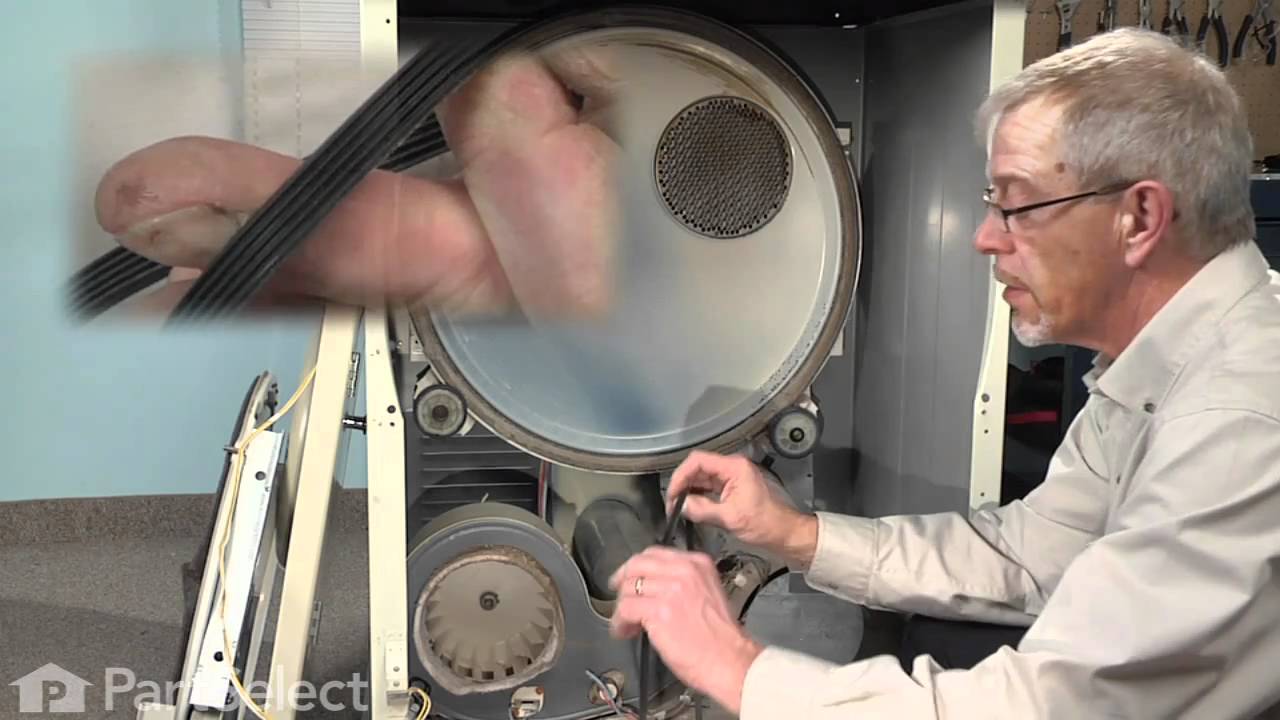
At 91-5/8 inches in length, this dryer drum belt from Maytag has five ridges. It is all black in color and is made entirely of rubber. This flat belt is 3/8 of an inch wide.
$34.28
In Stock

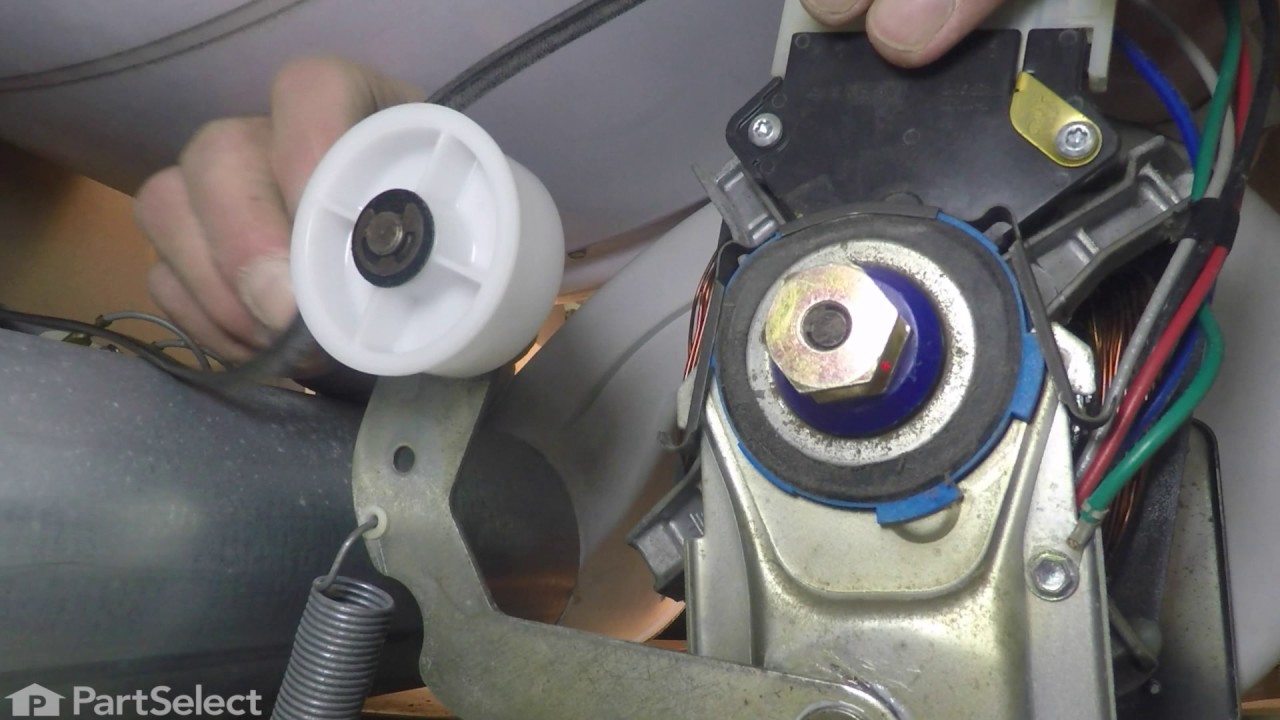
Dryer Idler Pulley Wheel & Bearing
PartSelect #: PS11743032
Manufacturer #: WP6-3700340
This idler pulley wheel is white and made of plastic. It is two inches in diameter and comes with a center bearing.
$27.21
In Stock

Drum Roller Shaft Washer
PartSelect #: PS11740748
Manufacturer #: WP312535
This roller shaft washer is just under an inch in diameter and is used for some of Whirlpool's brands of clothes dryers.Sold individually.
$18.41
In Stock

Dryer Door Catch Kit
PartSelect #: PS2162263
Manufacturer #: LA-1003
This kit comes in two pieces: the catch and the clip.
$35.75
In Stock

Idler Pulley Shaft Washer
PartSelect #: PS11757538
Manufacturer #: WPY312527
This idler pulley shaft washer is used with many clothes dryers. It is less than an inch long, and it is black in color.
$18.52
In Stock

Dryer Drum Felt Seal
PartSelect #: PS11741074
Manufacturer #: WP33001807
This seal can be used for the front or rear drum. Adhesive is NOT included. For adhesive search: WPY055980
$27.21
In Stock

Tall Baffle
PartSelect #: PS11741085
Manufacturer #: WP33002032
This part moves the clothes around inside your dryer and helps to direct the flow of hot air during the drying cycle.
NOTE: Screws are NOT included.
$43.36
In Stock

Door Switch Kit
PartSelect #: PS1964648
Manufacturer #: W10169313
This part replaces older two terminal switches.
$39.55
In Stock
Common Symptoms of the MDE16CSDZW
[Viewing 10 of 10]Noisy
Fixed by
these parts
these parts


Show All
Door won’t close
Fixed by
these parts
these parts


Show All
Drum Not Spinning
Fixed by
these parts
these parts


Show All
Marks left on clothes
Fixed by
these parts
these parts

Show All
Too hot
Fixed by
these parts
these parts


Show All
Not Heating
Fixed by
these parts
these parts

Show All
Won’t Start
Fixed by
these parts
these parts

Show All
Door Pops Open
Fixed by
these parts
these parts
Show All
Running With Door Open
Fixed by
these parts
these parts
Show All
Door latch failure
Fixed by
these parts
these parts

Show All
Keep searches simple. Use keywords, e.g. "leaking", "pump", "broken" or "fit".
dryer squeeking
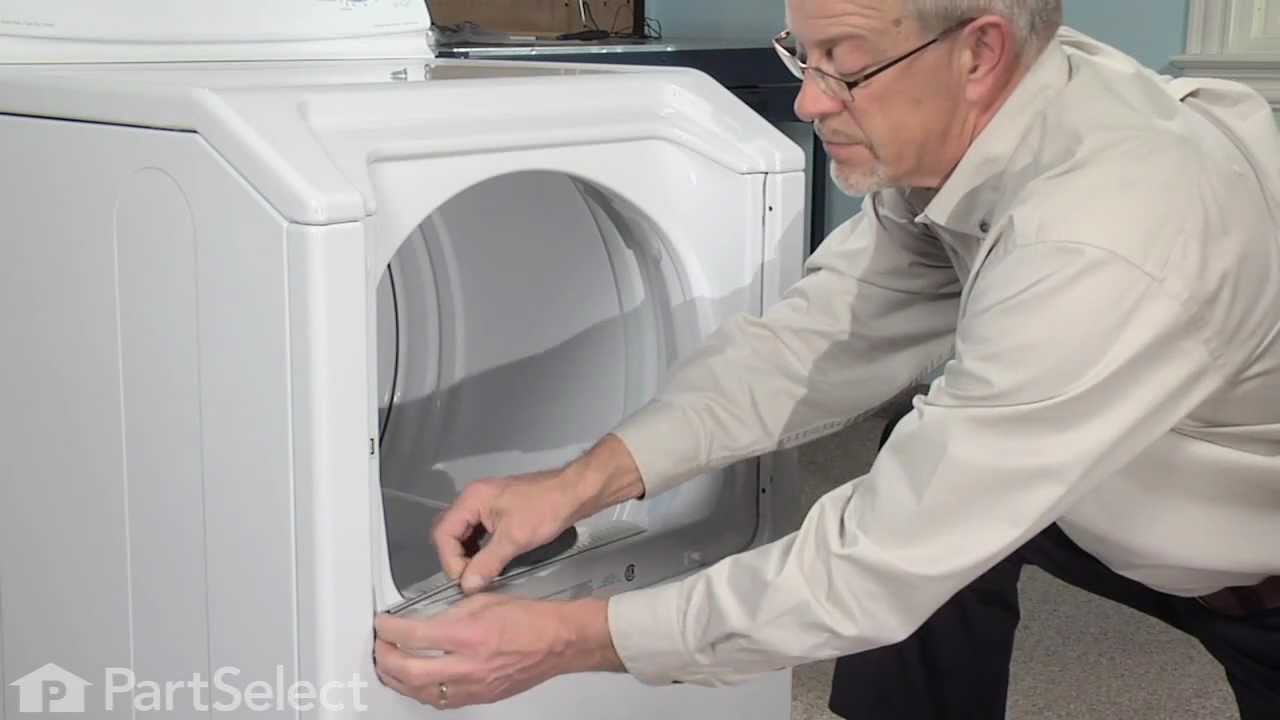
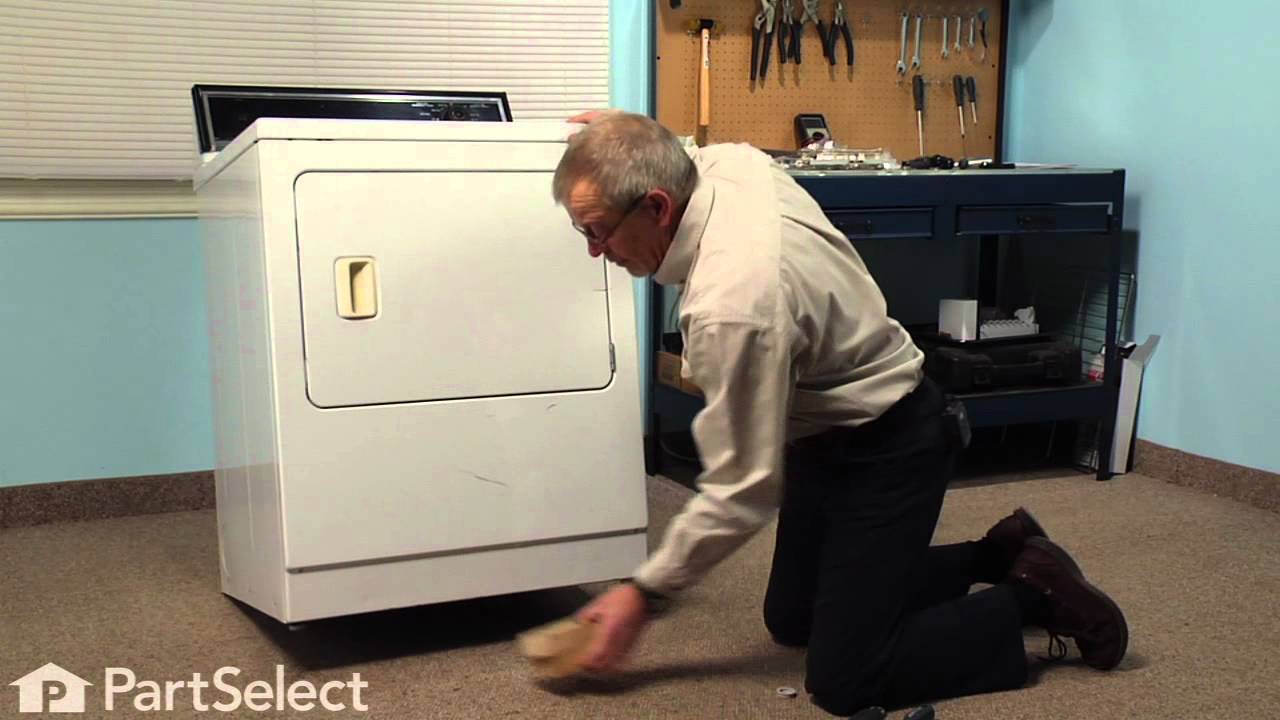
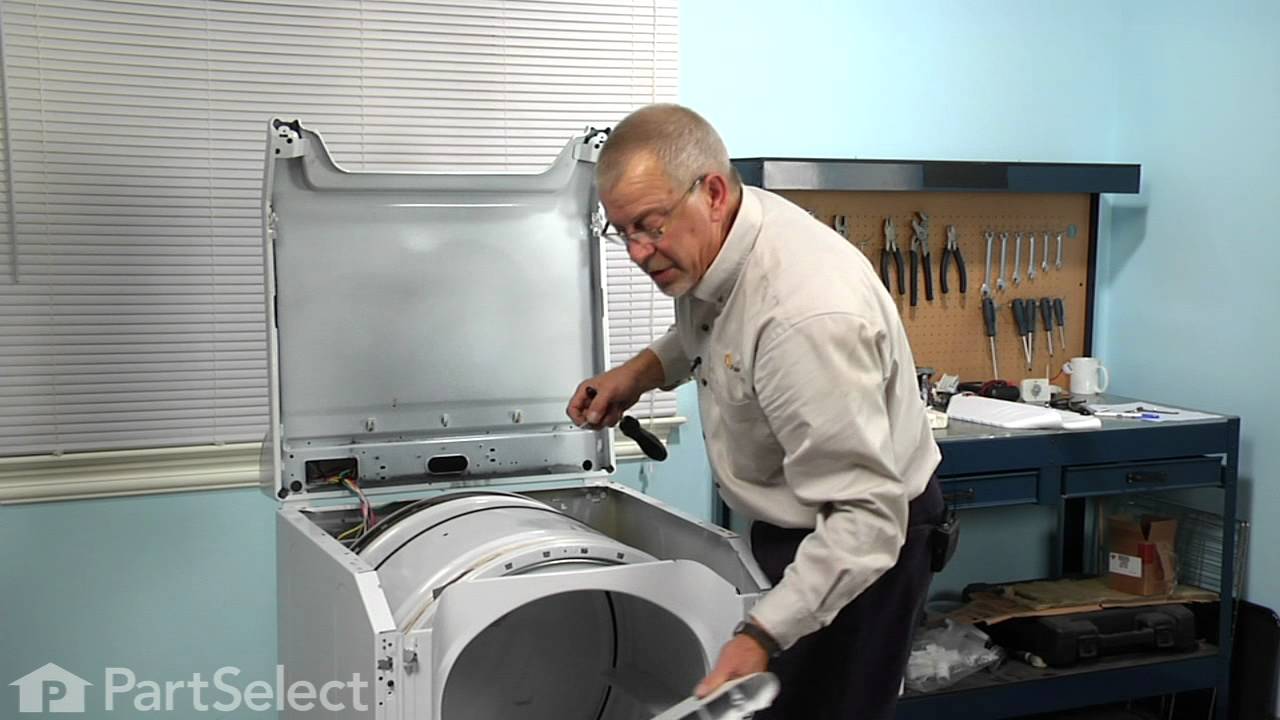
removed front panel,lifted top, removed drum and drive belt,remove old rollers and acc and instlled new and reinstalled dryer parts.
Parts Used:

-
gerald from park city, MT
-
Difficulty Level:Easy
-
Total Repair Time:1- 2 hours
-
Tools:Pliers, Screw drivers, Socket set, Wrench set
525 of 567 people
found this instruction helpful.
Was this instruction helpful to you?
Thank you for voting!
dried too many shoes and broke the baffles
removed door, removed screws to lift top panel, removed screws that held old baffles, replaced with new baffles, took off front panel and cleaned out excess lint while I was in there.
Parts Used:

-
Teresa from Pace, FL
-
Difficulty Level:Easy
-
Total Repair Time:15 - 30 mins
-
Tools:Nutdriver, Screw drivers
103 of 108 people
found this instruction helpful.
Was this instruction helpful to you?
Thank you for voting!
Switch sticking in on position
FIRST unplug dryer from electrical source, CAUTION, the top of this dryer does not open with clips, do not pry on top to open! On the front of the dryer look under the lower panel, and find two screws, one on the left side, and one on the right, remove these screws, and pull slightly down on panel to remove. Behind this panel find two screws holding the door panel, one on the left, and one on the right, remove the left, and support the door panel while removing the right side. Gently pull the bottom of door panel outward, and the clips on top of door panel will unhinge from top, carefully rotate left side of door panel to floor, and note the wire connections on switch, and orientation of switch, then unplug wires, and move door panel to a comfortable working positon. Door must be open to remove switch, then depress the two plastic retaining keepers on each side of switch, and push switch through toward door. Replace with new switch, reconnect the wires, and reassymble in reverse order. Remember, door assymbly must be inserted in dryer top at an angle, and then bottom rotated downward, and bottom panel nylon guildes inserted into door panel bottom.
Parts Used:
-
Don from Jacksonville, FL
-
Difficulty Level:Really Easy
-
Total Repair Time:15 - 30 mins
-
Tools:Nutdriver
99 of 135 people
found this instruction helpful.
Was this instruction helpful to you?
Thank you for voting!