














MB1927PEHB-PMB1927PHB0 Maytag Refrigerator - Overview
Sections of the MB1927PEHB-PMB1927PHB0
[Viewing 1 of 1]
Keep searches simple, eg. "belt" or "pump".

Refrigerator Center Crisper Drawer Slide Rail - White
PartSelect #: PS11757048
Manufacturer #: WPW10671238
This center crisper drawer rail supports the edges of refrigerator crisper drawers, ensuring smooth sliding and proper alignment. At 13.5 inches long, it fits between the drawers on the shelf frame. Q...
$80.02
In Stock
Order within the next 11 hrs and your part ships today!

Crisper Drawer - Clear
PartSelect #: PS11726308
Manufacturer #: W10833528
Sold individually. This crisper drawer is for refrigerators.
Crisper drawer stores fruits and vegetables at a humidity level that helps keep them fresh longer.
$169.64
In Stock
Order within the next 11 hrs and your part ships today!

Refrigerator Door Switch
PartSelect #: PS12728638
Manufacturer #: W11384469
Door switch turns the light off when you close the door.
$43.83
In Stock
Order within the next 11 hrs and your part ships today!

Crisper Drawer Cover Frame
PartSelect #: PS11757049
Manufacturer #: WPW10671240
This refrigerator crisper drawer frame is a durable white plastic component designed to support the crisper drawer and secure the glass shelf that serves as its lid. Engineered for long-lasting perfor...
$157.31
In Stock
Order within the next 11 hrs and your part ships today!

Refrigerator Humidity Control Slide
PartSelect #: PS11743638
Manufacturer #: WP67005864
This part mounts on the crisper drawer cover and is used to limit the amount of air that gets into the crisper.
$15.35
In Stock
Order within the next 11 hrs and your part ships today!

Defrost Thermostat Kit
PartSelect #: PS2003451
Manufacturer #: 12001937
This part is snapped onto the top portion of the evaporator. The thermostat sends temperature information to the processor. The defrost heater must be replaced when replacing the thermostat.
$104.90
In Stock
Order within the next 11 hrs and your part ships today!

Door Switch
PartSelect #: PS12731166
Manufacturer #: W11396033
This light switch may also be known as a refrigerator door switch or a light switch kit, and is compatible with your refrigerator. The function of the refrigerator door switch is to turn on the light ...
$40.90
In Stock
Order within the next 11 hrs and your part ships today!

Refrigerator Glass Shelf
PartSelect #: PS11743717
Manufacturer #: WP67006877
Restore your refrigerator’s storage space with this crisper cover glass shelf, designed to fit securely above the produce drawers. It offers a clear, sturdy surface for organizing fruits and vegetable...
$236.59
In Stock
Order within the next 11 hrs and your part ships today!

Drawer Slide Rail - Left Hand
PartSelect #: PS11743484
Manufacturer #: WP67002190
This drawer slide rail is thirteen inches long. It is clear and made of plastic.
No Longer Available

Drawer Glide Rail - Right Side
PartSelect #: PS11743485
Manufacturer #: WP67002191
This drawer glide rail is thirteen inches long. It is clear and made of plastic.
$42.65
Special Order

Refrigerator Water Fill Cup & Bearing
PartSelect #: PS11743318
Manufacturer #: WP628356
This icemaker water inlet cup is three inches long. It is all white in color and is made of plastic.
$46.15
Special Order

Evaporator Fan Blade
PartSelect #: PS11738973
Manufacturer #: WP2169142
If your refrigerator or freezer is too warm, or making noises, you may need to replace the fan blade. The fan blade attaches to the evaporator motor, which is in the freezer section, to help circulate...
$41.53
In Stock
Order within the next 11 hrs and your part ships today!
Common Symptoms of the MB1927PEHB-PMB1927PHB0
[Viewing 20 of 20]Light not working
Fixed by
these parts
these parts


Show All
Leaking
Fixed by
these parts
these parts


Show All
Fridge too warm
Fixed by
these parts
these parts


Show All
Ice maker not making ice
Fixed by
these parts
these parts


Show All
Door won’t open or close
Fixed by
these parts
these parts


Show All
Noisy
Fixed by
these parts
these parts
Show All
Freezer not defrosting
Fixed by
these parts
these parts
Show All
Freezer section too warm
Fixed by
these parts
these parts
Show All
Ice maker won’t dispense ice
Fixed by
these parts
these parts

Show All
Ice maker dispenses too much ice
Fixed by
these parts
these parts
Show All
Freezer too cold
Fixed by
these parts
these parts
Show All
Not dispensing water
Fixed by
these parts
these parts
Show All
Will Not Start
Fixed by
these parts
these parts
Show All
Frost buildup
Fixed by
these parts
these parts

Show All
Fridge too cold
Fixed by
these parts
these parts
Show All
Door latch failure
Fixed by
these parts
these parts

Show All
Door Sweating
Fixed by
these parts
these parts

Show All
Too warm
Fixed by
these parts
these parts
Show All
Fridge and Freezer are too warm
Fixed by
these parts
these parts
Show All
Clicking sound
Fixed by
these parts
these parts
Show All
Keep searches simple. Use keywords, e.g. "leaking", "pump", "broken" or "fit".
Cracked & Snapped Center Crisper Rail
A very easy fix took all of five minutes
Parts Used:
-
Ruth from Roxbury, MA
-
Difficulty Level:Really Easy
-
Total Repair Time:Less than 15 mins
230 of 256 people
found this instruction helpful.
Was this instruction helpful to you?
Thank you for voting!
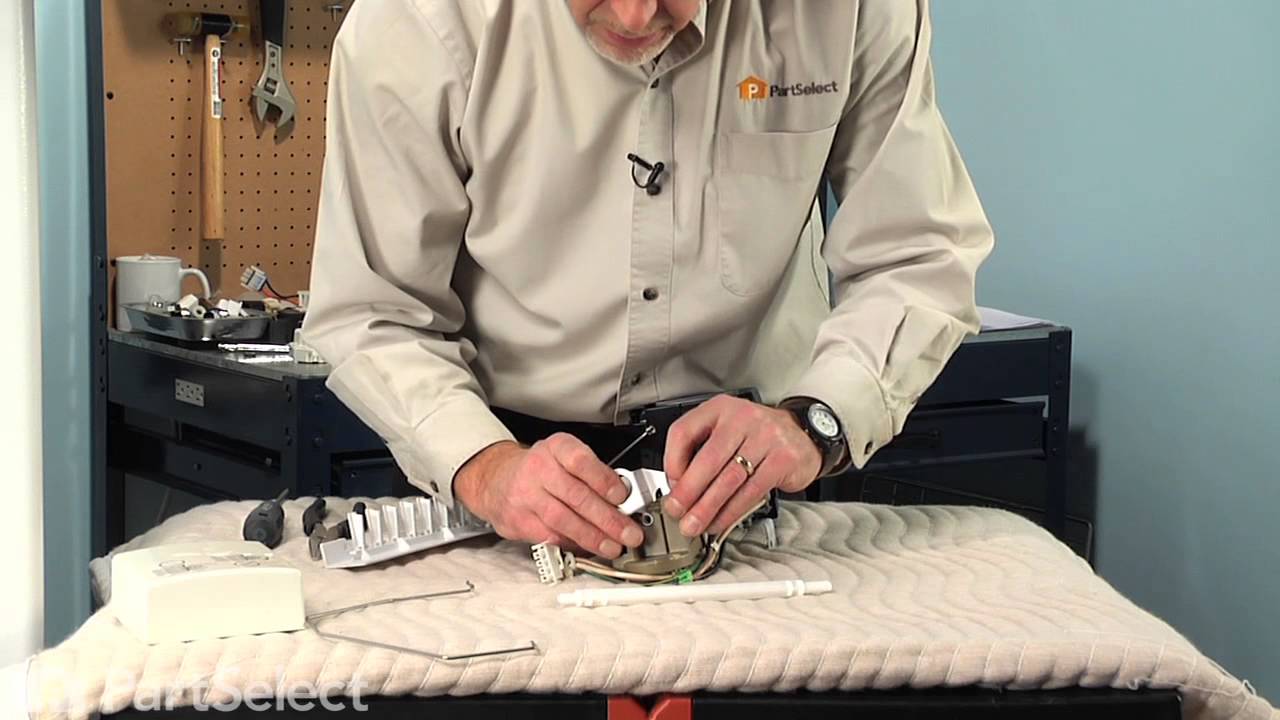
The Bearing Cup Assembly was broken and ice would jamb against it during the ice making cycle.
I removed the ice maker from the refrigerator, by removing one screw on the underside bracket and loosening the two screws at the top side, then lifting the ice maker off the loosened screws. I then unplugged the electrical harness that supplies power from the refrigerator to the ice maker. I then disassembled the ice maker by removing the front cover which is snapped in place, then removing two recessed screws at the front. I removed the broken part, I then reassembled the ice maker with the new part. I replaced the two recessed screws at the front and snapped on the cover. Then I reinstalled the ice maker in the refrigator by plugging in the harness, slipping the ice maker over the loosened screws in the refrigerator and replacing the screw that was removed from the underside bracket. Tightening all the screws completed the project.
Parts Used:

-
David from Chester, CA
-
Difficulty Level:Really Easy
-
Total Repair Time:Less than 15 mins
-
Tools:Nutdriver, Screw drivers
110 of 140 people
found this instruction helpful.
Was this instruction helpful to you?
Thank you for voting!
Lights inside refrigerator not working
I used a flat-head screwdriver to pop out the old light rocker switch. Then, I unplugged the wires, plugged them into the new light rocker switch, and then popped the new switch into the hole. That's it! Lights began working again.
Parts Used:
-
Clint from Rayville, MO
-
Difficulty Level:Really Easy
-
Total Repair Time:Less than 15 mins
-
Tools:Screw drivers
137 of 257 people
found this instruction helpful.
Was this instruction helpful to you?
Thank you for voting!