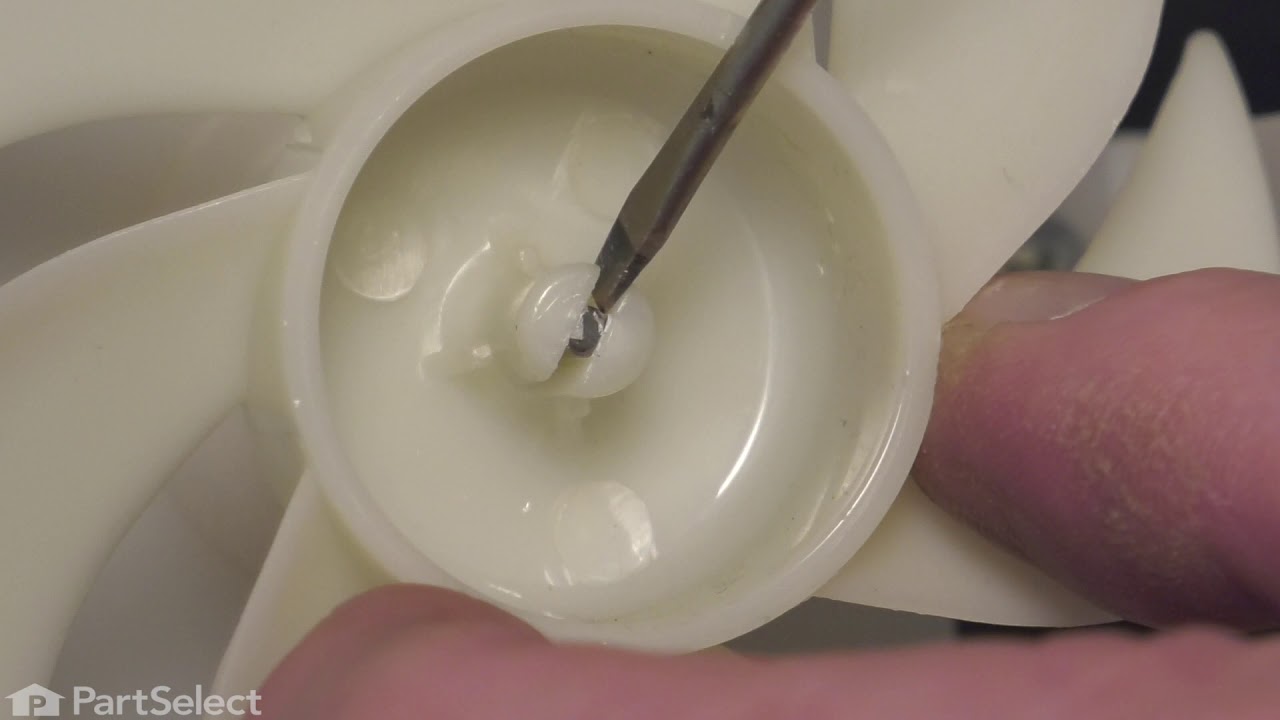
This 13-volt evaporator fan motor helps circulate air over the refrigerator coils. These coils will then convert the heat into cool air, which is then circulated from the freezer section to the fresh ...
This valve helps your fridge deliver water to the ice maker and dispenser. If you’re not getting ice, the dispenser isn’t working, or you hear strange noises, this part might be the fix. It’s easy to ...
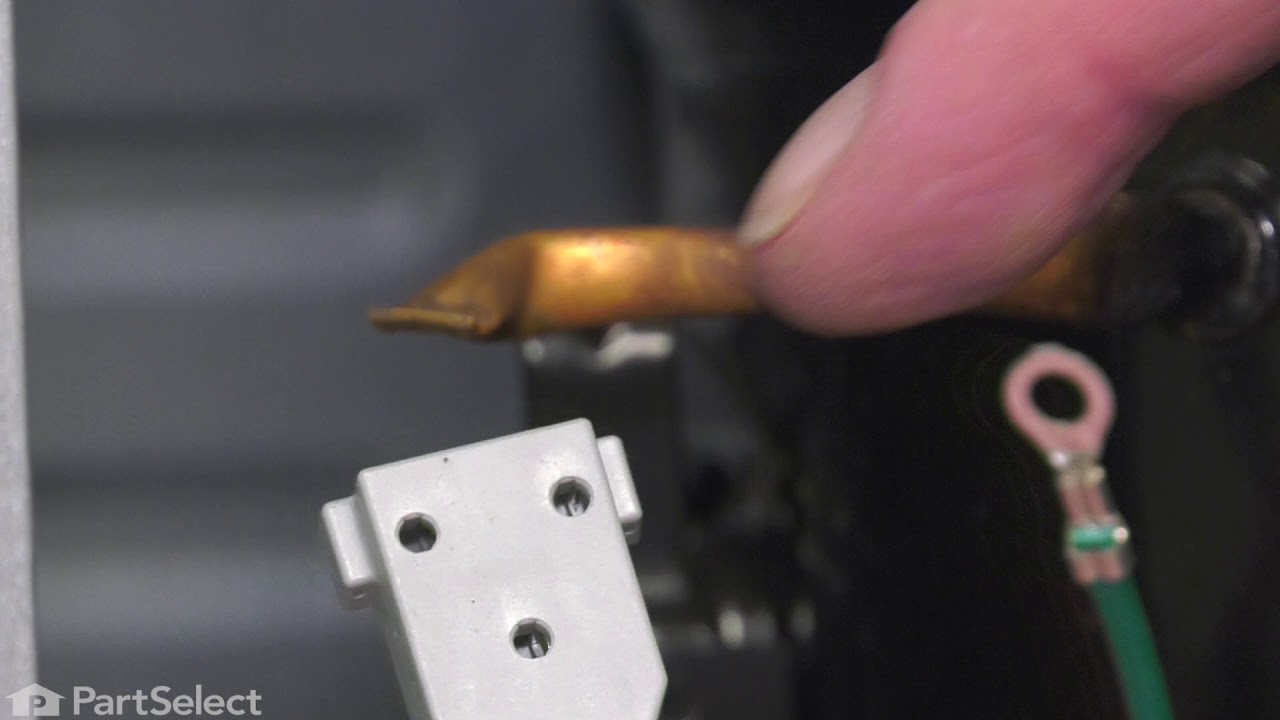
The compressor overload protector attaches to the compressor and shuts off the compressor if the compressor motor draws too much current.
$51.65
In Stock
Questions And Answers for LMX25964ST
Ask our experts a question about this model and we'll get back to you as soon as possible!
2 questions answered by our experts.
< Prev
1
Next >
Sort by:
Search filter:
Clear Filter
Your search term must have 3 or more characters.
Keep searches simple. Use keywords, e.g. "leaking", "pump", "broken" or "fit".
Sorry, we couldn't find any existing answers that matched.Try using some different or simpler keywords, or submit your new question by using the "Ask a Question" button above!
Rachel
March 17, 2023
My refrigerator is an LG the model number was provided my refrigerator is not getting cold nor is my freezer freezing what could it be compressor is working?
For model number LMX25964ST
Hello Rachel, thank you for contacting us. Checking out the following parts may help you get to the root of the problem: the temperature sensor, part number PS3529162, the evaporator fan motor, part number PS3523323, and the control board, part number PS3625142. We hope this solves your problem!
I have a
LG Refrigerator
Model
LMX25964ST /02
Serial 105KRAT2X496
It has the Ice maker inside the side by side left door, with double freezer drawers at bottom. Behind the drawers on the left, it has a 7"h x 8"w rectangle area exteding foreword 2" into the area with 4 white Phillips screws. Your video accessing the Freezer Fan behind the double lower freezer drawers & does not show this raised area. It shows it flat. Your video had the ice maker inside the freezer. Your video had the ice maker inside the freezer. Behind the drawers, how do I release that side to access the Freezer Fan. Do I unscrew these to release that side? Is there a video for this?
For model number LMX25964ST
Hello Robert, thank you for the question. We are providing you with the instructions that will help you to access the freezer fan.
1- Pull the drawers out and unthread the screws securing the drawer's basket.
2- Disconnect the wire of the door switch and remove the bar.
3- Remove the screws securing the back panel.
4- Pull out the entire back panel and remove the evaporator fan motor from it.
5- Replace it with the new one.
We hope this helps!
Was this helpful?
Thank you for voting!
< Prev
1
Next >
✖
Ask a Question
Ask our experts a question on this model and we'll respond as soon as we can.
1. Shut off water to refrigerator. 2. Removed bottom sheet metal cover (6 screws). 3. Removed leaking water inlet valve assembly from refrigerator (1 screw). 4. Remove water inlet tube (loosen nut) and tube back to refrigerator (pull from water valve after remove cotter pin washer). 5. Detach two electrical wire harnesses. 6. Install new water inlet valve assembly to refrigerator (1 screw). 7. Replace both water tubes to water inlet assembly. 8. Re-attach both wiring harnesses. 9. Turn water to refrigerator on. 10. Check for leaks. 11. Re-attach bottom sheet cover (6 screws).
Video makes it look easy. Kenmore refrigerator does not have "groove" along the right hand side of switch that allows for pushing down on release. Used a thin screwdriver to get under to push while holding switch edge with pliers. Kept slipping. Tape sides to avoid scratching inside of refrigerator.
The Refrigerator now runs very quite. After watching several videos I started on mine and found that it was a bit different than any in the videos. However all but the back panel was shown and that was helpful. The back panel was a bit difficult but a hair dryer seemed to help . All in all it was a good choice to do it myself as it was done quicker than waiting on a repair man.