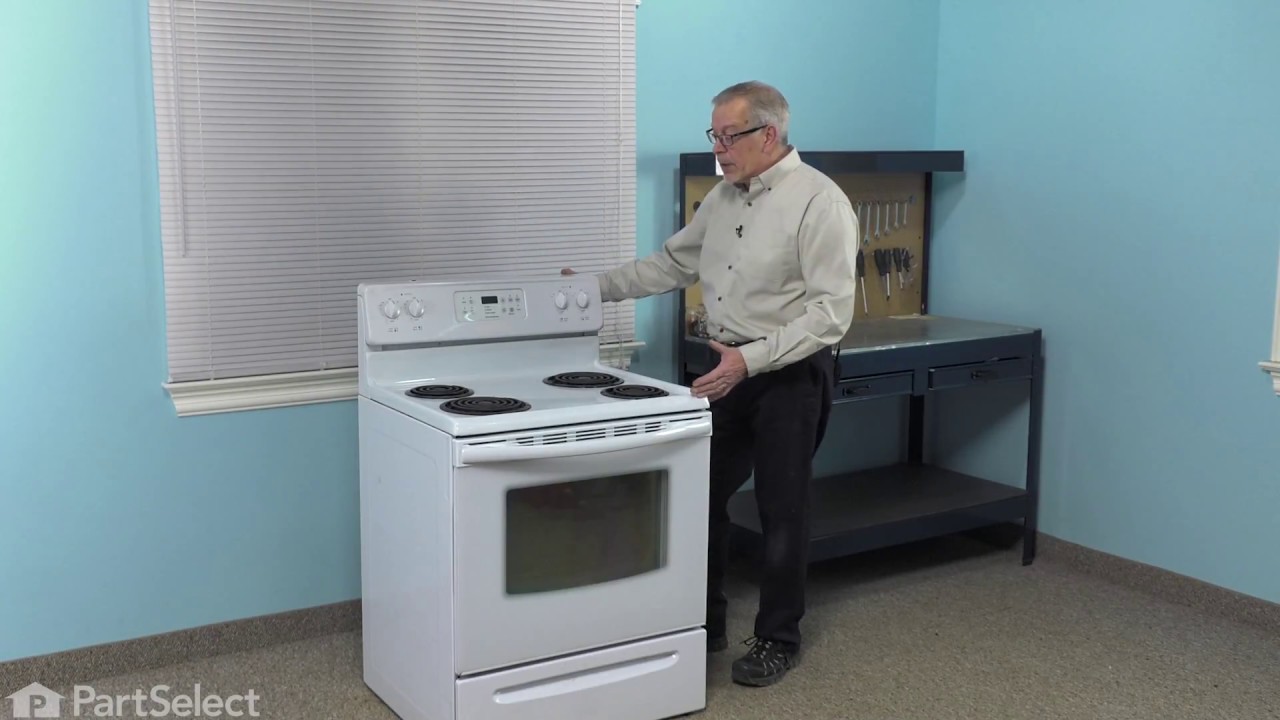
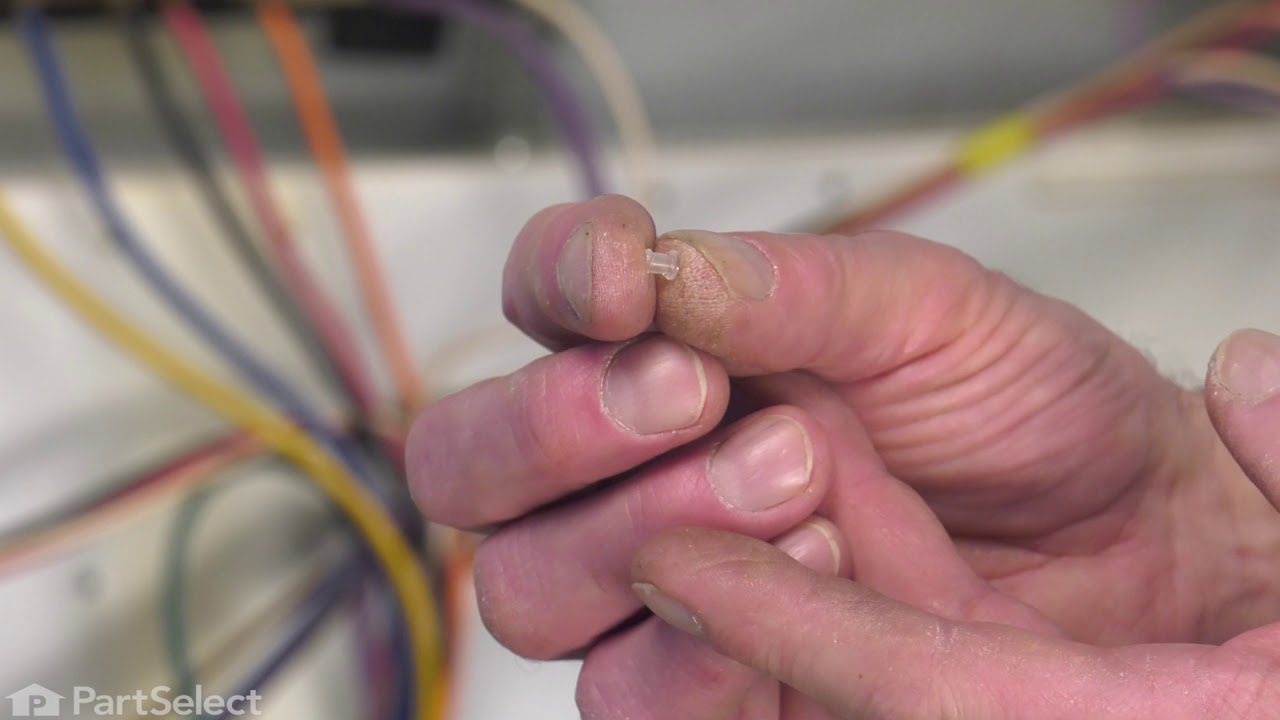
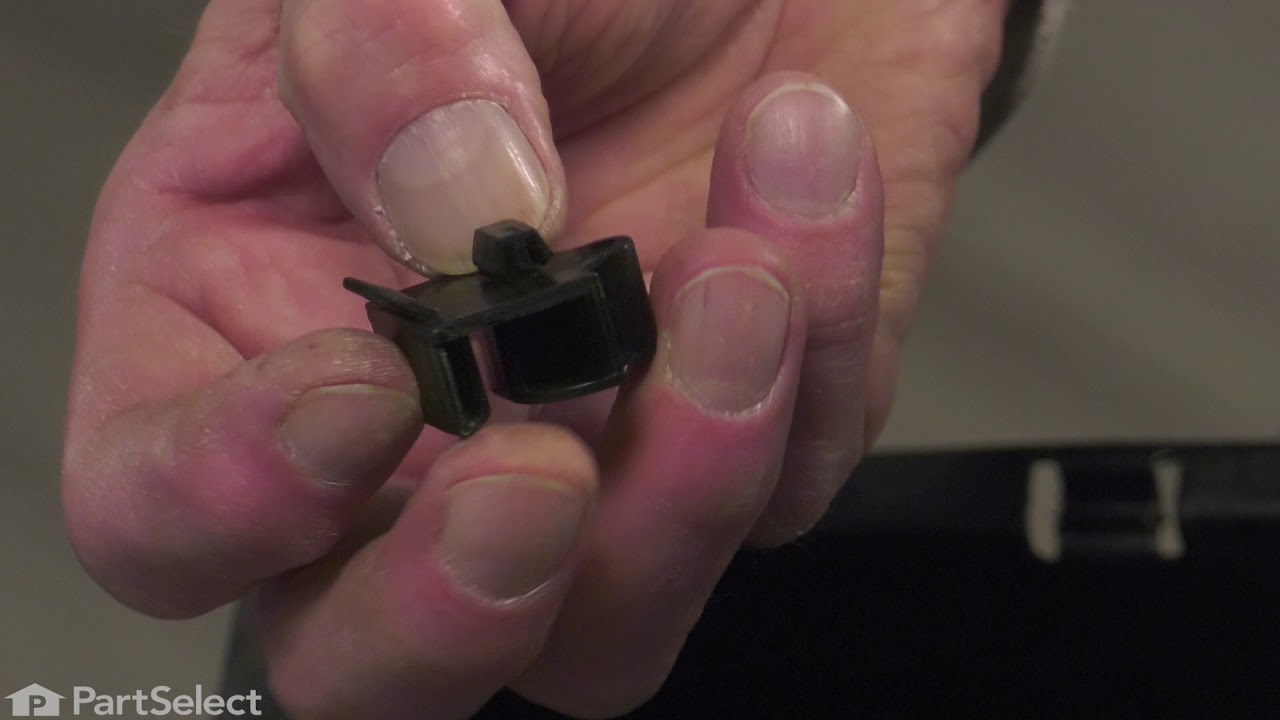
The temperature sensor, also known as an oven probe, detects the temperature within the oven cavity. This temperature sensor is 9 inches in length and is a genuine OEM part. If your oven is too hot, not heating evenly, or has little to no heat when baking, you may need to replace the temperature sensor. Please make sure to disconnect the power to your range before starting your repair.
This 40-watt appliance light bulb is a reliable replacement for use in select ranges, refrigerators, freezers, and microwaves. It provides bright, consistent lighting to help you see clearly inside your appliance. Installation is simple—just unscrew the old bulb and replace it with the new one. If the existing bulb is broken, disconnect p...Read moreower and use needle-nose pliers to safely remove the remaining base. Sold individually, this bulb is a commonly replaced part—consider keeping a spare on hand.
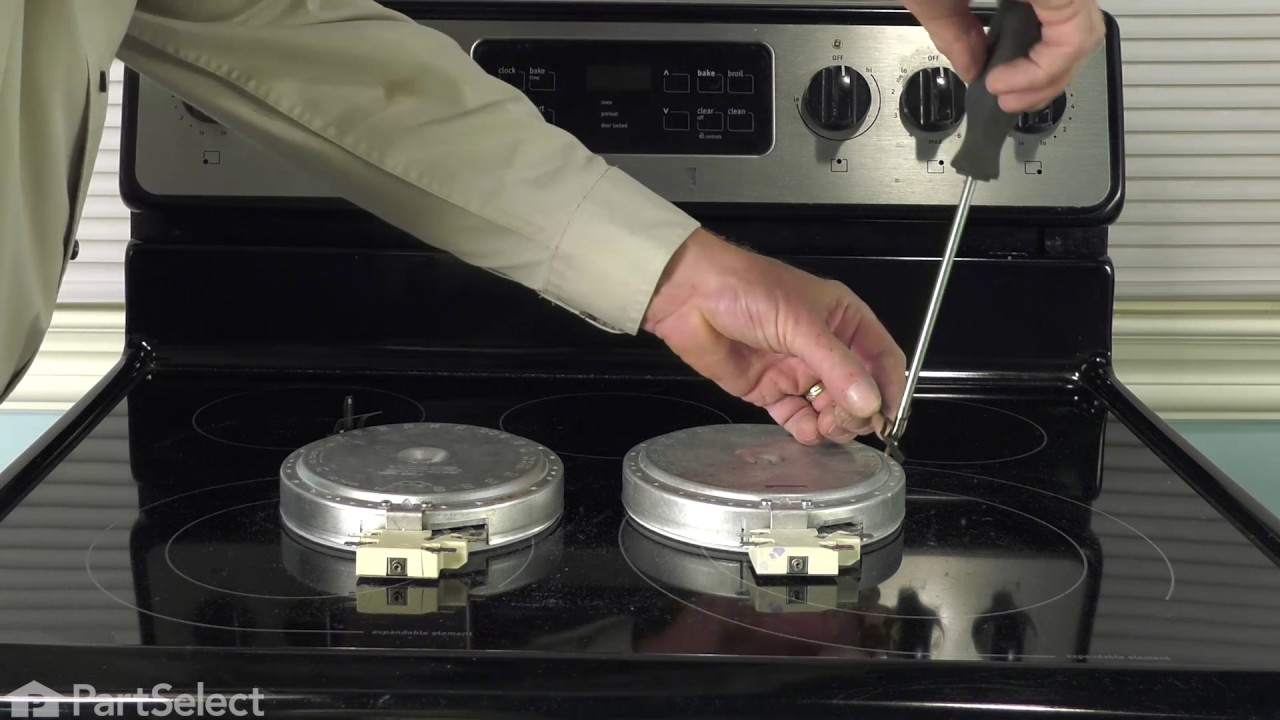
The 6” radiant cooking element with limiter fits under the glass cooktop and supplies heat to the cooking area. If your element is not heating, you can test the element for continuity with a multimeter. If the element doesn’t have continuity you will need to replace the element. If it doesn’t have continuity it is suggested to check the e...Read morelement switch because it could be defective and need to be replaced. This element is 1200 watts and is a genuine OEM part. The manufacturer suggests making sure the cooking element is cooled before starting the repair. Please remember to disconnect the power to the appliance before starting the repair.
This black tempered glass panel replaces the outer oven door glass on select ranges. If your oven door glass is cracked or shattered, or if your oven isn’t holding heat well, this part can help restore safe and efficient cooking. It’s heat-resistant and easy to clean, making it a smart fix for heat leaks and grease buildup. Fits models from Frigidaire, Kenmore, and more.
This is a replacement rack for your oven. The oven rack fits into grooves on the side of the oven wall, and acts as a shelf that you can place food items on when you want to cook them in the oven. This rack is 24 inches wide and 16 inches long, and is chrome in color. Occasionally, the rack will become warped or distressed, or it may be m...Read moreissing from your oven. In these cases, it will need to be replaced. To replace the rack, simply slide out the old rack and replace it with the new one.
This part is a single oven rack link arm. It is a genuine OEM replacement part for your oven. It connects the oven rack to the door bracket, to allow the rack to extend out when you open the oven door. This makes the experience of placing your food in the oven easier and more accessible. This repair is easy, and requires some disassembly ...Read moreof your oven rack and door bracket mechanism. Make sure the oven is cool before replacing this link.
If your oven won’t start, gets too hot, or the buttons aren’t responding, the control board might be the issue. This part runs the oven’s heating and timing functions and includes the digital display you use to set the temperature and clock. It helps keep cooking consistent and safe. Swapping out a faulty board can fix problems like no heat, overheating, or a non-working touchpad.
Ask our experts a question about this model and we'll get back to you as soon as possible!
We may have answered a similar question already! Search questions and answers left by others using simple keywords like "fit", "broken", "easy", or "quality" to find questions that match.
Search filter:
Clear Filter
Your search term must have 3 or more characters.
Sort by:
Prev
1
Next
Sorry, we couldn't find any existing answers that matched.Try using some different or simpler keywords, or submit your new question by using the "Ask a Question" button above!
Doug - For model number LGEF3043KFN
February 17, 2022
When was this stove manufactured?
Hello Doug, thank you for writing. This stove was manufactured in 2010. We hope this helps.
1 personfound this instruction helpful.
Was this helpful?
Thank you for voting!
Cheryl - For model number LGEF3043KFN
February 16, 2023
Purchase me oven door
Hi Cheryl,
Thank you for your question. The complete door is not available. Just the individual parts for it. If you could resubmit your question with information on the door parts you need, we would be happy to help you. We look forward to hearing from you!
Was this helpful?
Thank you for voting!
Nancy - For model number LGEF3043KFN
July 3, 2026
Purchased this stove used. Everything works well except when I went to make cookies it took a while to heat up and then when I finally when I finished I turned off oven. It stayed pretty hot hours later. I had to unplug it. What is the troubleshooting for this problem or does it need a part.
Hi Nancy, thank you for your question! Based on our research, the reason your oven refused to cool down and stayed dangerously hot for hours is a stuck or welded relay switch on the main electronic oven control board, part number PS12074908. It uses relays to send power to the oven's heating elements. Turning the oven "Off" opens the switch to cut power. Over time, these relays can physically melt or "weld" shut. Even when the display says "Off," power flows continuously to the heating element. You may need to replace the control board, part number PS12074908. We hope this solves your problem!
My right front burner doesn't adjust to the temperature I set it on...stays on high...burning my food.
What part do I need to buy and replace?
Thanks!
Hello Marcina, thank you for your question. We have researched your model and found that the issue is probably with the Dual Surface Element Switch, part number PS3504401. If you require assistance to place an order, please contact customer service. We hope that helps!
Why isn’t my stove cooking properly. It takes forever for food to get done! What part do I need to replace?
Hello Burt, Thank you for the question. We suggest testing the Temperature Sensor. Testing the temperature sensor probe on your oven is easy. With the sensor at room temperature, measure the resistance between the two prongs at the end of the sensor connector. The resistance of the sensor should read approximately 1080 – 1090 ohms at room temperature. We hope this helps! We hope this helps!
See how others fixed this model. Time, tools, difficulty, and steps that lead to victory!View More
Search repair tips from other customers using simple keywords like "replace", "fit", "remove", "inspect". DIY doesn't mean you have to do it alone!
Search filter:
Clear Filter
Your search term must have 3 or more characters.
Oven wouldn't operated. Error code F9
76 of 101 peoplefound this instruction helpful.
Richard from Centennial, CO
Really Easy
Less than 15 mins
Nutdriver
I called a repair place. They charged $54 to diagnose, (said it needed a new latch motor) then wanted $220 to complete the repair. I checked online prices and did it myself for about 15 minutes work and the latch motor itself ($44?).
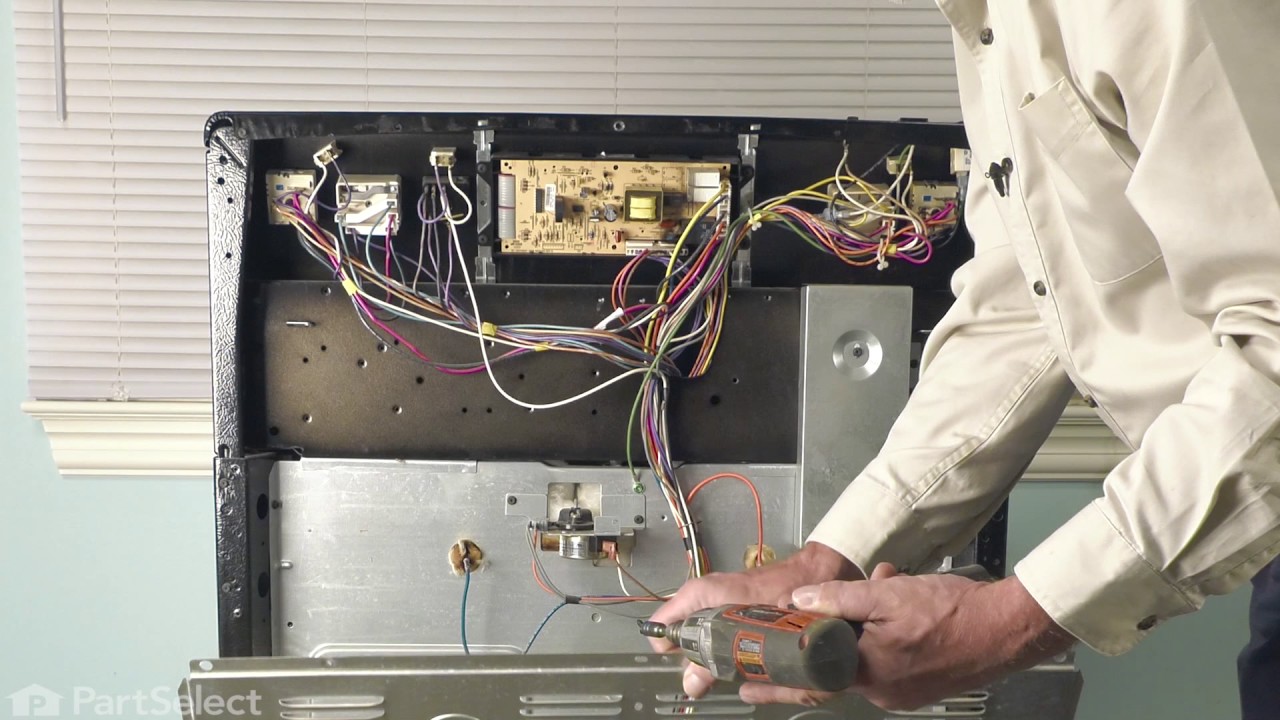
Was necessary to uplug the range, pull it away from the wall and remove the back panel sheet m
... Read moreetal, then 3 screws that mount the motor. Replace motor, reattach sheet metal. Plug in. Done. Ready to bake cookies.
Read less
Was this helpful?
Thank you for voting!
burned out burner
70 of 99 peoplefound this instruction helpful.
Lori from Winter Haven, FL
Easy
Less than 15 mins
Pliers, Screw drivers
First we removed two screws under the rim of the range top to open the lid. Lifted the lid and removed the screws from the bracket that holds the elements, Be careful with the clips that hold the element in, if you break them or bend them there aren't any more! Also note which holes they were in, they are marked according to the differ
... Read moreent sizes of elements. Disconnected the wires, needed needlenose pliers to grip them...connected new element, popped it back in place, replaced bracket, closed top ...Easy peasy!!!
Read less
Was this helpful?
Thank you for voting!
Switch Was Making A Arcing Sound When Burner Was On
59 of 83 peoplefound this instruction helpful.
Gerald from Paris, TN
Easy
15 - 30 mins
Screw drivers
Removed the back cover of the range. Removed the knob from the front of the switch. Removed 2 screws holding switch to range. Removed wires one at a time and connected to proper poles on replacement switch and reinstalled new switch on range



 My Orders