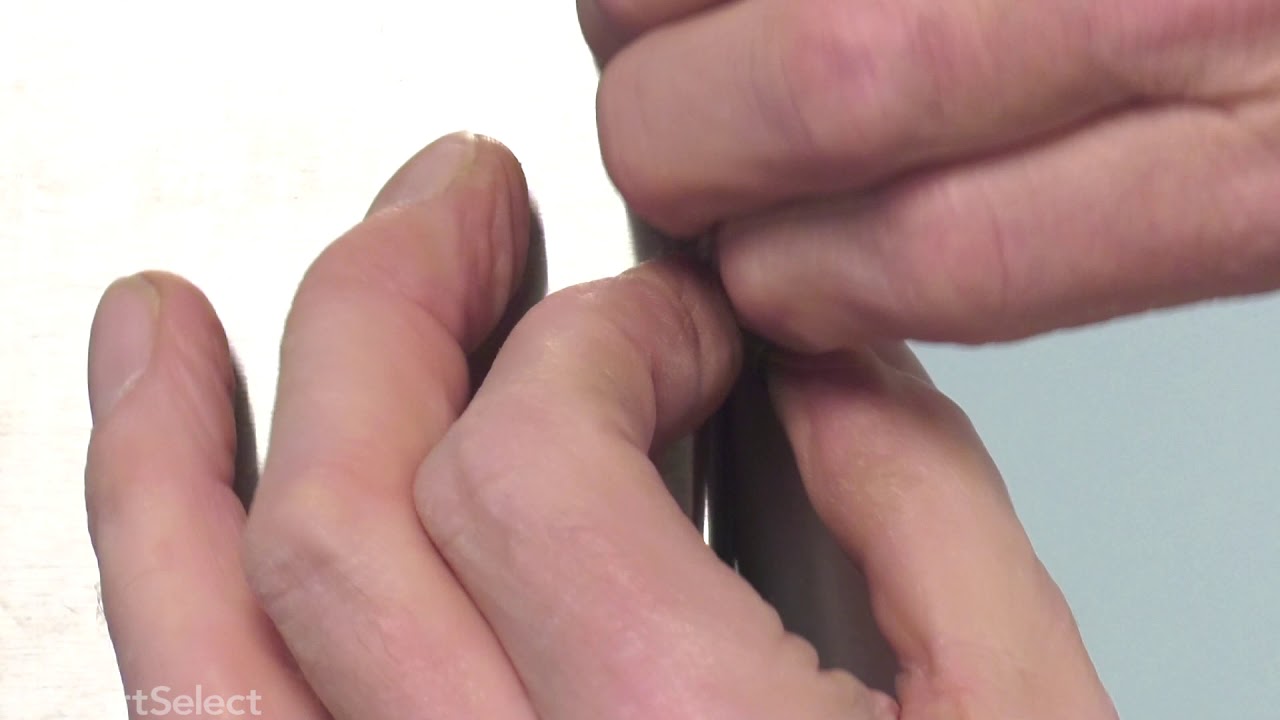
This air filter helps keep your fridge smelling fresh and your food lasting longer. It uses carbon to trap odors and clean the air inside your refrigerator. If you notice bad smells or your fridge tel...
This handle screw, also known as a mounting bolt, is a mounting screw to help secure the door handle to your refrigerator door. If your handle is loose, you may just need to tighten the screw. If your...
This refrigerator door shelf bin is a clear, gallon-sized storage accessory designed for installation on the right-side door of select refrigerator models. Crafted from durable, food-safe resin, it fe...
This is a manufacturer-approved refrigerator door closure for your refrigerator. It is made of white plastic and measures approximately 3 inches by 2 inches. If your old closure is damaged, your refri...
Designed for efficient ice production, this ice maker assembly includes the ice mold and control unit that work together to freeze and release ice. Water enters through the inlet valve and is held in ...
$324.43
In Stock
Questions And Answers for LFXS30796S
Ask our experts a question about this model and we'll get back to you as soon as possible!
3 questions answered by our experts.
< Prev
1
Next >
Sort by:
Search filter:
Clear Filter
Your search term must have 3 or more characters.
Keep searches simple. Use keywords, e.g. "leaking", "pump", "broken" or "fit".
Sorry, we couldn't find any existing answers that matched.Try using some different or simpler keywords, or submit your new question by using the "Ask a Question" button above!
Janet
December 9, 2023
THE GLASS ABOVE THE FRUIT AND VEGETABLE BROKE IN A MILLLION PIECES AND I NEED A NEW GLASS . I NEED TO ORDER ONE
For model number LFXS30796S
Hello Janet, thank you for your question. The Crisper Drawer Cover ( frame and glass) is PS11707400. We hope this helps.
Ice maker stopped making ice, running reset it seemed to do what it was supposed to do EXCEPT when it tried to fill with water it only filled for a second or two (and thus no cubes were made after 24 hours. I recall hearing it fill thousands of times and it took more then a second to fill and we got a full tray of cubes. What part is likely the problem and can I replace it myself?
For model number LFXS30796S
Hello Eric, thank you for your inquiry. Based on our understanding of the issue, we would suggest you checking the water inlet valve, part number PS3618979, to fix the issue. Good luck with this repair!
Before you begin, I'd recommend unplugging the refrigerator. You have to slip the putty knife in around the edge of the dispenser panel and carefully release the tabs all the way around and the entire panel pulls straight out. There are three wiring harnesses to unplug. You'll have to remove several screws and release the tabs around the electronic panel and remove it from the main panel. It's a good idea to take note or even pictures of how the ice and water actuators are positioned on the panel, so you get them situated properly on the new panel. If the ice actuator is not fit correctly on a knob that sticks up it may dispense ice all the time (happened to me). After you transfer the actuators to the new panel and the ice and water dispensing levers, you can re-attach the electronic panel on the left side. make sure all of the wiring harnesses are plugged in and the wires situated out of the way, then re-install the panel by pushing it straight back in. Plug the refrigerator in and test it out.
For the right side of the refrigerator door, just pulled off the old gasket and replaced it with the new one. Old gasket came off easily. Just had to pull it off. No screws on the right side. Just pushed the new one in place in the groove on the door.
For the left side, needed a Phillip’s screwdriver to remove the flap first. Helps to have a second person hold the door from moving. Once flap was off, pulled the old gasket off and installed the new one just like the right side. Then screwed the flap back on once the gasket was in the groove properly.
Initially after install, it seemed like the magnet on the door was not strong enough but after a couple of days, the magnet seems a lot stronger, sealing the air out. Very happy I replaced it. It was a lot simpler to replace than I thought it would be.
For this model the ice maker is very easy to replace. All it takes is a phillips head screwdriver. There are two wire connections you have to unplug. Easy out easy in. You do not have to disconnect the water line, just make sure the line is lined up correctly when you reinstall the new icemaker. It seems to take approximately 8 hours before you start getting ice again. If you have this same model, you already know this ice maker is very slow in making ice and is not able to keep up with daily usage of ice for a household of 3.