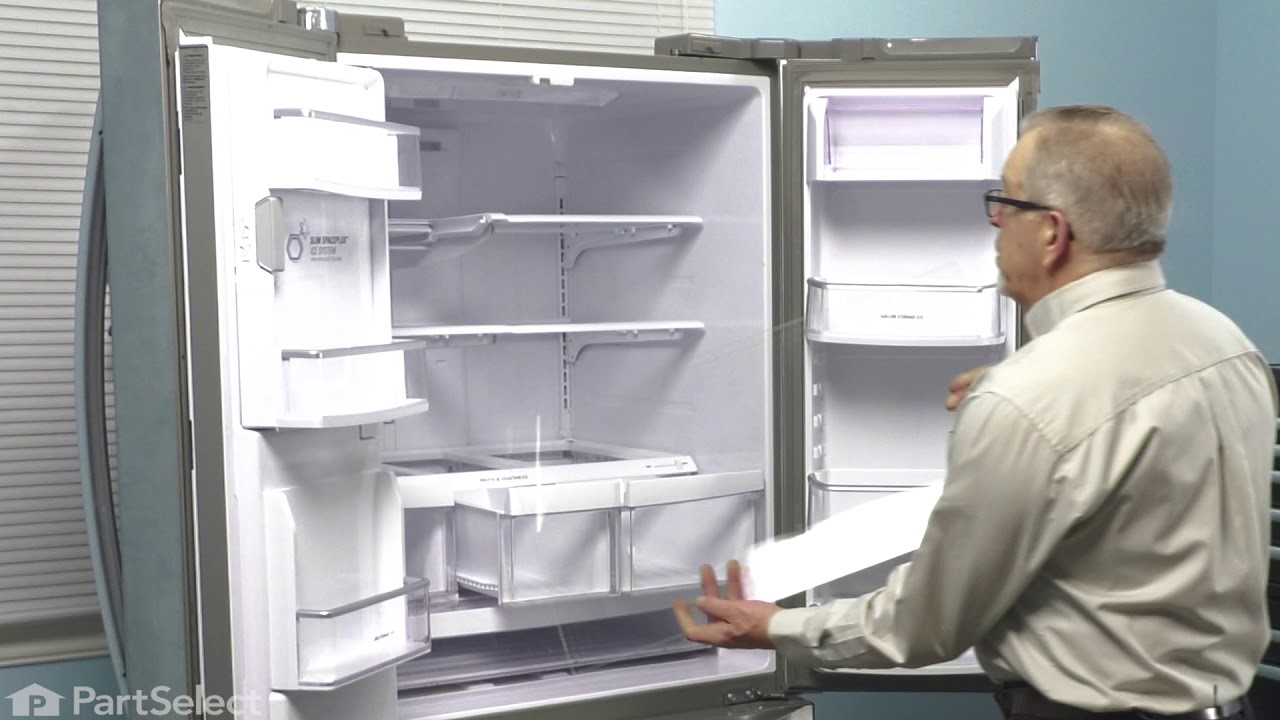
LFX25978ST (00) LG Refrigerator - Overview

Sections of the LFX25978ST

[Viewing 7 of 7]
Keep searches simple, eg. "belt" or "pump".
Refrigerator Front Plate Assembly – Part Number: AGU75188619
Refrigerator Front Plate Assembly
★★★★★
★★★★★
(35)
PartSelect #: PS12374439
Manufacturer #: AGU75188619
If your fridge doors aren’t sealing properly or you’re noticing cold air escaping, this front plate assembly might be the fix. Also called a mullion or flipper, it fits between the French doors to kee...
$172.59
  In Stock
Plastic Tube - 5/16 Inch – Part Number: MJU62070602
Plastic Tube - 5/16 Inch
★★★★★
★★★★★
(5)
PartSelect #: PS3536013
Manufacturer #: MJU62070602
$32.95
  In Stock
Refrigerator Water Filter LT700P – Part Number: AGF80300702
Refrigerator Water Filter LT700P
★★★★★
★★★★★
(4)
PartSelect #: PS12724833
Manufacturer #: AGF80300702
This refrigerator water filter replacement is for 2010 LG refrigerators that have either forward French doors or are the four-door dispensing models. This filter is designed to minimize impurities tha...
$77.99
  In Stock
Crisper Shelf Glass – Part Number: MHL42613217
Crisper Shelf Glass
★★★★★
★★★★★
(8)
PartSelect #: PS3630671
Manufacturer #: MHL42613217
Having issues with your LG refrigerators shelving? Our genuine OEM Retractable Glass Shelf is here to help. Its not just an ordinary shelfthis sleek and sturdy glass panel is a practical solution spec...
$58.25
  In Stock
Water Inlet Valve Assembly – Part Number: AJU72992601
Water Inlet Valve Assembly
★★★★★
★★★★★
(2)
PartSelect #: PS3533117
Manufacturer #: AJU72992601
This includes the primary and secondary valves along with the wire harness.
$246.72
  In Stock
Door Bin – Part Number: AAP73051301
Door Bin
★★★★★
★★★★★
(2)
PartSelect #: PS3613456
Manufacturer #: AAP73051301
The door bin on your refrigerator is attached to the inside of the refrigerator door, and is designed to hold food and beverage items. It is made of white and clear plastic, and is approximately 14 in...
$147.21
  In Stock
Refrigerator Door Switch – Part Number: 6600JB1010A
Refrigerator Door Switch
★★★★★
★★★★★
(2)
PartSelect #: PS3529268
Manufacturer #: 6600JB1010A
This door switch is used in refrigerators. It is activated by the closing and opening of the door
$46.15
  In Stock
Roller Assembly – Part Number: AHJ72909001
Roller Assembly
★★★★★
★★★★★
(2)
PartSelect #: PS3532772
Manufacturer #: AHJ72909001
$20.85
  Special Order
Handle Screw – Part Number: MJB63190001
Handle Screw
★★★★★
★★★★★
(2)
PartSelect #: PS8752913
Manufacturer #: MJB63190001
This handle screw, also known as a mounting bolt, is a mounting screw to help secure the door handle to your refrigerator door. If your handle is loose, you may just need to tighten the screw. If your...
$13.15
  In Stock
Ice Water Tube Assembly – Part Number: AJR56656503
Ice Water Tube Assembly
PartSelect #: PS3533046
Manufacturer #: AJR56656503
Having trouble with your LG fridge's ice or water dispenser? We have a solution: the Refrigerator Ice Water Line Tube Assembly is ready to get your fridge back in top shape. Why is this part crucial...
$40.65
  In Stock
Evaporator Fan Motor – Part Number: 4681JB1027C
Evaporator Fan Motor
★★★★★
★★★★★
(1)
PartSelect #: PS3523323
Manufacturer #: 4681JB1027C
This 13-volt evaporator fan motor helps circulate air over the refrigerator coils. These coils will then convert the heat into cool air, which is then circulated from the freezer section to the fresh ...
$216.10
  In Stock
Connector,Tube – Part Number: 4932JA3009A
Connector,Tube
PartSelect #: PS3524389
Manufacturer #: 4932JA3009A
$20.85
  Special Order

Questions And Answers for LFX25978ST

Ask our experts a question about this model and we'll get back to you as soon as possible!

3 questions answered by our experts.
  • 1
Sort by:
Sorry, we couldn't find any existing answers that matched.Try using some different or simpler keywords, or submit your new question by using the "Ask a Question" button above!
George
July 29, 2021
Freezer not working, refrigerator look the same, around 58 Fahrenheit for both of them. What can be wrong?
For model number LFX25978ST
PartSelect logo
Hello George, Thank you for the question. We suggest testing the Defrost Sensor Assembly. The best way to do this is to remove the thermostat from the refrigerator so you can control the temperature of the sensor. You can let the sensor warm up to room temperature. With the sensor warmed up to room temperature the sensor should read approximately 6.2K Ohms at 68°F. With the thermistor submerged is a glass full of ice water, the sensor should be very close to 32°F which should read approximately 16.3K Ohms. If the values that you are getting are far off from these readings, then the sensor is bad and should be replaced. We hope this helps!
Was this helpful?
Thank you for voting!
Related Parts:
Earnest
December 6, 2022
When plugged in control board makes clicking noise and continues to click for a few minutes after unplugging it from the electric outlet. Freezer starts to defrost & refrigerator gets warmer
For model number LFX25978ST
PartSelect logo
Hello Earnest, thank you for reaching out. Based on our research, we would recommend checking the following parts to fix your issue: evaporator fan motor, part number PS3523323, condenser fan motor, part number PS3523330, control board, part number PS3645666, and compressor, part number PS12739218. Please reach out to customer service if you need help placing an order. Glad to be of help!
Was this helpful?
Thank you for voting!
Related Parts:
Filippo
January 3, 2023
I need a gasket seal for the freezer.
For model number LFX25978ST
PartSelect logo
Hello Flippo, thank you for your question. The Freezer Door Gasket is PS3628548 and measures 31 5/8" X 24" . We hope this helps.
Was this helpful?
Thank you for voting!
  • 1

Common Symptoms of the LFX25978ST

[Viewing 9 of 9]
Leaking
Fixed by
these parts
Fixing Fixing Fixing
Show All
Light not working
Fixed by
these parts
Fixing
Show All
Door won’t open or close
Fixed by
these parts
Fixing Fixing Fixing
Show All
Not dispensing water
Fixed by
these parts
Fixing Fixing Fixing
Show All
Door Sweating
Fixed by
these parts
Fixing Fixing
Show All
Noisy
Fixed by
these parts
Fixing
Show All
Fridge too warm
Fixed by
these parts
Fixing
Show All
Ice maker not making ice
Fixed by
these parts
Fixing
Show All
Ice maker won’t dispense ice
Fixed by
these parts
Fixing
Show All
Keep searches simple. Use keywords, e.g. "leaking", "pump", "broken" or "fit".
replace leaking water inlet valve assembly
1. Shut off water to refrigerator. 2. Removed bottom sheet metal cover (6 screws). 3. Removed leaking water inlet valve assembly from refrigerator (1 screw). 4. Remove water inlet tube (loosen nut) and tube back to refrigerator (pull from water valve after remove cotter pin washer). 5. Detach two electrical wire harnesses. 6. Install new water inlet valve assembly to refrigerator (1 screw). 7. Replace both water tubes to water inlet assembly. 8. Re-attach both wiring harnesses. 9. Turn water to refrigerator on. 10. Check for leaks. 11. Re-attach bottom sheet cover (6 screws).
Parts Used:
Water Inlet Valve Assembly
  • Richard from JACKSONVILLE, FL
  • Difficulty Level:
    Really Easy
  • Total Repair Time:
    15 - 30 mins
  • Tools:
    Screw drivers
42 of 75 people found this instruction helpful.
Was this instruction helpful to you?
Thank you for voting!
Remove and replace light switch
Video makes it look easy. Kenmore refrigerator does not have "groove" along the right hand side of switch that allows for pushing down on release. Used a thin screwdriver to get under to push while holding switch edge with pliers. Kept slipping. Tape sides to avoid scratching inside of refrigerator.
Parts Used:
Refrigerator Door Switch
  • Debbie from Waltham, MA
  • Difficulty Level:
    A Bit Difficult
  • Total Repair Time:
    30 - 60 mins
  • Tools:
    Pliers, Screw drivers
45 of 89 people found this instruction helpful.
Was this instruction helpful to you?
Thank you for voting!
My nephew accidentally forced the door closed last year, which resulted in the door having to be re closed manually folding back the flap. Ugh!
Unscered 2 screws, unplug electrical connection under the screws, slide her flap into grooves, realign screw holes , and rescrew in. Done.
Parts Used:
Refrigerator Front Plate Assembly
  • Tiziana from WARWICK, NY
  • Difficulty Level:
    Really Easy
  • Total Repair Time:
    Less than 15 mins
  • Tools:
    Nutdriver
25 of 46 people found this instruction helpful.
Was this instruction helpful to you?
Thank you for voting!