This 18 ml bottle of white appliance touch-up paint is used to cover scratches or marks on your appliance. The white touch-up paint can be used on refrigerators, microwaves, ranges, clothes dryers, an...
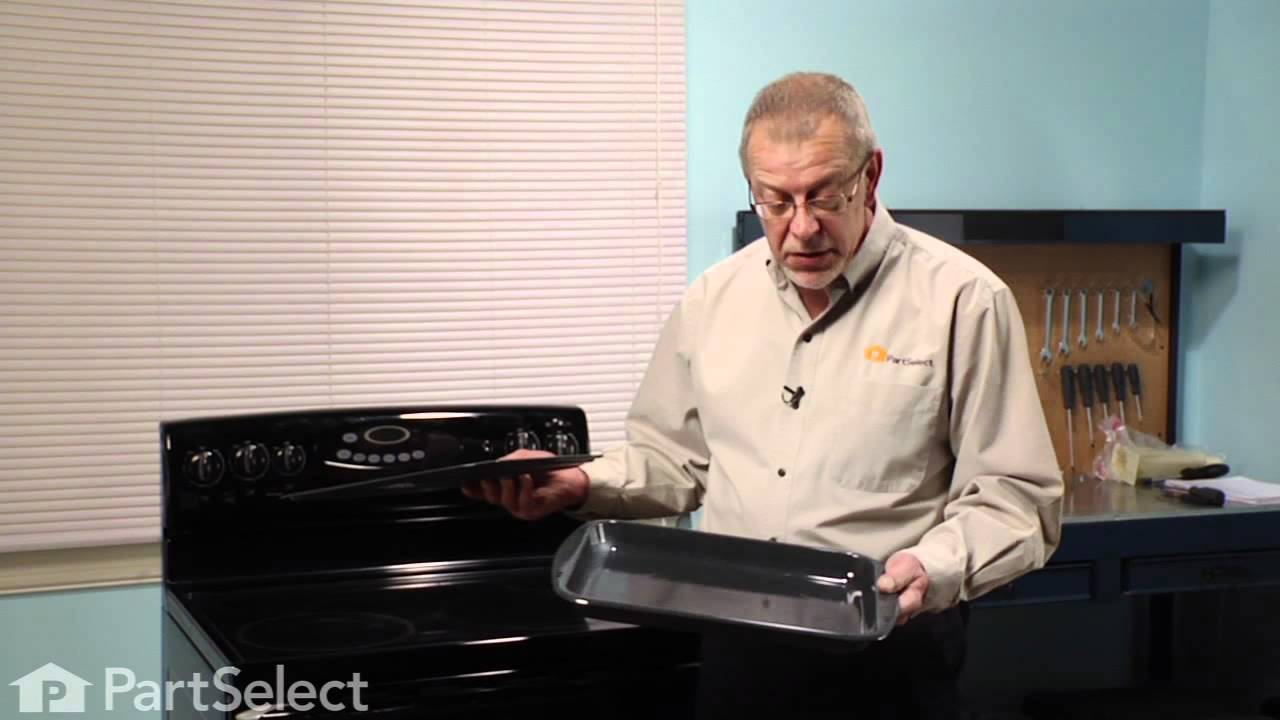
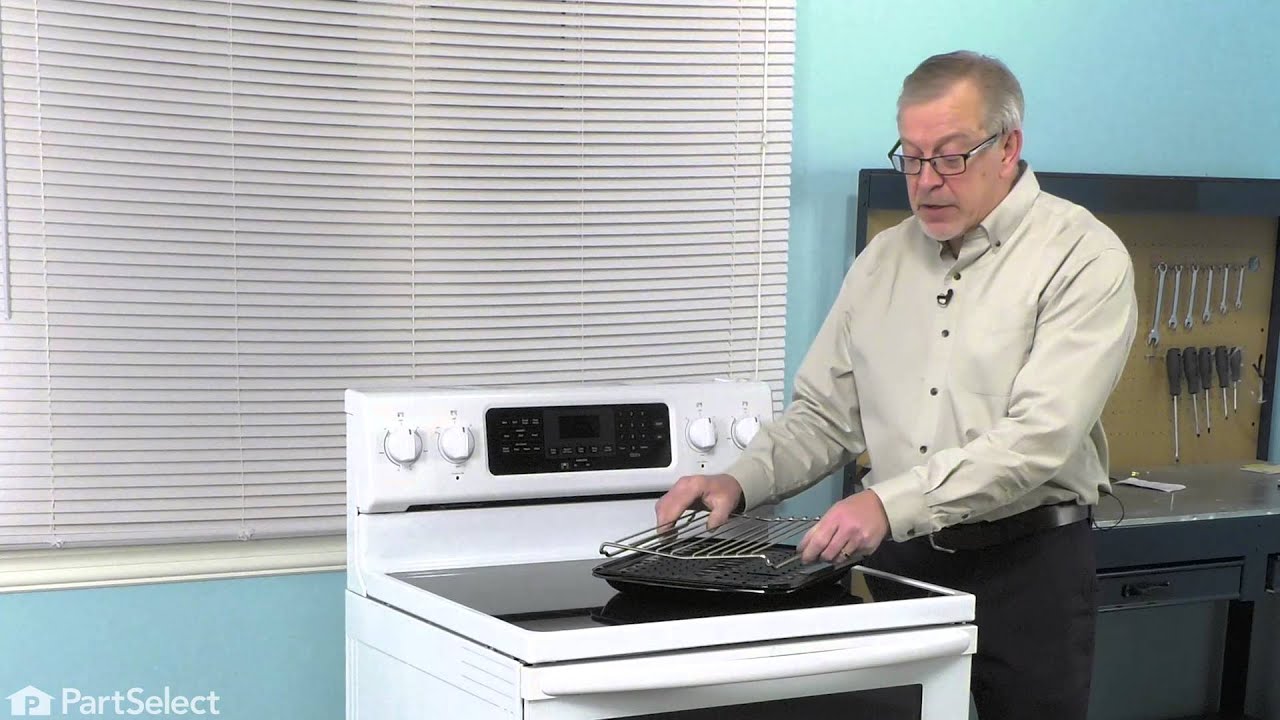
This broiler pan and roasting rack set features a two-piece design that allows fat to drain away for cleaner cooking and reduced splatter. Made with a durable, high-heat resistant porcelain finish, it...
$66.88
In Stock
Order within the next 12 hrs and your part ships today!
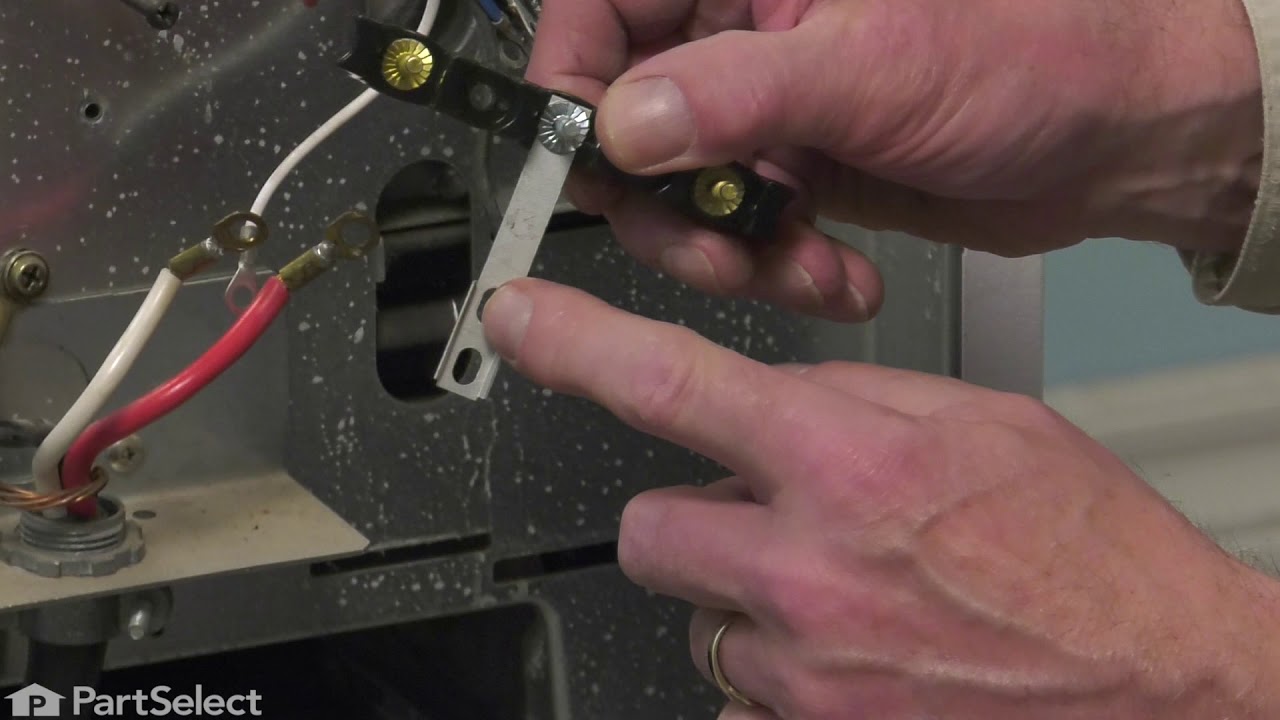
If your oven isn’t heating properly or seems to be getting too hot, the high-limit thermostat might be the issue. This part helps keep things safe by shutting off the heat if the temperature gets too ...
$145.93
In Stock
Order within the next 12 hrs and your part ships today!
If your oven door glass is cracked or letting heat escape, this replacement panel can help restore performance and safety. It’s the inner glass you see when you open the oven, designed to handle high ...
$577.10
In Stock
Order within the next 12 hrs and your part ships today!
Order within the next 12 hrs and your part ships today!
Questions And Answers for KEBS209BSS01
Ask our experts a question about this model and we'll get back to you as soon as possible!
1 question answered by our experts.
< Prev
1
Next >
Sort by:
Search filter:
Clear Filter
Your search term must have 3 or more characters.
Keep searches simple. Use keywords, e.g. "leaking", "pump", "broken" or "fit".
Sorry, we couldn't find any existing answers that matched.Try using some different or simpler keywords, or submit your new question by using the "Ask a Question" button above!
Vincent
January 17, 2025
Do you have light bulbs for a Kitchen Aid wall oven?
For model number KEBS209BSS01
Hi Vincent, Thank you for the question. Yes, the Bulb is listed as PartSelect #: PS11755306 for the Wall Oven. We are happy to be of assistance!
Not a repair. Just needed to replace the meat probe sensor for the programmable oven. Quick and easy purchase and very fast delivery took care of the problem. I was back in business.
Remove the oven door. Remove 3 self tappers on rear wall of oven to take off a round access panel. Pull out a pre-cut rectangle of insulation. Next I removed the 2 screws holding the sensor in place. Pulling the sensor out a bit told me I was "touching" the correct wires in the SMALL rectangular opening. The wires are not visable and 2 hands do not fit in this small opening.I looked at the NEW sensor to see the release on the sensor plug. Slip the angled needle nose into the opening and grasp the plug/release side. The plug pulled apart easily. The sensor wire pulls out with a little bit of twisting to fit it out the hole. The new plug pushes in and has to be worked down to where you can reach it. The same angled plier works to re-attach it. It takes longer to read this than to do the job. Best of luck, Al