Restore light inside the cooking area or over the cooktop with this replacement halogen lamp, it fits select microwaves, wall ovens, ranges, and microwave oven combos, disconnect the power before starting the repair, use the exact model number to confirm fit.
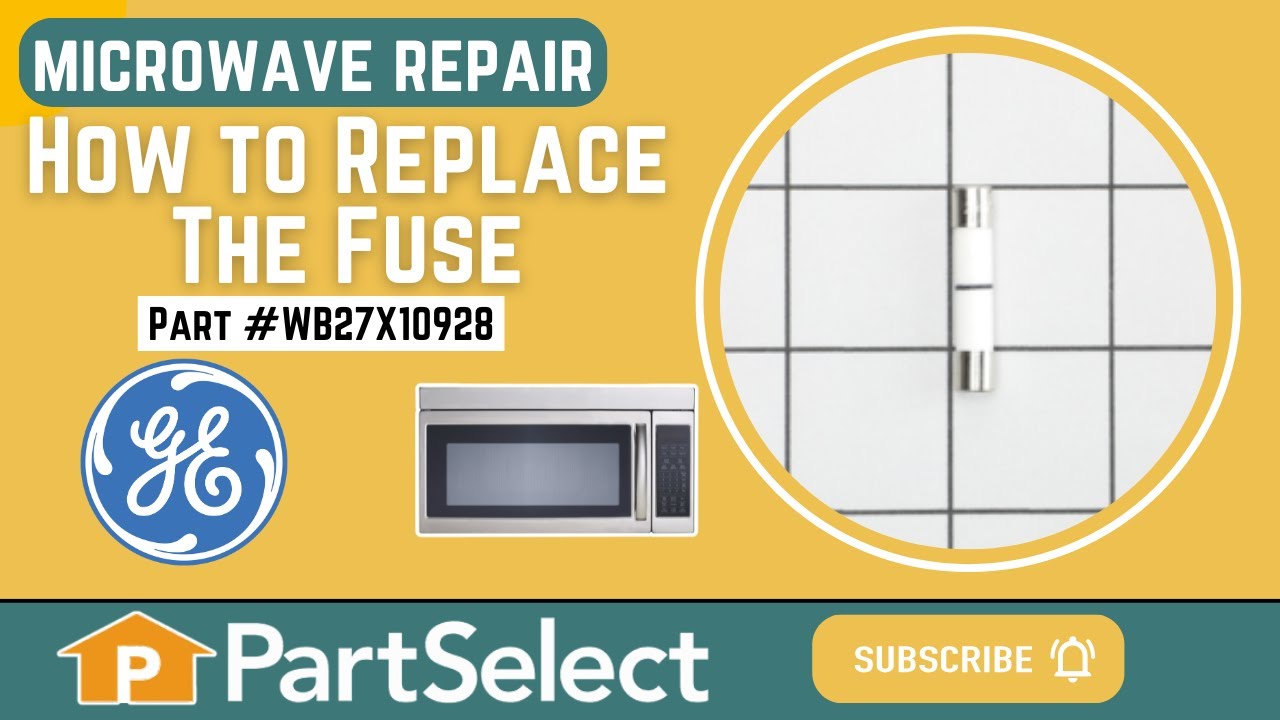
This ceramic microwave fuse is just over an inch in length. It is white in the center, and metal on both ends. This is a 20-amp fuse, and is used to power your microwave. If the touch pad on the microwave becomes unresponsive, the microwave produces little to no heat, or the appliance simply does not turn on, it could mean that your fuse ...Read moreis at fault and needs to be replaced. Because this part contains an electrical charge, remember to disconnect power to the microwave unit before you begin this repair.
NOTE: Before you start this repair, ensure that the microwave is unplugged, and the capacitor is discharged. A capacitor stores large amounts of electricity even after your microwave is unplugged.
The grease filter can be found on the bottom of the microwave. If your grease filter is damaged, it will not effectively capture grease that builds up when your microwave is in use. To replace the grease filter, simply grasp the filter ring and push it to the back of the microwave, then lift out the filter. To preserve the life of your gr...Read moreease filter, you should occasionally remove them and gently wash them in a warm water and detergent solution. Most microwaves will have two grease filters, but this part is sold individually. The grease filter is approximately 8.5 inches by 5 inches.
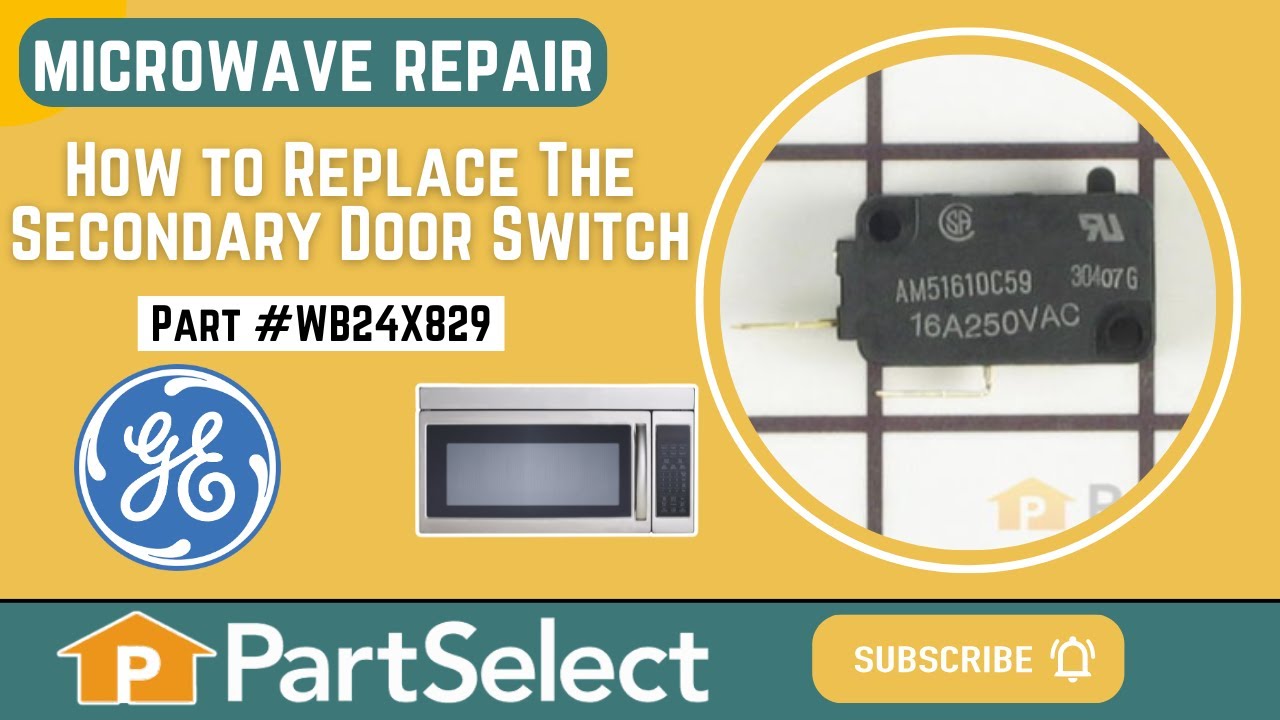
If your microwave won’t start even though the door is shut, this switch might be the reason. It helps your microwave know the door is closed so it can run safely. This genuine part is easy to install and can get your appliance working again. Just be sure to unplug the microwave before replacing it!
The rotating ring in your microwave rests under the microwave plate, and allows it to rotate when the microwave is running. It is a round plastic ring with 3 wheels spaced out around the perimeter. If your microwave plate or tray is not turning, you could have a broken or damaged rotating ring. This plastic ring is gray in color and is ap...Read moreproximately 10 inches in diameter. The 3 wheels are made of white plastic. This part is sold individually.
This is the replacement vent grille for your microwave. It is made of stainless steel and is approximately 32 inches wide, and 3 inches tall. The vent grill covers components inside the microwave and allows air to flow through the slats. The main reason to replace the vent grille is if the old one is cracked or broken. To replace the vent...Read more grille, you will need to unscrew the old grille, then install the new one. This part is sold individually and is an authentic OEM part sourced directly from the manufacturer.
Ask our experts a question about this model and we'll get back to you as soon as possible!
We may have answered a similar question already! Search questions and answers left by others using simple keywords like "fit", "broken", "easy", or "quality" to find questions that match.
Search filter:
Clear Filter
Your search term must have 3 or more characters.
Sort by:
Prev
1
2
3
Next
Sorry, we couldn't find any existing answers that matched.Try using some different or simpler keywords, or submit your new question by using the "Ask a Question" button above!
Richard - For model number JVM1790SK01
June 26, 2023
The LED display has become so dim it is very difficult to read. Can the brightness be restored?
Hello Richard, thank you for the great question. If the display is so dim, then you may need to replace the electronic control board, part number PS1018328, to fix the issue. We hope this helps!
What is the model number/style of light bulb to replace the light (under the oven, when used as an over the stove unit)?
Hello Johnson, Thank you for contacting us. I have researched the model you have provided and have found the part you are looking for is PartSelect Number PS2351821. Hope this helps!
Hi Issac,
Thank you for your question. If the surface light will not turn out, the control power board may have shorted and you will need to replace it. Check the board for signs of damage, wear and burn marks and if it shows any of these signs, you will need to replace it. The part number for the control power board is PS1018328. We hope this helps. Thank you and have a great day.
3 peoplefound this instruction helpful.
Was this helpful?
Thank you for voting!
Joan - For model number JVM1790SK01
January 12, 2022
When we open the door, the microwave is running and doesn't stop until we close the door again. So we are not able to use the microwave. Do you know how to fix this or do we need a new microwave? Thank you.
Hello Joan, Thank you for the question. This normally indicates one or more defective Door Switches. We suggest testing the switches with a multi meter and making sure they are securely placed in the proper position. We hope this helps!
My conventional oven start to blow air every time I open the door and stops when I close it. Never did it before. Can you help with this issue? Why is the problem.
Thanks
Hi Oswaldo,
Thank you for your question. If the fan comes on when you open the door there may be an issue with door switches or the electronic control board. You will need to check these parts to see which one is causing the issue. We have included a link that you may reference on how to check these parts. Once you have determined the part you need, please call customer service. We look forward to hearing from you!
See how others fixed this model. Time, tools, difficulty, and steps that lead to victory!View More
Search repair tips from other customers using simple keywords like "replace", "fit", "remove", "inspect". DIY doesn't mean you have to do it alone!
Search filter:
Clear Filter
Your search term must have 3 or more characters.
Microwave completely stopped working
968 of 1266 peoplefound this instruction helpful.
Kim from Cliffside Park, NJ
Really Easy
15 - 30 mins
Screw drivers
Turned out the issue was easily solved by replacing a single, inexpensive fuse.
First off, UNPLUG THE MICROWAVE.
The fuse is located under the plastic grill at the top of the microwave. It's held on by two screws. Once you've removed the screws and taken off the plastic grill, you go to the right side of the mic
... Read morerowave and remove another screw that holds a small metal grill in place. Removing the small metal grill is probably the toughest part of this repair. You kind of have to rock it back and forth a bit to get it to release. Once that's off, you can get to the fuse. I removed the burnt out one with a pair of needle nose pliers. I also put a small piece of cardboard under the fuse when I did this so I didn't accidentally drop it into the innards of the microwave. I did the same thing when I replaced the new fuse. I then plugged the appliance back in and made sure it worked. Once that was confirmed, I replaced both grills.
Read less
Was this helpful?
Thank you for voting!
Under the vent light bulbs needed to be replaced
66 of 87 peoplefound this instruction helpful.
Robert from Naples, ME
Really Easy
Less than 15 mins
Screw drivers
Turned of f the circuit breaker to the microwave. Unscrewed the cover (1 screw!) popped out the old bulbs and plugged in the new ones, using the bubblewrap as a handle to be sure my skin didn't touch the light bulbs so the oil from my hands didn't damage or shorten the life of the new bulbs. Turned the circuit back on. That's it!
Was this helpful?
Thank you for voting!
Loss of Rack holder clip for GE Profile Convection Microwave oven
35 of 47 peoplefound this instruction helpful.
Nancy E from Cincinnati, OH
Really Easy
Less than 15 mins
It was super easy! Opened the door, matched up the hole on the side of the microwave convection oven with the first portion of the rack holder clip, pushed in the rack holder clip and made a twist to ensure the rack holder clip seated in the wall of the oven. Less than 30 seconds to install - no tools necessary. I that the clips came
... Read morein an order of a unit of 8 clips, allowing me a quick-fix if I need additional clips for loss. Now I have stable racks within my oven ensuring safe insertion and removal of food from the oven. Having the full use of both of the racks in my convection oven during the summer is a Godsend, especially living in the Ohio Valley with its' hot steamy summers - my kitchen stays cool as a cucumber, and so do I!



 My Orders