JJW9627AAQ Jenn-Air Wall Oven - Overview

Sections of the JJW9627AAQ

[Viewing 5 of 5]

Manuals & Care Guides for JJW9627AAQ

Click to download
Keep searches simple, eg. "belt" or "pump".
Light Bulb - 40W – Part Number: 8009
Light Bulb - 40W
★★★★★
★★★★★
(47)
PartSelect #: PS884734
Manufacturer #: 8009
This an authentic OEM 40-Watt replacement light bulb, used in a number of household appliances. It is specially designed to withstand extreme temperatures, which is why these replacement bulbs are mos...
$22.58
  In Stock
Order within the next 1 hr and 53 mins and your part ships today!
Long Oven Sensor – Part Number: 12001656
Long Oven Sensor
★★★★★
★★★★★
(27)
PartSelect #: PS1570174
Manufacturer #: 12001656
The oven sensor detects the temperature within the oven cavity and sends the information to the control board. If your oven is not heating evenly, has little or no heat when baking, or is too hot, you...
$53.22
  In Stock
Order within the next 1 hr and 53 mins and your part ships today!
Range Light Cover Lens – Part Number: WP9781049
Range Light Cover Lens
★★★★★
★★★★★
(27)
PartSelect #: PS11747414
Manufacturer #: WP9781049
This part goes over top of the light bulb.
$81.68
  In Stock
Order within the next 1 hr and 53 mins and your part ships today!
2 Piece Broiler Pan – Part Number: 4396923
2 Piece Broiler Pan
★★★★★
★★★★★
(2)
PartSelect #: PS971245
Manufacturer #: 4396923
This broiler pan and roasting rack set features a two-piece design that allows fat to drain away for cleaner cooking and reduced splatter. Made with a durable, high-heat resistant porcelain finish, it...
$59.89
  In Stock
Order within the next 1 hr and 53 mins and your part ships today!
Dryer Screw – Part Number: WP90767
Dryer Screw
PartSelect #: PS11746840
Manufacturer #: WP90767
This screw is sold individually.
$10.09
  In Stock
Order within the next 1 hr and 53 mins and your part ships today!
Temperature Probe – Part Number: WP71001870
Temperature Probe
★★★★★
★★★★★
(2)
PartSelect #: PS11743863
Manufacturer #: WP71001870
This temperature probe consists of two ends joined together by an insulated wire. The small end is almost four inches long, whereas the longer end is almost seven inches long. The small end, the jack,...
$189.80
  Special Order
Range Screw – Part Number: WPY706189
Range Screw
★★★★★
★★★★★
(1)
PartSelect #: PS11757587
Manufacturer #: WPY706189
$10.20
  In Stock
Order within the next 1 hr and 53 mins and your part ships today!
Bake Element – Part Number: WP7406P272-60
Bake Element
★★★★★
★★★★★
(2)
PartSelect #: PS11744515
Manufacturer #: WP7406P272-60
This bake element is found on the bottom of the oven.
$124.25
  Special Order
Oven Rack – Part Number: Y704660
Oven Rack
PartSelect #: PS2201584
Manufacturer #: Y704660
Sold individually.
$115.08
  Special Order
Broil Element – Part Number: WPW10310260
Broil Element
★★★★★
★★★★★
(1)
PartSelect #: PS11752538
Manufacturer #: WPW10310260
This broil element is found on the roof of the oven.
$169.76
  Special Order
Dehydration Oven Rack – Part Number: 74003595A
Dehydration Oven Rack
PartSelect #: PS2081657
Manufacturer #: 74003595A
  No Longer Available
SPACER- DE – Part Number: 74007237
SPACER- DE
PartSelect #: PS2084836
Manufacturer #: 74007237
$65.23
  Special Order

Questions And Answers for JJW9627AAQ

Ask our experts a question about this model and we'll get back to you as soon as possible!

2 questions answered by our experts.
  • 1
Sort by:
Sorry, we couldn't find any existing answers that matched.Try using some different or simpler keywords, or submit your new question by using the "Ask a Question" button above!
Allan
January 31, 2023
Backlight in control panel is very faint making programing quite difficult. How do I increase its intensity? Thank you
For model number JJW9627AAQ
PartSelect logo
Hello Allan, Thank you for the question. Very sorry, the Light can not be adjusted. If the light is going dim, it could be an indication the Electronic Clock Control Board is faulty and may need to be replaced. We hope this information helps!
Was this helpful?
Thank you for voting!
Related Parts:
Skip
October 24, 2023
I have a run-away thermostat and Service says it needs a new board, but I can not find one.
For model number JJW9627AAQ
PartSelect logo
Hello Skip, thank you for the question. The control board compatible with your model is part number PS11743899. If you require assistance to place an order, please contact customer service!
Was this helpful?
Thank you for voting!
Related Parts:
  • 1

Common Symptoms of the JJW9627AAQ

[Viewing 9 of 9]
Little to no heat when baking
Fixed by
these parts
Fixing Fixing
Show All
Oven is too hot
Fixed by
these parts
Fixing
Show All
Oven not heating evenly
Fixed by
these parts
Fixing Fixing
Show All
Will Not Start
Fixed by
these parts
Fixing Fixing
Show All
Element will not heat
Fixed by
these parts
Fixing Fixing Fixing
Show All
Touchpad does not respond
Fixed by
these parts
Fixing
Show All
Will not program
Fixed by
these parts
Fixing
Show All
Little to no heat when broiling
Fixed by
these parts
Fixing Fixing
Show All
Door won’t open after self cleaning cycle
Fixed by
these parts
Fixing
Show All
Keep searches simple. Use keywords, e.g. "leaking", "pump", "broken" or "fit".
Oven not holding 350 F, when cooling the coils did not reheat
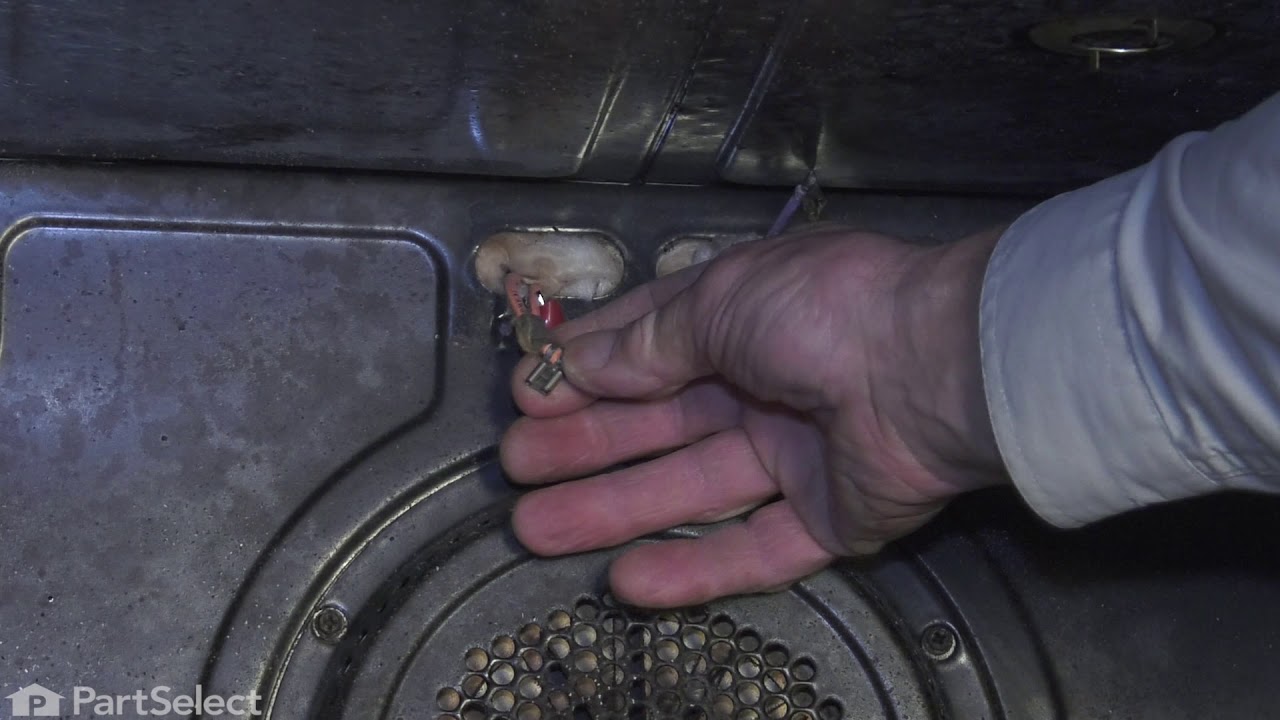
Removed the oven door by opening slightly, then pic door up to remove. Remove 2 screws holding oven sensor in place, gently pull on sensor to remove, had to remove about 8 inches to get at plastic connector. Unplug connector, had to use an adapter cable supplied with the PartSelect kit to install new sensor, push cable back into opening, reinstall 2 screws. The oven works fine! Note that due to thermal lag the temperature overshoots to 370 degrees and undershoots to 340 degrees, this appears to be normal oven operation. Putting door back in place was easy.
Parts Used:
Long Oven Sensor
  • David from Westford, MA
  • Difficulty Level:
    Really Easy
  • Total Repair Time:
    15 - 30 mins
  • Tools:
    Screw drivers
162 of 213 people found this instruction helpful.
Was this instruction helpful to you?
Thank you for voting!
F1-1 code
First I removed the two screws that hold the element in place. I then pulled the sensor out about 3 inches and disconnected the two wires. Next, I connected new sensor and screwed the new sensor back in place. One area for caution. Make sure that the electrical connection is pushed in past the insulation on the back side of the oven. Failure to do so will cause the plastic plug connector to melt from oven heat.
Parts Used:
Long Oven Sensor
  • charles from marstons mills, MA
  • Difficulty Level:
    Really Easy
  • Total Repair Time:
    Less than 15 mins
  • Tools:
    Screw drivers
79 of 110 people found this instruction helpful.
Was this instruction helpful to you?
Thank you for voting!
Repeated oven temperature sensor fault codes.
First I removed the two philips screws inside the oven that hold the element in place. Then I pulled the sensor out and the two insulated wires through the hole to reveal the plastic connector. I unsnapped it from the connector and replaced it with the new element. Then, behind the oven, I removed five or six philips screws on the right side of the large panel so I could pull the wires back through the layer of fiberglass insulation to make sure only the sensor itself would be exposed to the oven's heat. I then secured the back panel again and replaced the two philips screws holding the sensor in place.
Parts Used:
Long Oven Sensor
  • David from Arlington, VA
  • Difficulty Level:
    Really Easy
  • Total Repair Time:
    15 - 30 mins
  • Tools:
    Screw drivers
35 of 43 people found this instruction helpful.
Was this instruction helpful to you?
Thank you for voting!