














JDS1450ML2 Jenn-Air Range - Overview
Sections of the JDS1450ML2
[Viewing 6 of 6]


Keep searches simple, eg. "belt" or "pump".

Bake Element
PartSelect #: PS11703285
Manufacturer #: W10779716
This is a heating element compatible with various makes of ranges and ovens and is sold as an individual part. Measuring 20.5-inches wide and 20.25-inches (with terminals) long, this heating element i...
$80.75
In Stock

Touch-Up Paint - White
PartSelect #: PS385132
Manufacturer #: 72017
This 18 ml bottle of white appliance touch-up paint is used to cover scratches or marks on your appliance. The white touch-up paint can be used on refrigerators, microwaves, ranges, clothes dryers, an...
No Longer Available

Range Bumper
PartSelect #: PS11770098
Manufacturer #: W10919249
Sold individually. Must be held in with adhesive.
$18.43
In Stock

Range Safety Thermostat
PartSelect #: PS11740991
Manufacturer #: WP3196548
This part is used as a safety feature. If your range overheats this part will shut the range down.
$48.47
In Stock

Screw
PartSelect #: PS12349731
Manufacturer #: W11233072
This is a multi-use and multi-appliance screw. It can be used on a microwave, refrigerator, range/oven, air conditioner, dehumidifier, washer, or dryer. The measurements of this screw are 8 x 1/2 inch...
$30.40
In Stock

Sensor
PartSelect #: PS11726314
Manufacturer #: W10833885
This oven temperature sensor is designed to monitor and regulate the internal heat levels of your range, ensuring consistent and accurate cooking performance. It communicates directly with the control...
$171.03
In Stock

Range Insulation
PartSelect #: PS11750415
Manufacturer #: WPW10208653
Oven Wrap Insulation.
$69.24
In Stock

Range Rear Leveling Leg
PartSelect #: PS11748094
Manufacturer #: WPW10058460
Sold individually.
$15.35
In Stock


Convection Fan
PartSelect #: PS12745419
Manufacturer #: W11414552
Convection fan motor circulates hot air for even cooking. Replace if uneven heating occurs. Ensure fit before ordering.
$234.86
In Stock

Oven Bottom
PartSelect #: PS11703263
Manufacturer #: W10777210
A durable oven bottom panel that protects the lower oven cavity. Replace if worn or damaged. Check compatibility before ordering.
$186.97
In Stock

Common Symptoms of the JDS1450ML2
[Viewing 7 of 7]Element will not heat
Fixed by
these parts
these parts


Show All
Little to no heat when baking
Fixed by
these parts
these parts

Show All
Oven not heating evenly
Fixed by
these parts
these parts
Show All
Oven is too hot
Fixed by
these parts
these parts
Show All
Will Not Start
Fixed by
these parts
these parts

Show All
Little to no heat when broiling
Fixed by
these parts
these parts
Show All
Door won’t close
Fixed by
these parts
these parts


Show All

Keep searches simple. Use keywords, e.g. "leaking", "pump", "broken" or "fit".
mice had made nests in the insulation wrap in the range
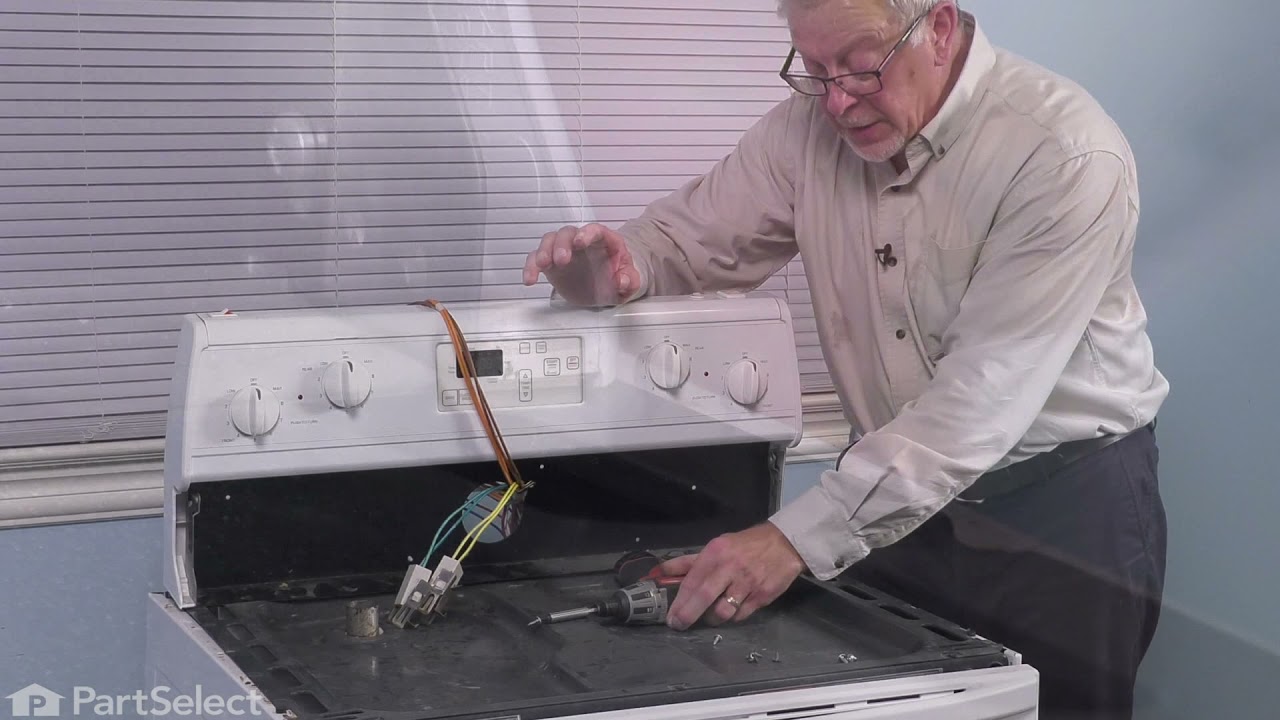
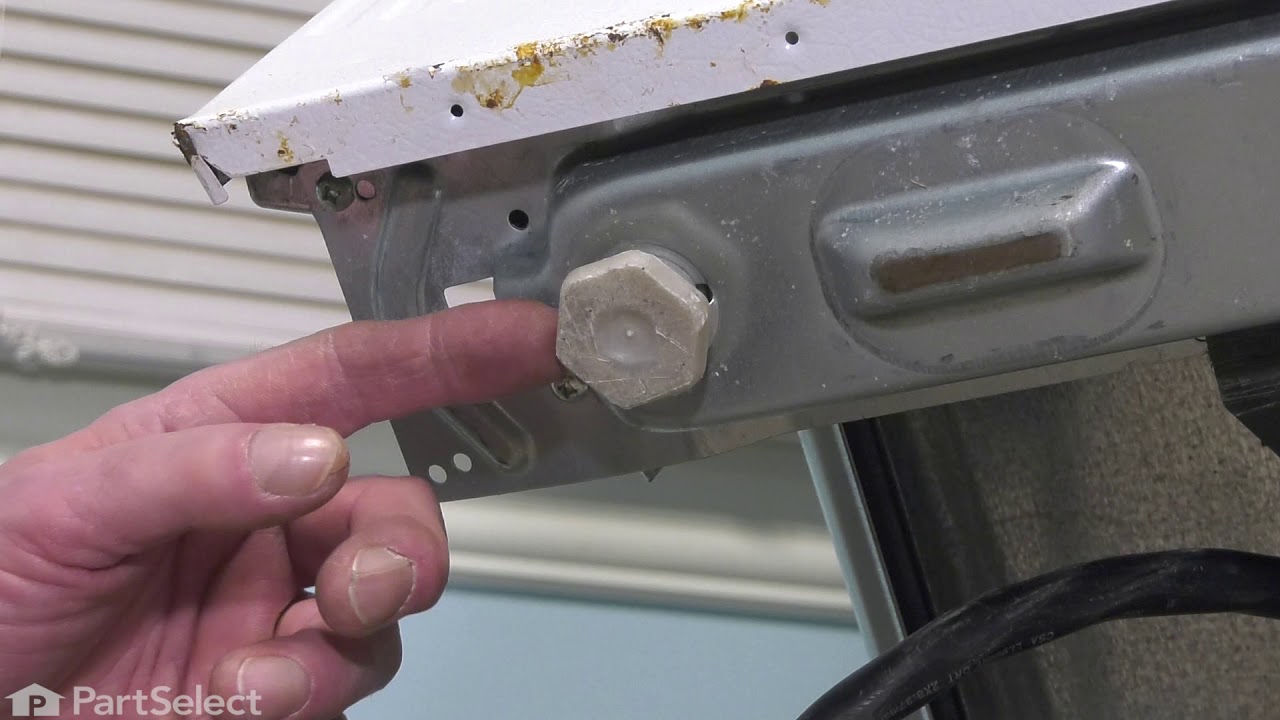
I numbered every part. ex: 1 L., for first part removed left side. I used a magic marker to circle the holes and wrote the number of screws used on the part, set the srews in a separete place, so that I new where these screws went to. The cleanup was pretty time consuming, but I was able to keep my stove, when every repairman I called to fix my stove told me I was better off buying a new stove. ($600.00 stove 2 years old)Please Note: The insulation blanket needed for the entire stove is two pieces, the sides and top are one part # and the bottom and back, are another part #. I did not know this. I just purchased the top and sides. I got lucky, the back and bottom were still in good shape. So I guess I should have read the description of the part more carefully to see what it covers, before I ordered it. It took two people two hours to do the work, it was really nice to have an extra set of eyes, to remember what direction pieces of metal from the stove went. I would do it all over in a heart beat instead of buying a new stove.
Parts Used:
-
Wendy from Red Hook, NY
-
Difficulty Level:Easy
-
Total Repair Time:More than 2 hours
-
Tools:Screw drivers
128 of 209 people
found this instruction helpful.
Was this instruction helpful to you?
Thank you for voting!
The oven would take an hour to preheat.
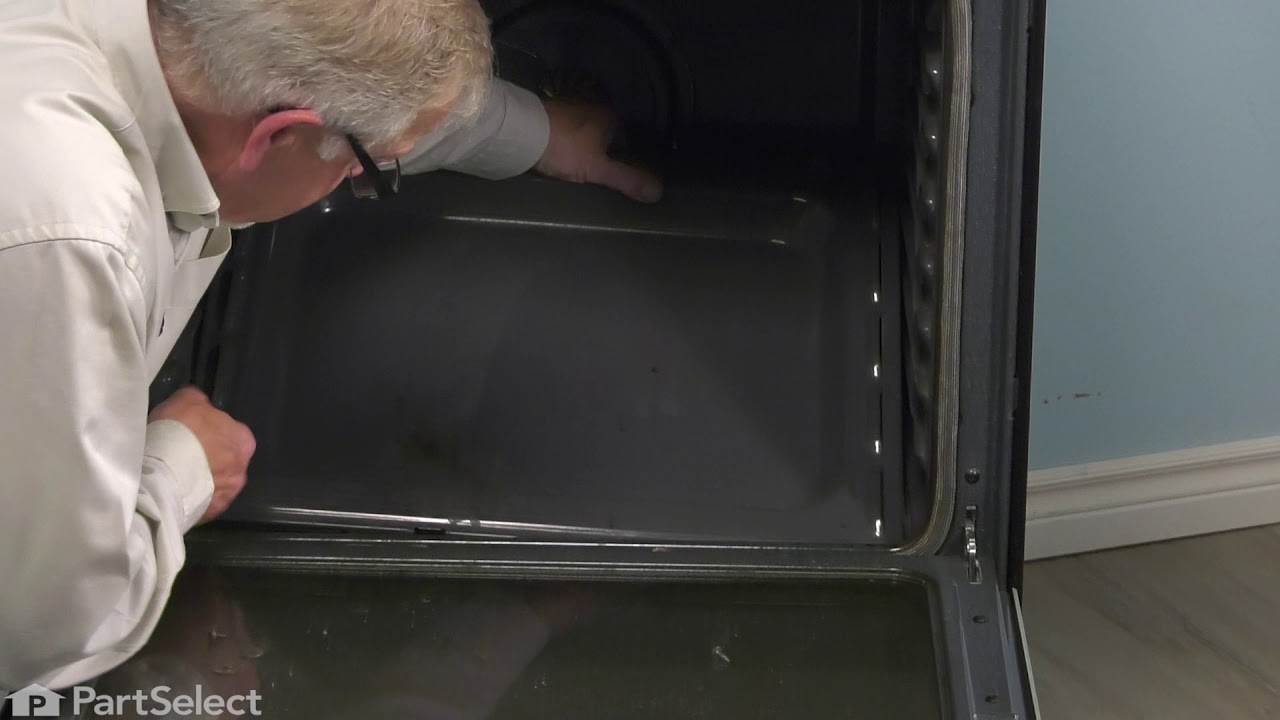
First, we turned on broil and the upper element turned orange and obviously worked. We figured the bottom element went out. The diagram on this site showed a bottom heating element that looked nothing like ours, but after reading other reviews, and reading that part that goes through the back of the oven was in the middle, and not off to the side, we ordered this element. It was perfect. All you have to do is unplug the oven, take out the bottom pan covering the element by removing 2 screws in the back, remove the lower small cover on the back of the oven and then unplug the old element, unscrew the old element on the inside of the stove, then install the new element and put everything back like it was. Nothing to it. It worked like a charm and my oven now heats up fast again. Easiest appliance repair job ever!
Parts Used:
-
Helen from PURVIS, MS
-
Difficulty Level:Very Easy
-
Total Repair Time:Less than 15 mins
-
Tools:Screw drivers
59 of 64 people
found this instruction helpful.
Was this instruction helpful to you?
Thank you for voting!
Oven Bake Element bad
1. Unplugged stove
2. Removed two (2) screws from bottom panel in oven cavity
3. Lifted out bottom panel
4. Removed two (2) screws from bake element standoffs.
5. Removed two (2) screws from bake element (Rear of oven cavity)
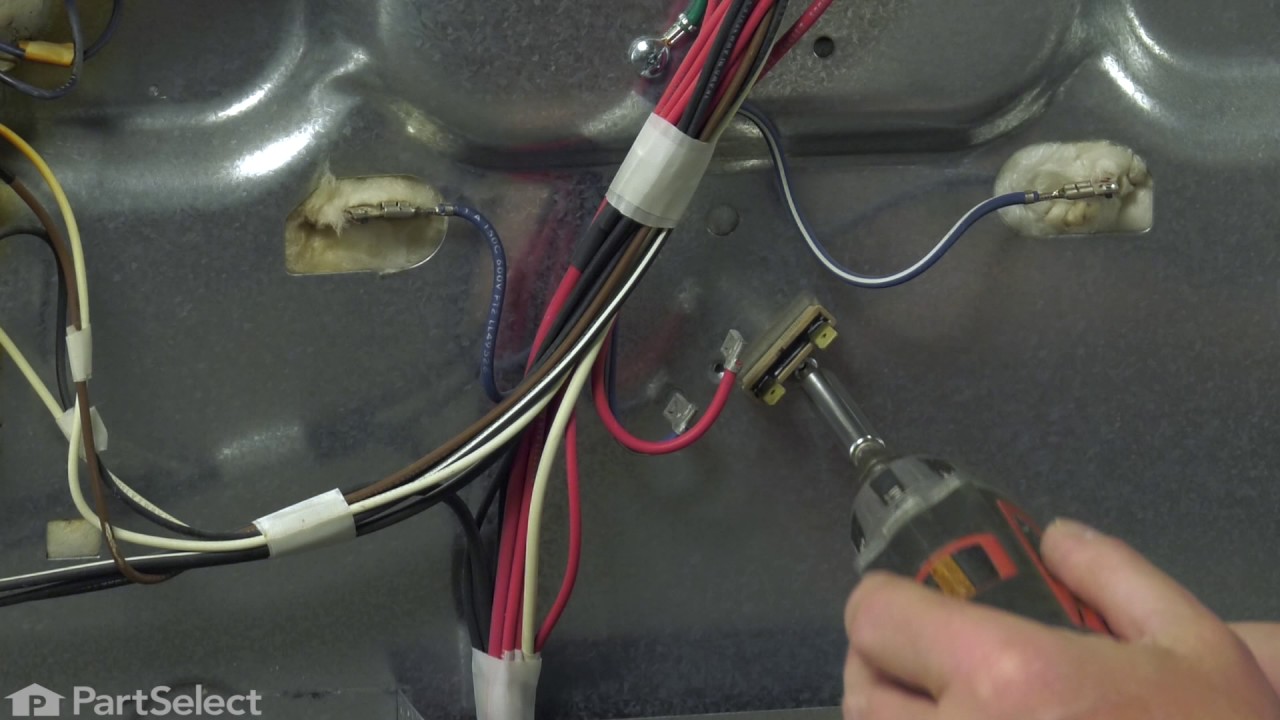
6. Removed Terminal Block Cover Box by removing two (2) screws and lifting up on it.
7. Removed lugs from the ends of the bake element.
8. Extracted bake element.
9 Inserted bake element through rear opening and attached the two lugs removed in step 7.
10 Inserted two screws removed in step 5.
11. This bake element only had a standoff bracket in the front. Used one (1) screw from step 4. for front standoff.
12 Replaced bottom panel and two screws.
13 Reinstalled Terminal Block Cover Box and two screws.
14. Plugged oven in and tested oven.
2. Removed two (2) screws from bottom panel in oven cavity
3. Lifted out bottom panel
4. Removed two (2) screws from bake element standoffs.
5. Removed two (2) screws from bake element (Rear of oven cavity)
6. Removed Terminal Block Cover Box by removing two (2) screws and lifting up on it.
7. Removed lugs from the ends of the bake element.
8. Extracted bake element.
9 Inserted bake element through rear opening and attached the two lugs removed in step 7.
10 Inserted two screws removed in step 5.
11. This bake element only had a standoff bracket in the front. Used one (1) screw from step 4. for front standoff.
12 Replaced bottom panel and two screws.
13 Reinstalled Terminal Block Cover Box and two screws.
14. Plugged oven in and tested oven.
Parts Used:
-
Bryan from ROME, NY
-
Difficulty Level:Really Easy
-
Total Repair Time:15 - 30 mins
-
Tools:Screw drivers
33 of 43 people
found this instruction helpful.
Was this instruction helpful to you?
Thank you for voting!