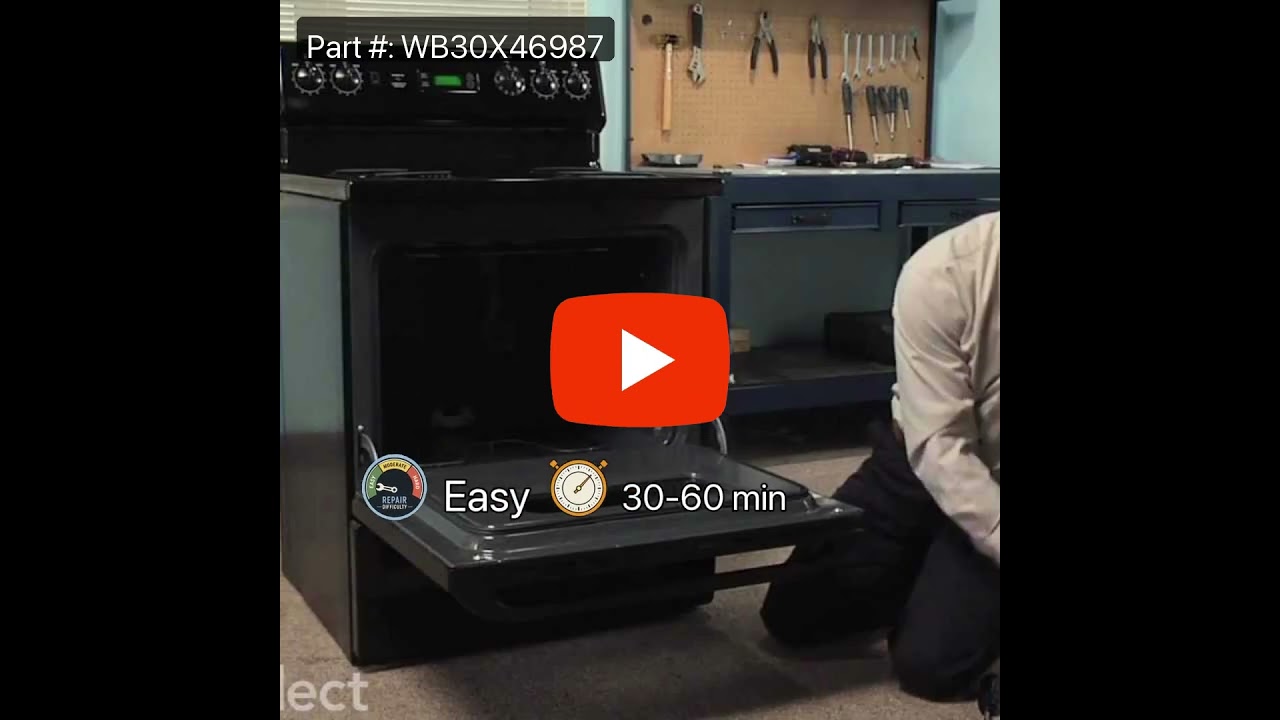
The bake element is located on the bottom of the oven. If your oven will not heat properly it may be due to a faulty or damaged baking element. If you can see that the element has been separated or blistered, you should replace the part immediately. If there is no visible damage, turn the oven on and check to see if the element heats even...Read morely. If the element is not heating evenly, or if it is not heating at all, it will need to be replaced. This element is 19 inches wide x 19 inches long, and has male spade push on terminals.
The 8-inch surface element switch is also known as an infinite heat switch, and is a part for your range. It controls the large surface element. It will turn the element on and off, and allow you to change the heat intensity. The knob to adjust the heat setting mounts on the shaft of this swtich. The burner knob is sold separately. If you...Read morer large surface element will not turn on, or you cannot adjust the heat intensity, you may have a broken or damaged surface burner switch. Be sure you disconnect your range from the power source before you begin this repair.
This Drip Bowl, also known as a burner bowl or drip pan, is made to fit an element 8 inches in diameter and comes in chrome. The actual total diameter of this drip bowl is closer to 10 inches, but don't worry, it will fit your 8-inch burner. This bowl is used to catch drippings and food that falls when cooking on the oven element. The dri...Read morep bowl might burn, become rusty, and wear down over time, and will need to be replaced. Replacing the drip pan is very easy. The elements on the oven must be removed to access the pan underneath. When replacing the bowl, make sure to line up the hole with the terminal block where the element plugs into, and always remove power to your appliance and ensure it is completely cool before commencing your repair. These drip bowls are sold individually, not as a set for your appliance, so you will need to purchase each separately if upgrading all the drip bowls for your range.
This 40-Watt light bulb is sold individually.
It is specially designed to withstand extreme temperatures, so this bulb is compatible with a variety of appliance types including refrigerators, ranges, microwaves, and dryers. It features a frosted glass bulb with a standard metal socket base, which allows you to easily unscrew the burnt-out light and twist the new bulb into place.
This drip bowl, also known as the drip pan or burner bowl, is 6 inches in internal diameter to match the burner, but actually measures closer to 8 inches in total diameter to its outer edges. This authentic manufacturer-approved part is used to catch spills from cooking on the top burner. If your bowls are getting stained, dirty, or rust...Read moreed, this replacement can solve it. First, remove the element from the stove top, and pull out the old drip pan. Insert the new bowl and make sure it is aligned to where the element is plugged in. Lastly, you can put the element back in. For safety precautions, make sure to unplug the range from the power source and wait until the surface is cool before replacing this part. This part is sold individually, if you are replacing more than one drip bowl on your stove at once, you will need to account for this. To replace, simply pull the old surface elements and burner bowls off, give everything a thorough clean, and install the new parts with no tools necessary.
If your stove’s burner isn’t heating right—maybe it’s stuck on high or won’t turn on at all—this control switch could be the fix. It’s made for 6-inch burners and lets you adjust the heat smoothly, not just in set steps. It works by turning the burner on and off to reach the temperature you want. Swapping out a worn switch can help your stove cook more evenly and safely.
If your oven isn’t getting hot enough when you broil, this replacement broil element could be the fix. It’s the part that heats from the top of the oven to give food that crispy finish. Easy to install—just make sure it fits your model and turn off the power before starting.
This single chrome oven rack provides a reliable flat cooking surface for your cookware inside of the oven cavity. The oven rack is made of metal and measures approximately 24” wide by 17 1/2” deep. This is a genuine OEM part and is sold individually. Please order quantity needed.
This right-side drawer glider allows smooth and stable drawer movement. Designed for durability and precise alignment, it supports effortless opening and closing.
Ask our experts a question about this model and we'll get back to you as soon as possible!
We may have answered a similar question already! Search questions and answers left by others using simple keywords like "fit", "broken", "easy", or "quality" to find questions that match.
Search filter:
Clear Filter
Your search term must have 3 or more characters.
Sort by:
Prev
1
Next
Sorry, we couldn't find any existing answers that matched.Try using some different or simpler keywords, or submit your new question by using the "Ask a Question" button above!
Ival - For model number JBS27WH2WW
December 4, 2019
Oven isn't working properly, i have 240 volts going to the broil element during preheat and only 120 to the bake element. The bake element never gets glowing red hot at any time like the broil element does but it does heat up some. Could this be a thermostat issue? I have no wiring diagram to help me out.
Hi Ival, thank you for your question. There are a few parts that could cause this issue in your appliance. First I would say test your elements with a multi meter to see if they are working correctly or not. They should be reading between 0 - 50 ohms to be working correctly. The other part you should check would be your oven temperature sensor. That can also be tested with a multi meter and should be reading between 1000 - 1100 ohms. If those three parts are fine however, then the issue may be in your control board. I hope that helps. Good luck with your repair.
1 personfound this instruction helpful.
Was this helpful?
Thank you for voting!
Kathy - For model number JBS27WH2WW
October 26, 2024
Oven is 35 degrees cooler than the set temp for the oven . Ex., I set the oven for 350 degrees and when it clicked to be preheated to that temp, it was actually only 315 degrees according to oven thermometer. Just started doing this within the week. Any suggestions as to cause???
Hi Kathy, Thank you for writing, We suggest testing the Oven Thermostat. Testing the Thermostat on your oven is easy. With the sensor at room temperature, measure the resistance between the two prongs at the end of the sensor connector. The resistance of the sensor should read approximately 1080 – 1090 ohms at room temperature. Thank you for reaching out!
1 personfound this instruction helpful.
Was this helpful?
Thank you for voting!
Terry - For model number JBS27WH2WW
October 21, 2021
One of 8" burners will stay on high when you turn it on. Is it possibly the switch? How do I test the switch?
Hello Terry, Thank you for the question. This is an indication the switch is defective and will need to be replaced. You can swap the switch tot he other 8: Element Swap the 8' Element switches to see if that corrects the issue with the Burner in question. We hope this helps!
I need the part # for the baking element and the broiler element and what #s are compatible with them
Hi Kathy,
Thank you for your question. The part number for the bake element is WB30X46987, and it replaces part numbers WB44K10001 and WB44K10005. The part number for the broil element is WB30X46986, and it replaces part number WB44K10002. We hope this helps!
First I slid the stove out and unpluged it, then removed two screws,slid out element, disconected two wires, slid new element in to place, pluged two wires in ,put into place and installed two screws, pluged stove back in, and turned on to try. Works perfect.



 My Orders