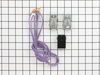
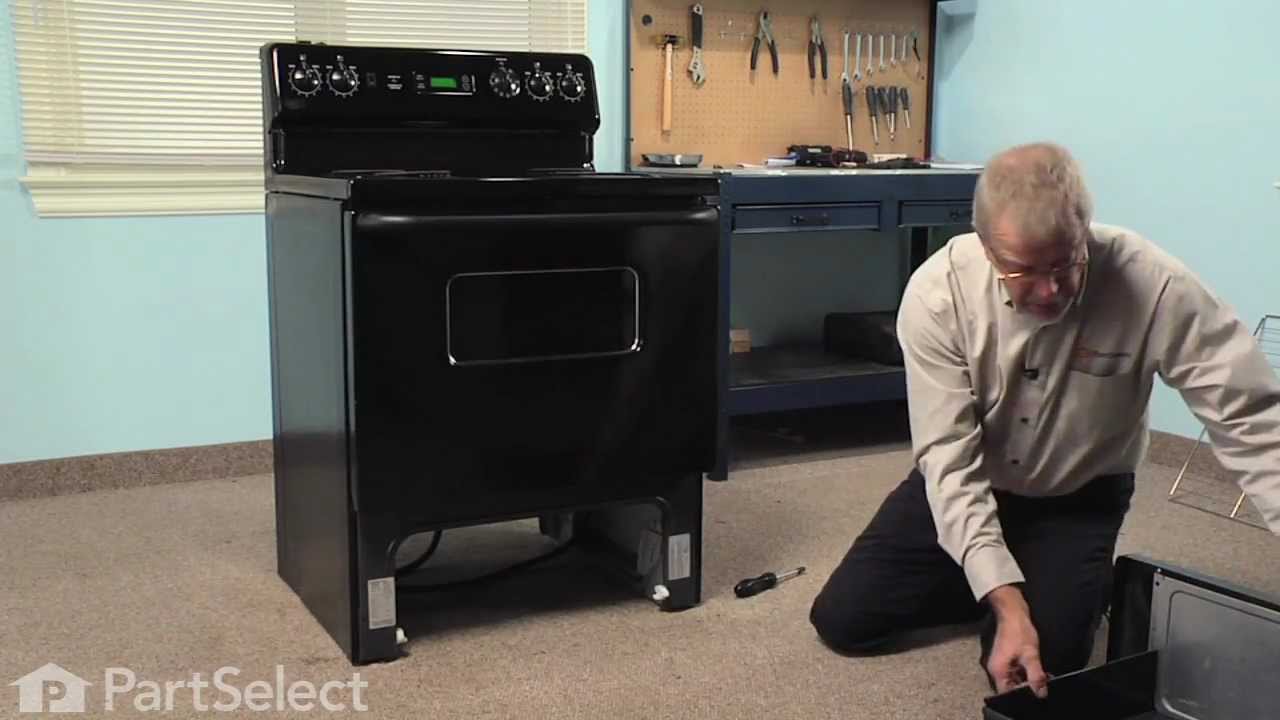
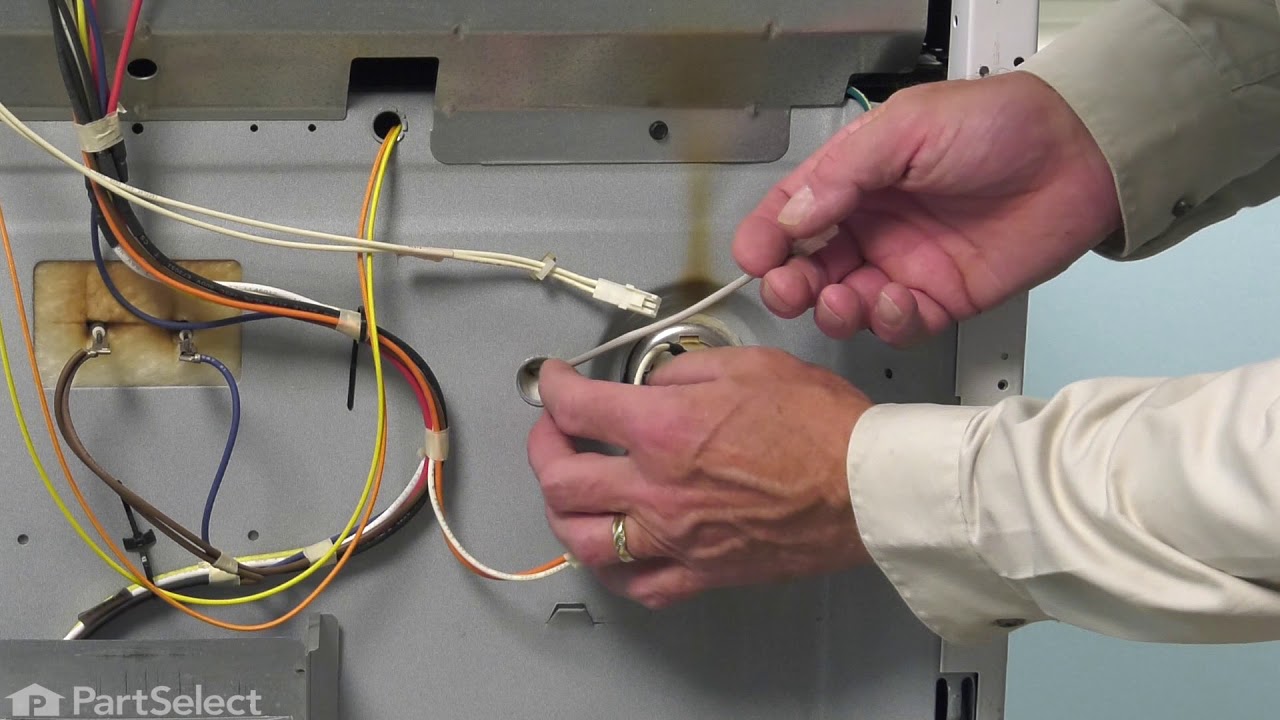
The bake element is located on the bottom of the oven. If your oven will not heat properly it may be due to a faulty or damaged baking element. If you can see that the element has been separated or bl...
The 8-inch surface element switch is also known as an infinite heat switch, and is a part for your range. It controls the large surface element. It will turn the element on and off, and allow you to c...
This 40-Watt light bulb is sold individually.
It is specially designed to withstand extreme temperatures, so this bulb is compatible with a variety of appliance types including refrigerators, ranges,...
This is a replacement drawer support for your oven. The drawer support provides stability to the drawer unit as it opens and closes. If your oven drawer is hanging or will not slide in or out efficien...
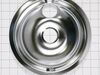
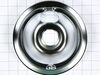
This burner drip bowl is designed to sit beneath the cooktop burner, catching food particles and spills during cooking to protect the burner and surface below. With a sleek chrome finish, it offers a ...
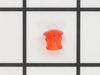
This part is a replacement lens for your oven or range. The lens is red in color, and when the elements are turned on, the light behind the lens will turn on to inform the user that the element is, in...
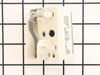
If your stove’s burner isn’t heating right—maybe it’s stuck on high or won’t turn on at all—this control switch could be the fix. It’s made for 6-inch burners and lets you adjust the heat smoothly, no...
If your oven isn’t getting hot enough when you broil, this replacement broil element could be the fix. It’s the part that heats from the top of the oven to give food that crispy finish. Easy to instal...
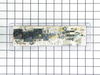
The electronic oven control board manages heating and temperature functions in wall ovens. Modified wiring may require professional installation. Unplug the oven or shut off the circuit breaker before replacing.
No Longer Available
Questions And Answers for JB255DJ4WW
Ask our experts a question about this model and we'll get back to you as soon as possible!
3 questions answered by our experts.
< Prev
1
Next >
Sort by:
Search filter:
Clear Filter
Your search term must have 3 or more characters.
Keep searches simple. Use keywords, e.g. "leaking", "pump", "broken" or "fit".
Sorry, we couldn't find any existing answers that matched.Try using some different or simpler keywords, or submit your new question by using the "Ask a Question" button above!
Susan
November 19, 2023
I need the correct part number for the 8” burner receptacle.
Do the 6” and 8” burners use the same receptacle?
Receptacle: The part that the burner plugs into.
For model number JB255DJ4WW
Hello Susan, thank you for the great question. According to our research, the part you are looking for does not come separately. It comes with the wire kit. The surface burner receptacle kit is part number PS783534. And the receptacles for both 6" and 8" elements are the same. We hope this information is useful!
I need 2 8 Inch and 2 6 inch drip pans for my electric GE oven
For model number JB255DJ4WW
Hello Kaye, thank you for reaching out. The drip pans compatible with your model are 6" drip pan, part number PS8754845, and 8" drip pan, part number PS8754846. The drip pans are sold individually, so you will have to order 2 pans for each type. We hope this helps!
Oven stays in Pre heat and dose not switch over to being the oven to set temp, you can hear the relay clicking to change over to being the oven to temp, this takes about 10 minutes. Oven will not reach set temp.
For model number JB255DJ4WW
Hi John, thank you for contacting us. We have researched the model and would suggest checking the wiring connections to the control board, part number PS12227057. A clicking relay might indicate that the system is not getting enough power or there are power interruptions. We would also suggest checking the temperature sensor, part number PS236490, for continuity using a multimeter. The oven control board works in conjunction with the oven sensor to regulate the temperature. We hope this helps!
First I slid the stove out and unpluged it, then removed two screws,slid out element, disconected two wires, slid new element in to place, pluged two wires in ,put into place and installed two screws, pluged stove back in, and turned on to try. Works perfect.
Remove nobs from both switches. Pull out the range (the hardest part). REMOVE THE POWER PLUG FROM THE WALL Remove 7 screws with nut driver and take off upper back panel. Remove 2 phillips screws from front, they hold the switch brackets. The new switches don't fit in the bracket so discard the bracket keeping the screws. Removing 1 wire at a time from the old switch transfer to the new noting the letter/number ie "H1 P1" combos they are all there just not in the same places on the new switch. When wiring is complete, using the bracket ,screws from the front screw on the switches. Replace the back panel with 7 screws. In my case the old nobs did not fit the shafts of the new switches. I found some at the local hardware store. I bought 4 for $0.29 each! I expect to be replacing the other burner switches shortly.
1)Turn off power to stove 2)remove 2 bolts holding heating element 3)pull element out of the back of the oven about 8" so that the wire connects is visable 4)pull wire clips off of heating element and remove element from the oven 5)put wire clips on the new heating element 6)push new heating element back into the holes in the back of the oven 7)screw botls back into the oven holding the heating element in place 8)Turn power back on