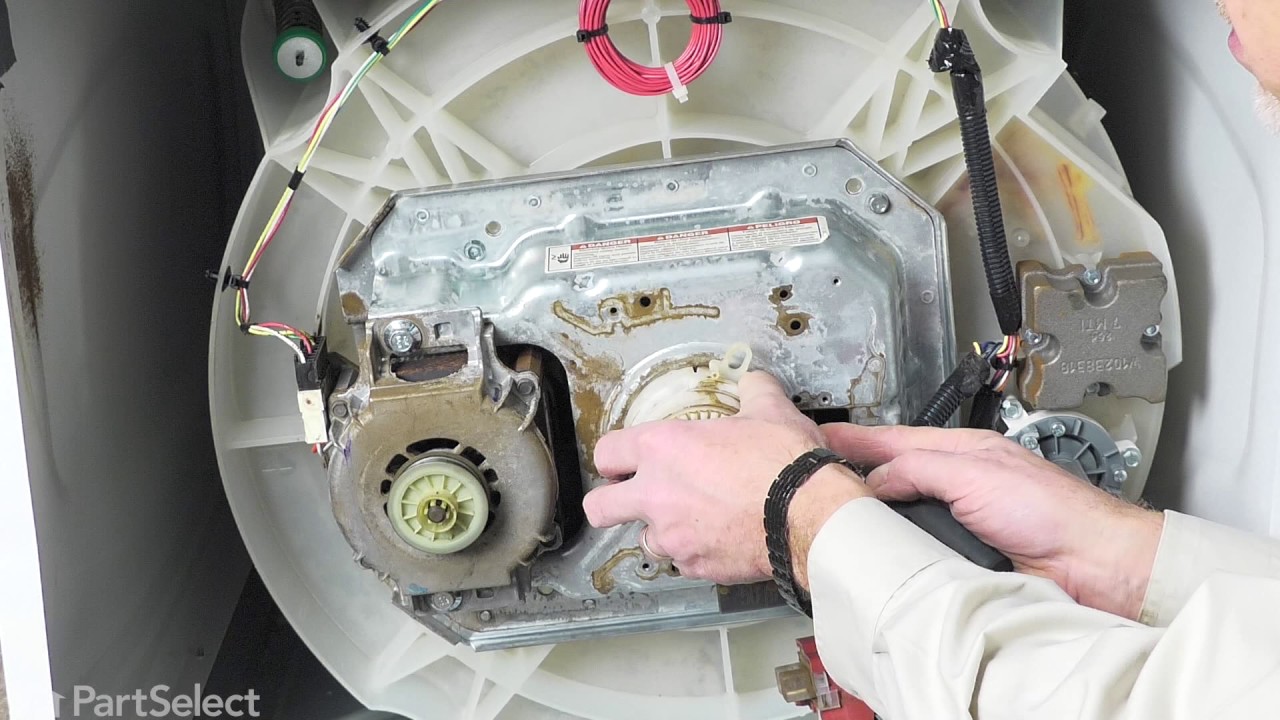
These agitator directional cogs are commonly referred to as dog ears. They come four to a package and are usually used with direct drive washing machines.
The agitator kit is most commonly used if the top part of the agitator is not moving correctly but the bottom is. This kit now includes all pieces shown in photo plus the thrust spacer, inner cap seal...
This 18 ml bottle of white appliance touch-up paint is used to cover scratches or marks on your appliance. The white touch-up paint can be used on refrigerators, microwaves, ranges, clothes dryers, an...
If your washer is noisy, spins slowly, or leaves clothes soaking wet, this splutch cam kit might be the fix. It helps your machine switch between washing and spinning by connecting the motor to the ba...
This white thrust spacer is made of plastic and is also commonly referred to as a retainer ring. It is used in the agitator assembly of many direct drive washing machine models. This is the retaining ...
This lid switch assembly is for a top load washer. The lid switch assembly detects if the washer lid is open or closed and prevents the washer from spinning when the lid is open.
This suspension rod kit includes four rods that stabilize the wash tub, reducing vibrations and movement during cycles. It is compatible with a range of washing machines and helps improve performance ...
If your washer is noisy, shaking, or leaving clothes wet, the drive block might need replacing. This part connects the basket to the drive shaft so it can spin properly during cycles. It’s built for l...
Affresh Washing Machine Cleaner includes three slow-dissolving tablets that help remove odor-causing residue from inside the washer. Suitable for all washer brands, including high-efficiency (HE) mach...
This shift actuator is an essential component in washing machines, responsible for switching the motor between spin and agitate modes while also communicating spin speed to the control board. A malfun...
$111.52
In Stock
Questions And Answers for ITW4871FW3
Ask our experts a question about this model and we'll get back to you as soon as possible!
3 questions answered by our experts.
< Prev
1
Next >
Sort by:
Search filter:
Clear Filter
Your search term must have 3 or more characters.
Keep searches simple. Use keywords, e.g. "leaking", "pump", "broken" or "fit".
Sorry, we couldn't find any existing answers that matched.Try using some different or simpler keywords, or submit your new question by using the "Ask a Question" button above!
Paul
February 23, 2025
Trying to wash a bath mat overbalance shutdown. Will not stop draining so cannot fill tub.
Tried resetting the calibration feature. Didn’t fix problems.
For model number ITW4871FW3
Hi Paul, Thank you for reaching out. When the appliance was overbalanced, it may have kinked the Drain Hose. If the washer will not stop draining, normally it is caused by a clogged or kinked drain hose, a clogged drain filter or pump. We hope this solves your problem!
Was this helpful?
Thank you for voting!
Jay
September 5, 2025
I have an issue where the washer goes into drain mode regardless of whether i turn the unit on or not!
Yes, unit is plugged in but it goes right to drain cycle and never stops.
I run diagnostic and nothing comes up - no faults. So, it's as though the pump is getting power without even starting a cycle! Very dangerous as far as I'm concerned.
Any thoughts on what that could indicate?
I'd be happy to provide more info as needed.
For model number ITW4871FW3
Hi Jay, thank you for contacting us. The control board uses relays to send power to different parts of the washer, like the drain pump. A relay can physically fail in the on position, continuously providing power to the pump motor regardless of the washer's overall power state. You may need to replace the control board to fix the issue. Its part number is PS16744855. We hope this solves your problem!
Hi Greg, thank you for reaching out. Based on our understanding, the issue could be with the tub seal, part number PS3407958. You may need to replace it to fix the issue. We hope that helps!
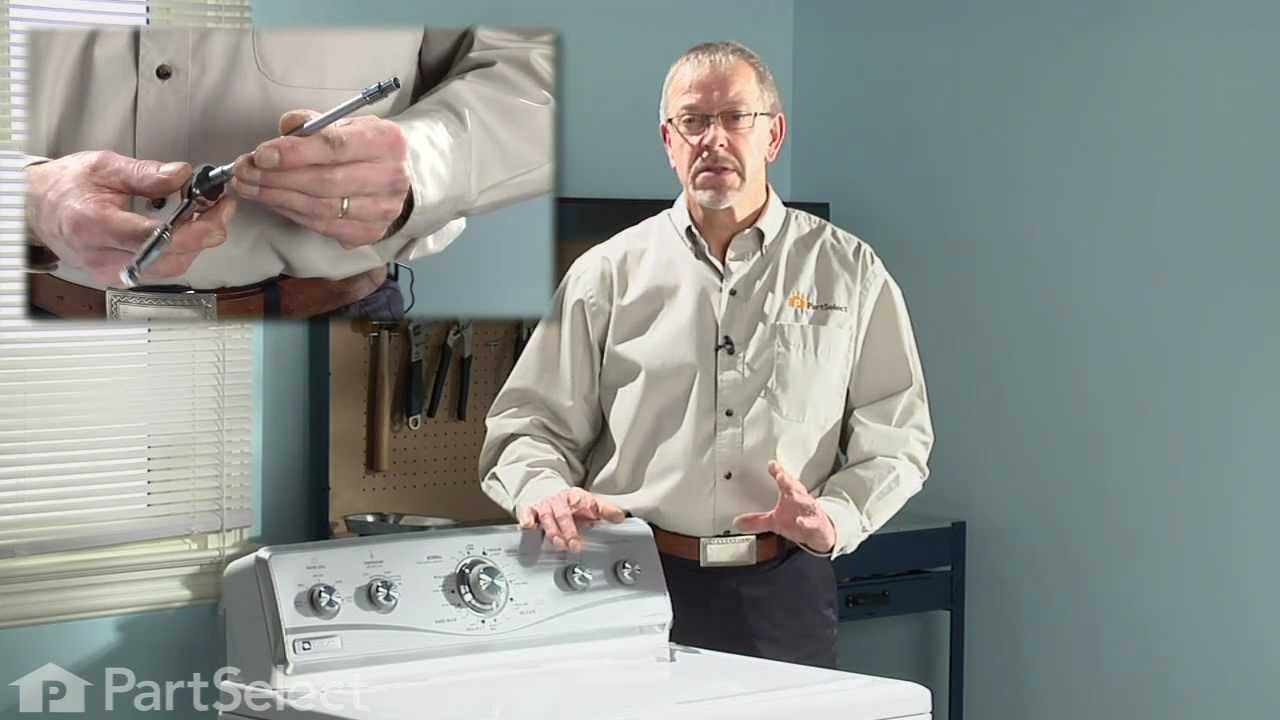
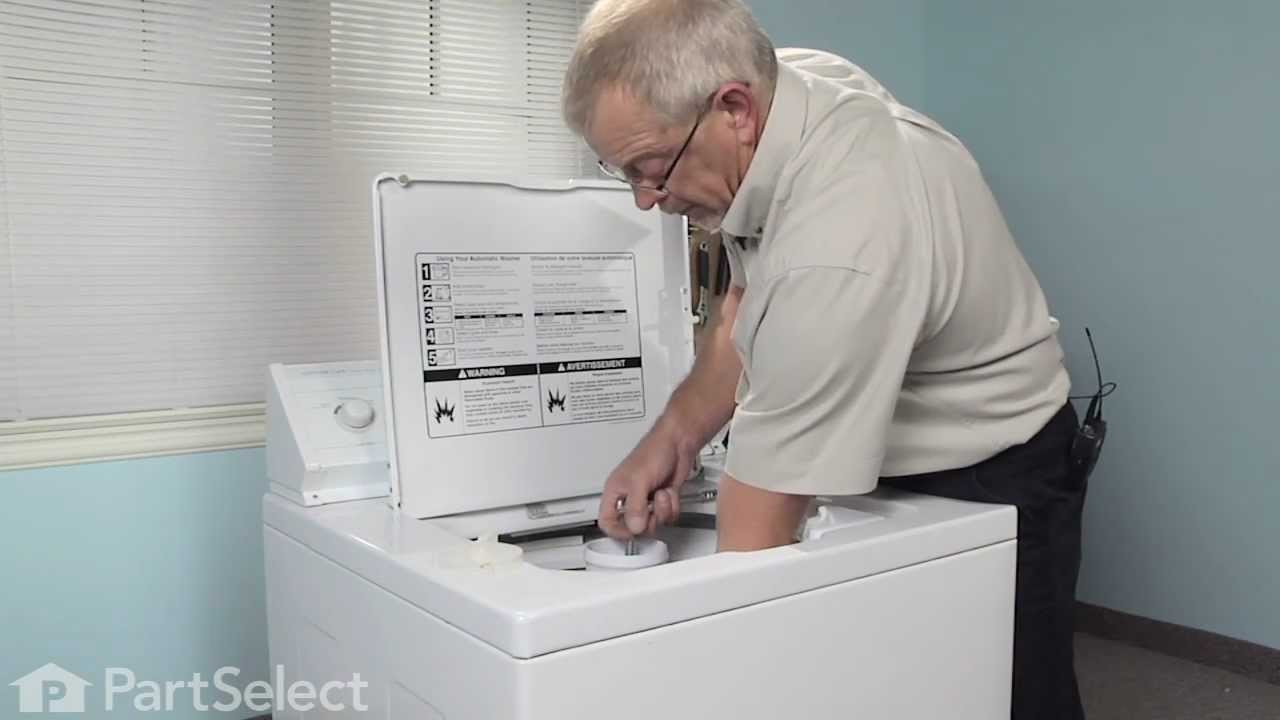
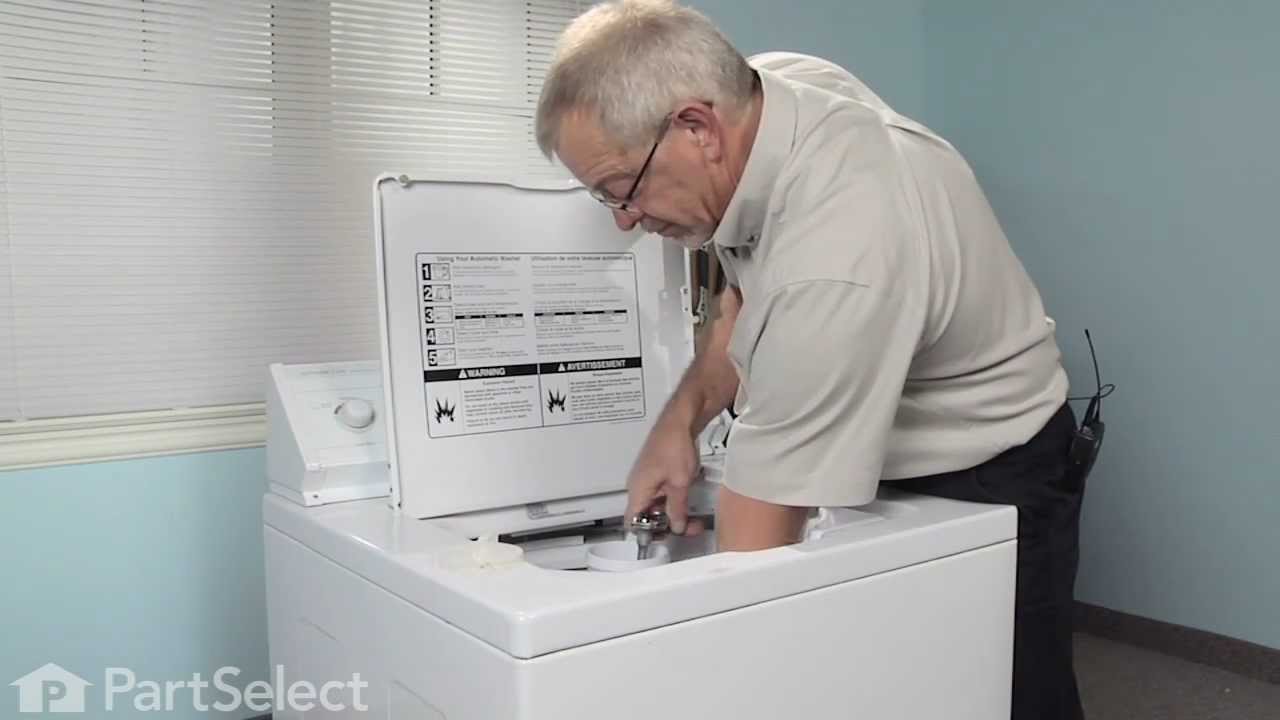
First pry off the cap of the agitator. Then using a socket remove the bolt that holds the plastic cup in place. Remove this cup by prying it loose from the two tabs that hold it in place. Once this cup is removed you can get to the broken cogs. Slip the new cogs into the underside of the cup, and slide the cup back down in the agitator housing using the slots on the side for a guide. (You may want to remove the entire agitator and assemble everything upside down, then flip it all back over to mount, so the cogs don't fall out). Tighten the bolt, snap the cap back in place on top of the agitator and your'e done. Easy repair.
The instructions came with the repair kit, it was fairly simple and straight foward.
One bolt held the entire agitator unit in the washer, as well as held the upper and lower halves together. Once that nut was removed the two halves seperated and the plastic clutch pieces could easily be replaced wtih the new onces in the repair kit.
Very easy do-it-yourself repair! Took about 20 minutes because I was being cautious. Next time I could do it in 5 minutes.
On top of the agitator is a flat cap that is held in place by the friction of an o-ring, there are no fasteners. I would imagine one could get under the lip with a small screwdriver or butter knife to pop it off but I chose simply using my fingernails so as to not disfigure the cap. Under the cap you will find the head of the only bolt that holds the assembly together it is a 7/16 head and because it is in a 4" deep well your will need a 6" extension for your ratchet. Once the bolt is out the top of the agitator, the assembly with the cogs removes by hand. Set the assembly upside down on the counter, slide the black plastic ring off, pull the cogs out with your fingertips, install the new cogs put a new black ring on and set the assembly back in the agitator. Reinstall bolt. As the bolt is down in a tube, you cannot set it in place with your fingers and it will fall out of the socket. To hold the bolt in the socket during positioning you can either put a gob of Vaseline on the bolt head to hold it in the socket or form a small piece of paper over the bolt head and set it into the socket, the friction of the paper will hold the bolt into the socket. Took me less then 10 minutes, good luck