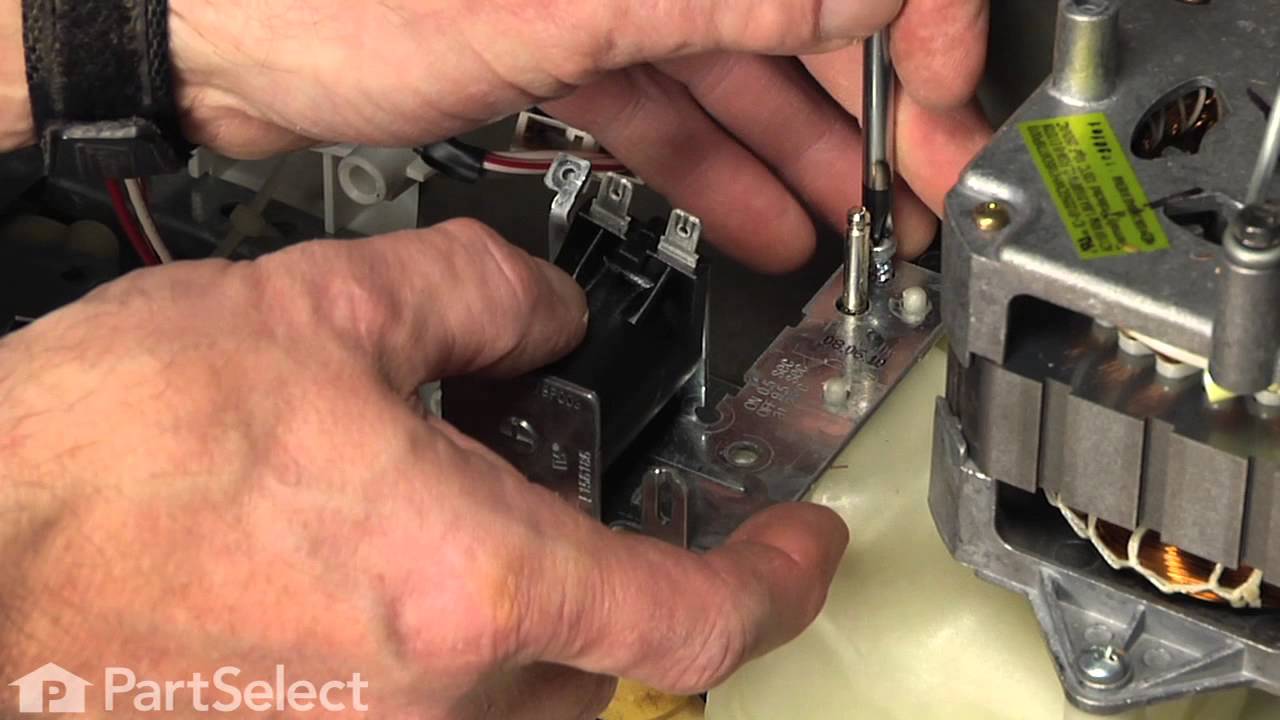
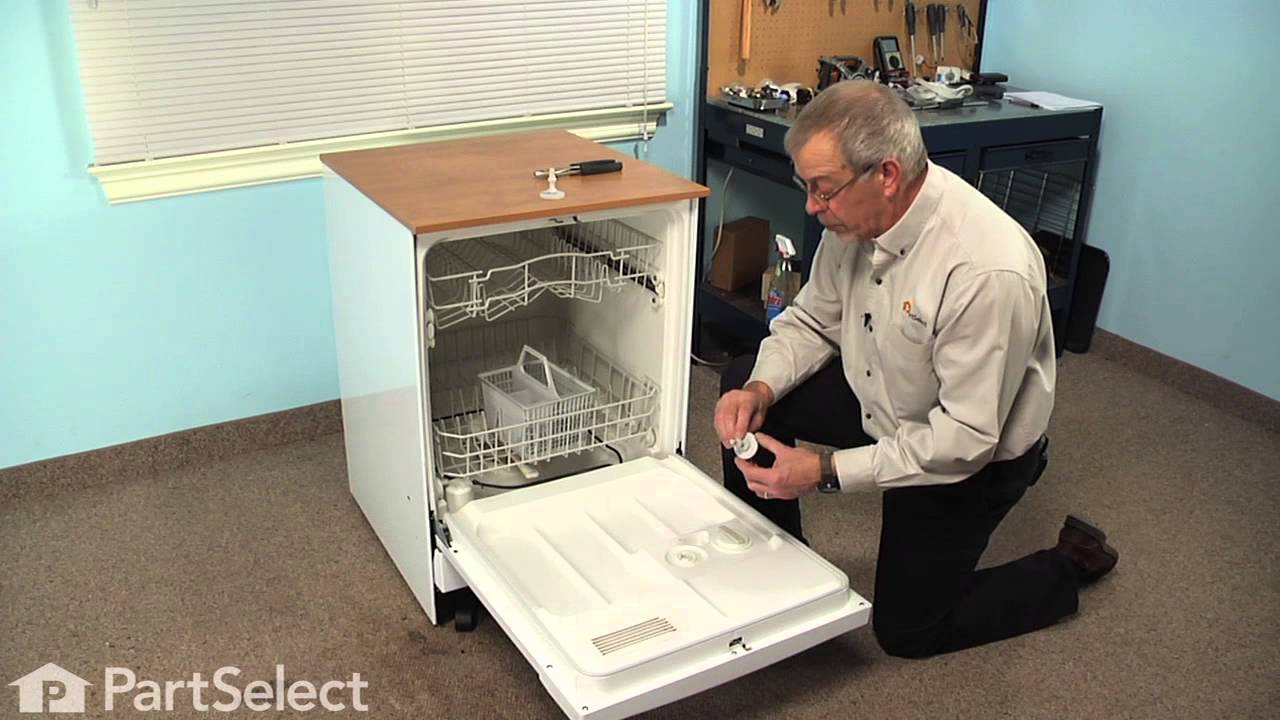
The gasket insert is connected to the gasket in the bottom of your dishwasher door. It is a small piece of white plastic that measures approximately 4 inches by 1 inch, and is sold individually. The g...
The hinge link on your dishwasher connects the spring to the dishwasher door hinge. If the hinge link becomes cracked or damaged, you may not be able to shut or lock your dishwasher door properly. In ...
The manufacturer has changed the appearance of this part and will not look like your original part. When you get this part, the inlet cover is no longer required. This part will function and operate...
This part helps stop your dishwasher from leaking. This kit includes the impeller, seal, blade, filter, skidder and skidder holder.
No Longer Available
Questions And Answers for GSD5630D00WW
Ask our experts a question about this model and we'll get back to you as soon as possible!
1 question answered by our experts.
< Prev
1
Next >
Sort by:
Search filter:
Clear Filter
Your search term must have 3 or more characters.
Keep searches simple. Use keywords, e.g. "leaking", "pump", "broken" or "fit".
Sorry, we couldn't find any existing answers that matched.Try using some different or simpler keywords, or submit your new question by using the "Ask a Question" button above!
TERESA
November 20, 2022
Suds are coming out of the bottom of the door. The dishwasher goes through all of the. Yclws and there is not any water left in the bottom at the end of cycles.
Suds and water comes from the bottom of the door.
For model number GSD5630D00WW
Hello Teresa, thank you for contacting us. The issue is most probably because of a faulty rinse aid injector, part number PS2345692. It is attached to the inner door panel and holds the rinse aid in a covered compartment. Please reach out to customer service if you need help placing an order. Glad to be of help!
I removed the four screws holding the screen and molded plastic cage inside the rear of the dishwasher to expose the check valve assembly. I then unscrewed the piston and nut assembly with my hand and replaced it with the new one. I found that the rubber cone shaped valve on the old piston and nut assembly was entirely disintegrated. This easy repair solved the problem.
Found a forum on the internet that said the Air Check Valve located under the screen on the bottom of the back wall inside the wash compartment may be the culprit. Took it out by using nut driver to remove screen, and twisting the part out. The seal was deteriorated. Repleacing the part was simply the opposite, and very easy.
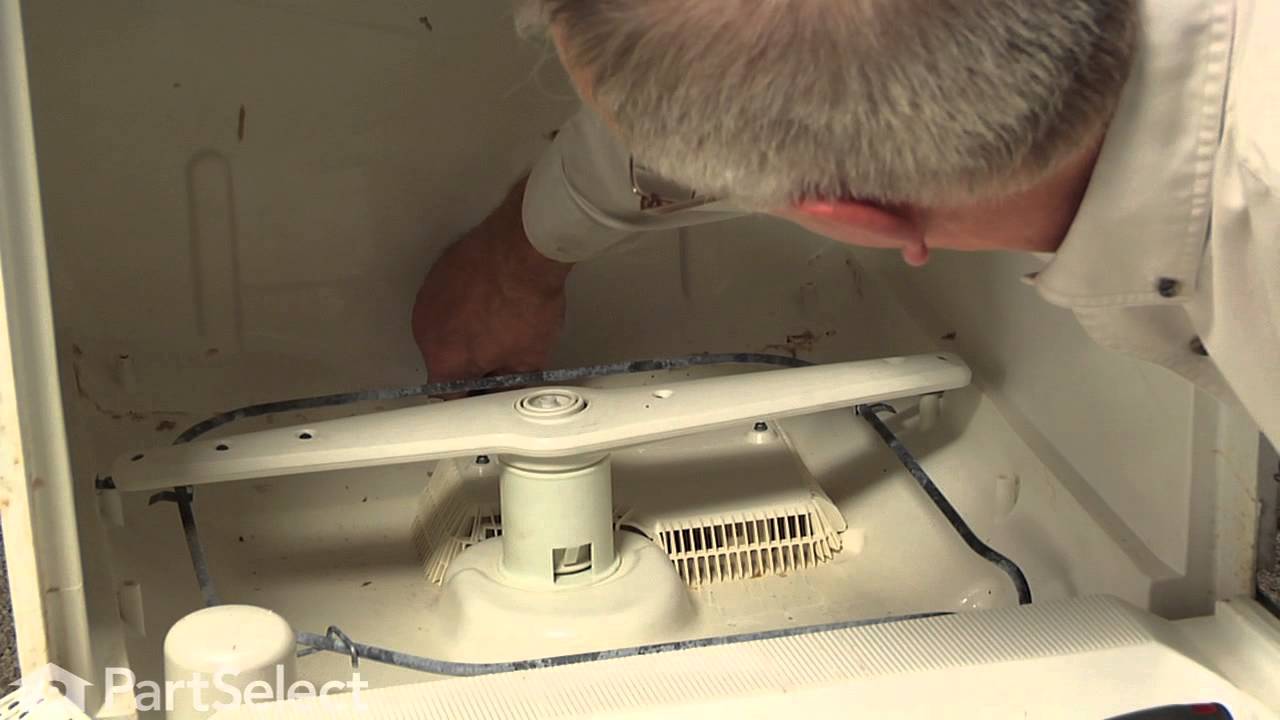
I also replaced the screen on the floor of the wash compartment because the rubber was deteriorating there too. Here I had to remove the spray arm by carefully prying the locking tabs outwards and lifting the entire spray assembly upwards. Then, then plastic covers need to be unscrewed and removed. The new part had the plastic cage molded into it. So I discarded the old plastic cage. There are a couple of retaining clips that are a little tricky to get off the plastic posts. But, they can be removed by prying a standard screw driver underneath and working them off the post. Do not break the plastic post, and save the retaining rings. The new part does not come with any screws or retainers, so you will need to re-use them. Simply, place the new screen in position, slide on the retaining clips, and screw down the cage. The spray assembly is just slid back onto the shaft and snaps into place. A lot of writing, but was rather simple to do. 15-20 minutes.