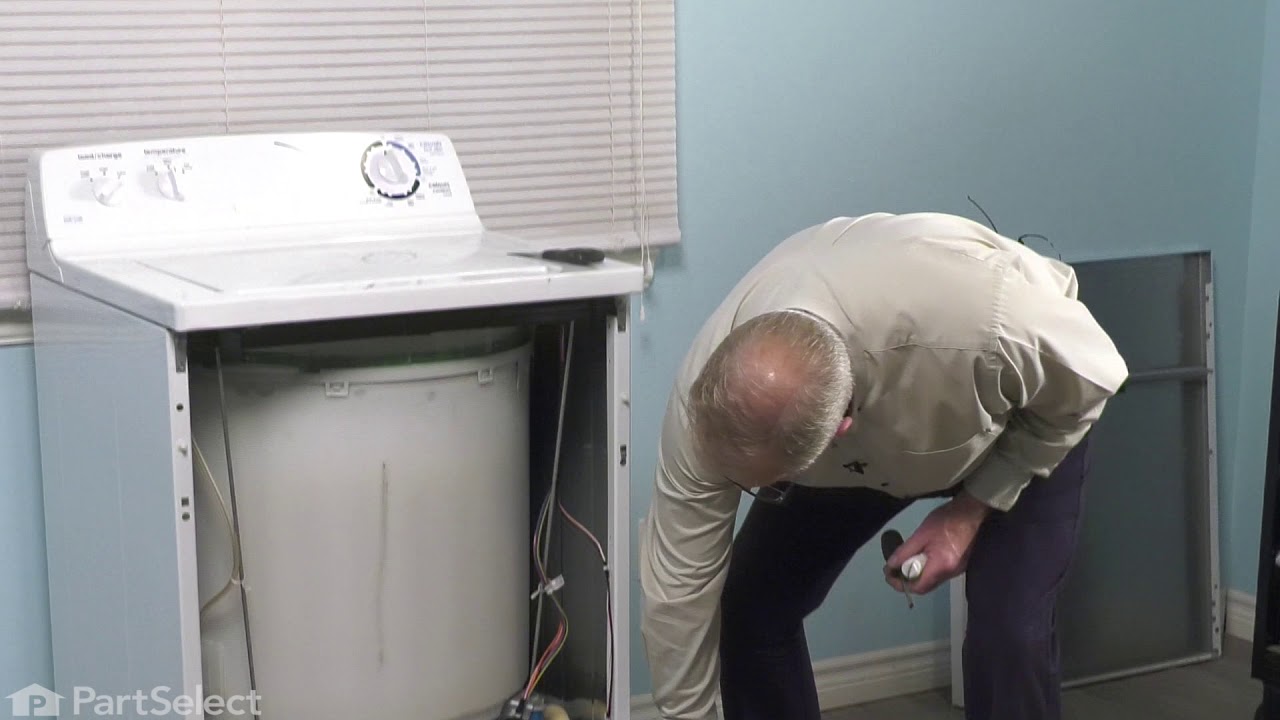
The tub dampening straps support the wash tub and reduce vibration by keeping the tub at the center of the cabinet. If your washer shakes and moves, or is making a loud banging noise during the wash c...
The main tub seal is located between the transmission and the outer tub. It's the primary water seal in the outer tub for the transmission-shaft. This seal is difficult to replace and should probably ...
This tub bearing goes in your washing machine. You will find it on the bottom of the outer tub, where the transmission goes through the tub. If you hear metal on metal when the washer is spinning, you...
This washer timer is a control module designed to manage and sequence the various cycles of a GE washing machine, including wash, rinse, and spin functions. It regulates the electrical components of t...
$158.15
Special Order
Questions And Answers for GLWN2800D1WS
Ask our experts a question about this model and we'll get back to you as soon as possible!
10 questions answered by our experts.
< Prev
1
2
Next >
Sort by:
Search filter:
Clear Filter
Your search term must have 3 or more characters.
Keep searches simple. Use keywords, e.g. "leaking", "pump", "broken" or "fit".
Sorry, we couldn't find any existing answers that matched.Try using some different or simpler keywords, or submit your new question by using the "Ask a Question" button above!
Nancy
February 14, 2023
The rinse cycle is only filling with a small amount of water. Then it starts to agitate. The wash cycle works fine.
For model number GLWN2800D1WS
Hello Nancy, thank you for reaching out. The problem seems to be with the Pressure Switch and you may need to replace it, the part number is PS3487295. The Pressure Switch senses and controls the water level in the washer. If that does not take care of the issue, we would suggest checking the Water Fill Nozzle, part number PS756806, and Water Inlet Valve, part number PS11721803. We hope this sorts out your problem!
I think one stabilizer is broken. It isn't level.
Thank you.
For model number GLWN2800D1WS
Hello Linda, thank you for contacting us. You may need to replace the leveling leg, part number PS271500, to fix the issue. We have attached a relevant video that will help you in replacing leveling legs. We hope this solves your problem!
Hi Diana, thank you for reaching out. We have concluded that the issue is with the lid switch assembly, part number PS1482372. You may also need to replace the water inlet valve, part number PS11721803. We hope this helps!
When the washing machine is in spin cycle it is extremely loud and sounds like it will explode. This started happening less than 2 months ago but is LOUD.
For model number GLWN2800D1WS
Hello Kelli, thank you for reaching out. Based on the description that you have provided, we would recommend checking the tub bearing, part number PS271510, to fix the issue. We hope this helps!
what part do i need? Tub overflows only when on hot water and large or above water level.
For model number GLWN2800D1WS
Hi Ingrid, thank you for the question. We have concluded that the issue is probably with the water inlet valve, part number PS11721803. It controls the water flow into the washer. You may need to replace the inlet valve to fix the issue. Good luck with your repair!
Was this helpful?
Thank you for voting!
< Prev
1
2
Next >
✖
Ask a Question
Ask our experts a question on this model and we'll respond as soon as we can.
After removing frt panel which prys off I checked for anything obvious like a loose belt. Then I jiggled the magnet switch located on the inside of the loading cover. I saw the machine start agitating the it stopped again when I stopped touching it. I ordered the new part and spliced it in with the wire crip tool. Now the machine is A ok.
To diagnose, first I unhooked the washer: power, water supply, and drain pipe. I then slid the washer out, laying it on its front. With nutdriver, I unscrewed two screws that held the other end of the drain tube and removed it completely. Then, again with the nutdriver removed 4 screws from the back near the legs, two in between the legs in the middle, and approx. 4 to 6 on the bottom. This let me pull the bottom off partially to access the motor area. (I did did not take the bottom completely off, only about 2/3 off and let it bend over, as it was flexible tin) The belt was broken. After receiving the new belt, I positioned it between the pulley and the motor and between the drum and the big pulley. Then I rotated the big pulley, pulling the belt onto it as I rotated. At the same time, as I rotated, I pulled the other end of the belt on to the little pulley. Once it was on, I would put pressure on it as I turned the pulley, to jump the belt to the appropriate grooves on the little pulley. Note: the replacement belt had been modified, so it had one less groove than the pulley. I would have known this if I had read the insert that came with the belt first! Anyway, this was not a problem, only a design change. Also it was important to start the belt on the inside, so if it slipped, you didnt loose your bite. Total diagnostic, repair, and reassembly time: 30 minutes plus or minus. I had read other online forums that said you had to loosen the motor, etc. And I do know some type of a belt installation tool was offered on line, but I got along fine with my installation method. An extra set of hands would have been helpful, but not necessary.
Simply put hands, one under each side of the agitaror and pulled up. The part snapped off very easily. I then placed the new part in the tub and pressed down. Extremely easy, should have done it sooner!