














GJC3034RB06 Whirlpool Cooktop - Overview
Sections of the GJC3034RB06
[Viewing 2 of 2]

Manuals & Care Guides for GJC3034RB06
Click to downloadInstall
Installation Instructions
(0.37MB)
Install
Installation Instructions
(1.76MB)
Install
Installation Instructions
(0.38MB)
Manual
Owner's Manuals
(2.25MB)
Keep searches simple, eg. "belt" or "pump".

Dual Surface Element - 2500w/1200w
PartSelect #: PS11764902
Manufacturer #: W10823692
This is the replacement large surface element for your cooktop or range. It is approximately 10-inches in diameter and is 1200/2500 watts. The large surface element is installed under the cooktop and ...
$258.05
In Stock

Element with Limiter 6 Inch - 1200W
PartSelect #: PS11764915
Manufacturer #: W10823711
This 6-inch, 1200-watt radiant surface heating element is a genuine replacement part designed for select ranges. It supplies consistent heat to the designated cooking zone on the stovetop, ensuring ev...
$231.78
In Stock


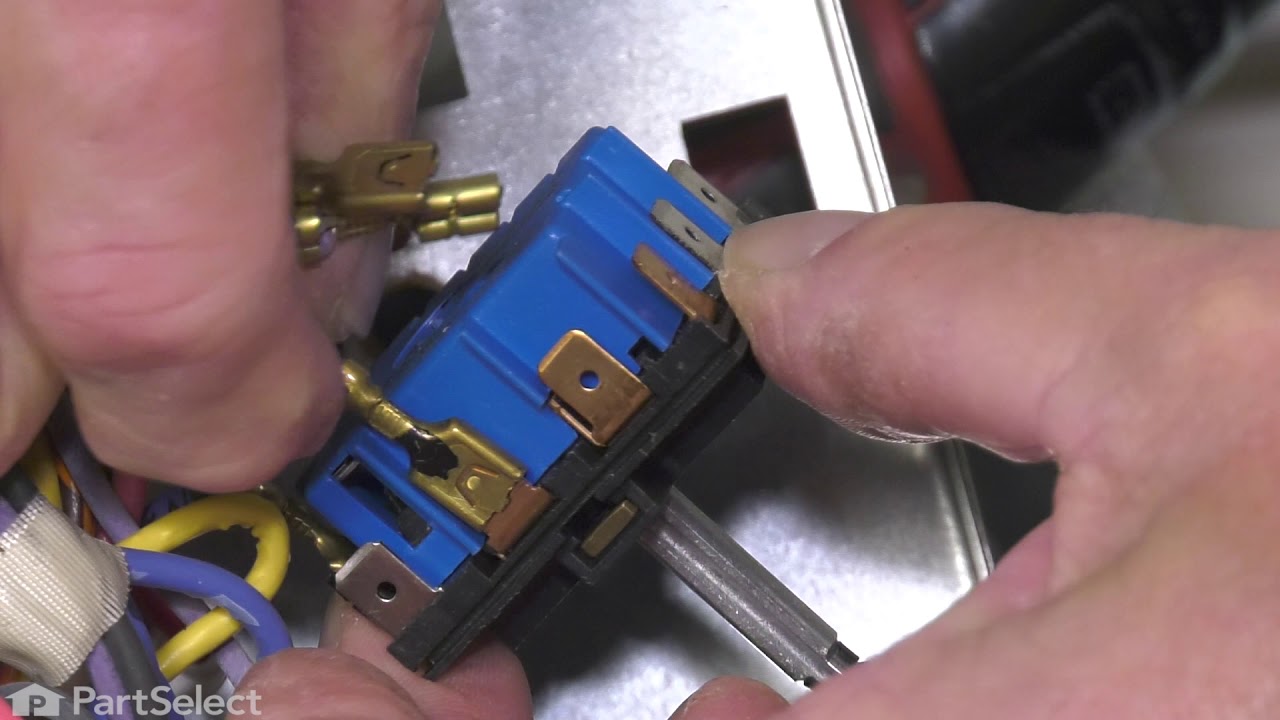
Range Inifinite Switch
PartSelect #: PS11747252
Manufacturer #: WP9759474
This switch is used for the right rear and left front burner.
$125.81
In Stock

Refrigerator Screw
PartSelect #: PS11740992
Manufacturer #: WP3196557
Sold individually.
$11.93
In Stock

6 Inch Surface Element Infinite Switch
PartSelect #: PS11740892
Manufacturer #: WP3191049
This switch controls the stove top surface burner.
$126.31
In Stock

Surface Element Switch
PartSelect #: PS11740893
Manufacturer #: WP3191050
This switch controls the stove top surface burner.
$132.47
In Stock


Range Burner Knob
PartSelect #: PS11745694
Manufacturer #: WP8286043BL
Sold individually.
$34.05
Special Order


Accusimmer Rotary Switch
PartSelect #: PS11747362
Manufacturer #: WP9762441
Meet your culinary secret weapon: the Whirlpool Accusimmer Rotary Switch. This isn't just any part; it's the crucial component that controls the heat on your cooktop. Rather than just turning your ele...
$108.62
Special Order

Surface Element
PartSelect #: PS11764905
Manufacturer #: W10823695
This surface heating element delivers consistent, even heat for cooking tasks across a range of temperature settings. Designed for reliable performance and responsiveness, it is commonly replaced when...
$420.47
In Stock
Common Symptoms of the GJC3034RB06
[Viewing 2 of 2]


Keep searches simple. Use keywords, e.g. "leaking", "pump", "broken" or "fit".
Right rear burner went bad
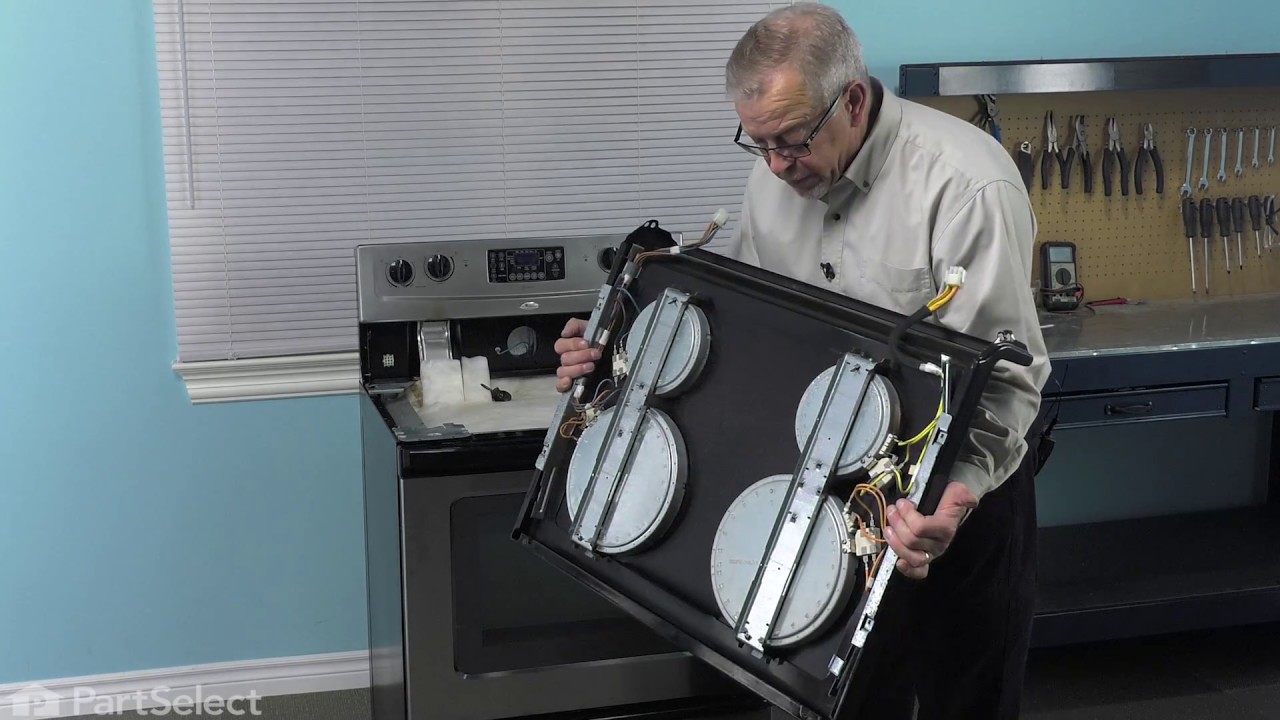
Turned the breaker off, I removed 2 screws securing the range top to the range, opened the top and secured it in the up position, Removed the 2 screws securing the element ,one at a time I swapped the quick connectors from the old element to the new and repeated the process in reverse. I save over $100.00 in labor, plus most companies get you for a trip charge. It was easy!!
Parts Used:
-
Mark from Loxahatchee, FL
-
Difficulty Level:Really Easy
-
Total Repair Time:15 - 30 mins
-
Tools:Nutdriver, Screw drivers
155 of 190 people
found this instruction helpful.
Was this instruction helpful to you?
Thank you for voting!
Radiant element, 2400 watt, under Ceran glass cok top needed replacement.
turned off power
removed ceran top from cabinet
removed element
installed new element
replaced top
powered up and was done
removed ceran top from cabinet
removed element
installed new element
replaced top
powered up and was done
Parts Used:
-
GEORGE from NEWNAN, GA
-
Difficulty Level:Easy
-
Total Repair Time:15 - 30 mins
-
Tools:Pliers, Screw drivers
171 of 261 people
found this instruction helpful.
Was this instruction helpful to you?
Thank you for voting!
Hot Burner Light always on
Thermal switch is integral to element and can not be changed, must replace entire element.
Turn off power. Removed front two screws above oven door jamb and lifted the top. Removed the bracket that holds the element against the glass top and removed the element. Moved brackets from old element to new one, aligning to same numerical position and then moved wiring to new element. Slide new element under bracket and reinstalled single screw. Replaced top and screwed down. Turn on power and test .
Turn off power. Removed front two screws above oven door jamb and lifted the top. Removed the bracket that holds the element against the glass top and removed the element. Moved brackets from old element to new one, aligning to same numerical position and then moved wiring to new element. Slide new element under bracket and reinstalled single screw. Replaced top and screwed down. Turn on power and test .
Parts Used:
-
Gregory from Cary, NC
-
Difficulty Level:Really Easy
-
Total Repair Time:15 - 30 mins
-
Tools:Screw drivers
110 of 160 people
found this instruction helpful.
Was this instruction helpful to you?
Thank you for voting!