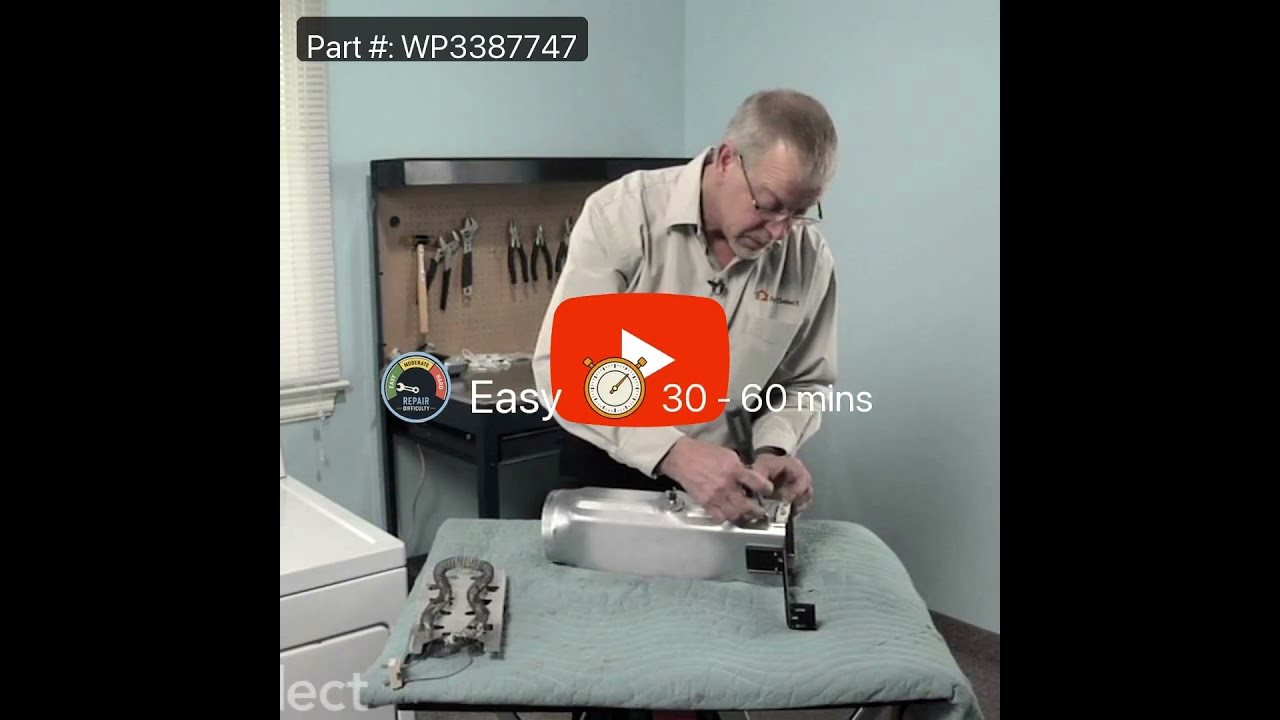
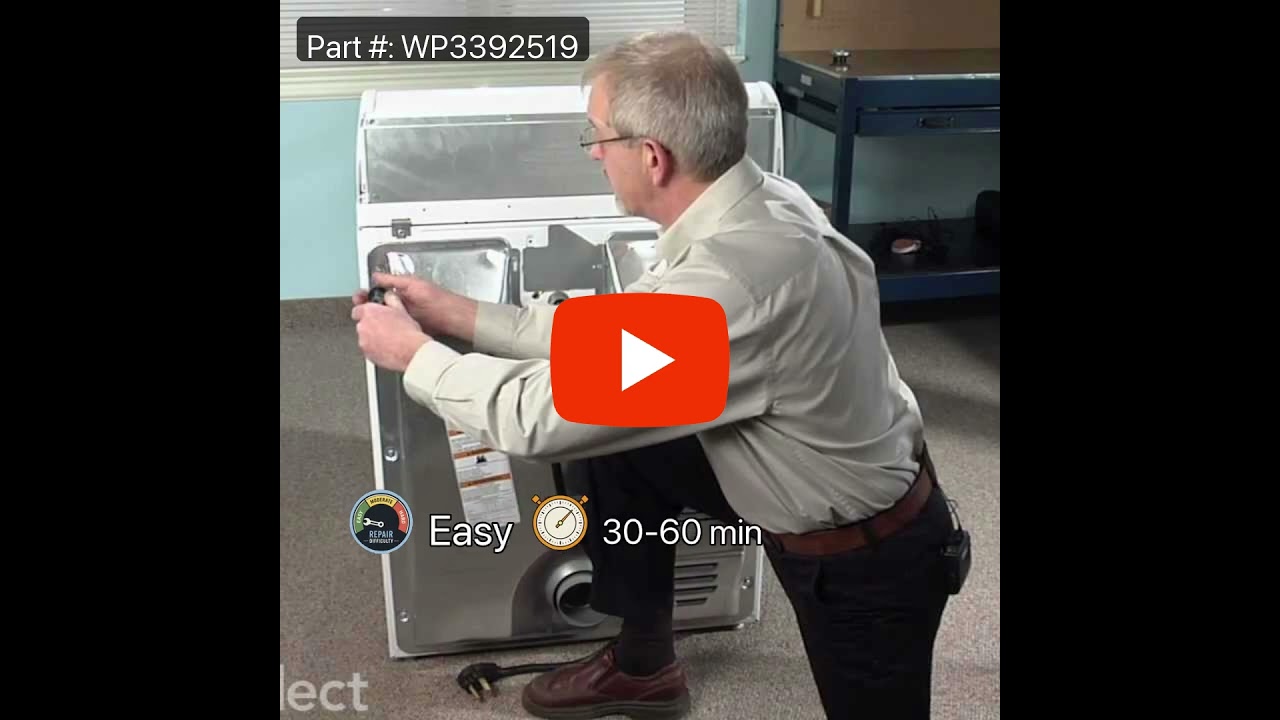
This part is a one-time use thermal fuse which attaches to the blower wheel housing of your clothes dryer. It cannot be re-set and must be replaced when there is no longer continuity between the pins. Terminal size is 3/16".
This dryer repair kit consists of five commonly replaced dryer parts: one multi-rib belt (part #661570V and measures 93 1/2 inches long), four drum support rollers, one idler assembly, nine tri-rings, and one washer. This universal maintenance kit is an all-encompassing kit for fixing a noisy dryer, among other symptoms, but noisy being t...Read morehe most common. It is compatible with 27-inch wide dryers built from 1965 onwards. Be sure to disconnect the dryer or shut off the house circuit breaker for the appliance before you begin your repair. To access these parts, you will need to remove the dryer drum. For this installation you will need a 1/4-inch nut driver, a long flat-blade screwdriver, a short flat-blade screw diver, and a Phillips screwdriver.
This Idler Pulley includes the tri-ring and gasket and everything included here is manufacturer-certified. This part maintains correct tension on the drive belt in order to spin the drum properly. If damaged or broken the dryer will not dry properly, will not tumble properly, or may not even start. Installation is rated as "Medium" diffic...Read moreulty. This part is located on the dryer drum, around the tension pulley. Refer to your user manual and model number for repair instructions and to ensure this part is right for you. For this repair project, the tools needed are a Phillips screwdriver, 1/4 inch nut driver, putty knife, small flat blade screw driver, and needle nose pliers.
When connected to electricity the dryer heating element glows red hot and generates heat. When air is blown over it, it heats the air which is used to dry the clothes. The heating element fits inside the heater housing inside the dryer. Wear and tear on the heater coil from use will eventually cause the coil to break and the element to fa...Read moreil. When this part fails it can cease to produce any heat. Alternately, the coil could break and short to ground allowing the dryer to continue to heat even when turned off. The latter is a fire hazard and the dryer should be disconnected from power until the element is replaced. If the element coil breaks, the element needs to be replaced. This model is 11 by 5 inches with 5/16” terminals, metal and ceramic, and comes in black. It is sold individually.
This genuine OEM dryer drum support roller is designed to hold the drum in place while allowing it to rotate smoothly and quietly during operation. Built for durability and reliable performance, it helps reduce noise and ensures consistent tumbling. Ideal for replacing worn or damaged rollers, it resolves issues such as squeaking, rumblin...Read moreg, or poor drum movement, helping restore efficient and dependable dryer operation.
This dryer lint filter is designed to capture lint and debris during the drying cycle, helping maintain airflow and prevent potential fire hazards. Measuring approximately 12.5 inches wide by 10.5 inches deep, it fits securely into the designated slot within compatible dryer models. Regular inspection and replacement of the filter are ess...Read moreential for optimal performance. Installation is tool-free—simply remove the old filter and insert the new one. During replacement, it's recommended to check the filter slot for any accumulated lint, which should be cleared to ensure safe and efficient operation.
The Drive Belt is a 93 1/2" belt which wraps around the dryer drum to allow tension and movement. If broken the dryer will not turn properly, or there may be loud noises. The part is rated as "medium" difficulty to install. Refer to your model number and user manual to ensure this part is correct for you. To complete this repair you will ...Read moreneed a Phillips screwdriver, 1/4 inch nut driver, a putty knife, and a pair of needle nose pliers. Ensure you disconnect your power to the dryer before beginning this repair, which should take between 30 and 60 minutes maximum to complete.
This thermostat may differ in appearance, but functions the same as the original part. This part controls the temperature of the inside of the dryer drum and prevents the dryer from overheating.
This idler pulley assembly includes the pulley and bracket, ensuring proper tension on the dryer drive belt for smooth drum rotation. Compatible with several Whirlpool, KitchenAid, Maytag, Jenn-Air, Amana, Inglis, and Magic Chef dryers, this OEM part is ideal for replacing damaged components. Disconnect power before installation.
This is the moisture sensor for your dryer. It helps detect the amount of moisture in your clothes during the dryer cycle. If you notice your clothes are still wet after an automatic dryer cycle is done, you may need to replace the sensor. You will find the moisture sensor behind the lint screen. Be sure to disconnect the power source fro...Read morem the dryer before you begin this repair. Note: Some model's require two sensors, please order quantity needed. Sensor only, harness is not included. This part is sold individually.
Ask our experts a question about this model and we'll get back to you as soon as possible!
We may have answered a similar question already! Search questions and answers left by others using simple keywords like "fit", "broken", "easy", or "quality" to find questions that match.
Search filter:
Clear Filter
Your search term must have 3 or more characters.
Sort by:
Prev
1
2
3
Next
Sorry, we couldn't find any existing answers that matched.Try using some different or simpler keywords, or submit your new question by using the "Ask a Question" button above!
Sharon - For model number GEW9250PW0
March 9, 2020
Push control on button and it gets power. Then, push hold to start, hear a beep top left side inside dryer. Sensing lights up, (all proper lights on) but it won’t start running. What could be the issue?
Hi Sharon,
Thank you for your question. If the dryer will not start, there are some parts that you will need to check to see which one is causing the issue. You will need to check the thermal fuse, the door catch and strike, the internal bias thermostat, the drive belt, the idler pulley and arm, the rollers, the heating element, the door switch, the high limit thermostats, the motor, the moisture sensor and the terminal block. To test the electric parts, you will need to use a multi-meter. If you are not familiar with how to use one, here is a link to one of our videos on YouTube that you may use as a general reference on how one operates, https://www.youtube.com/watch?v=bWC44fHn0As. We hope this helps. Thank you and have a great day.
Dryer stops before clothes are dry. This also happens on time dry not just the auto cycle. You then have to wait until it cools down to be able to restart the dryer. If will run longer if you use the low temp setting on time dry but sometime doesn't finish depending on the load size. Should i order the thermistor or thermal fuse or both? Thanks
Hello David and thanks for writing.
It sounds like a faulty Internal bias thermostat PS11746740 and possible thermal fuse PS11741460 check and replace if needed. We hope this helps. Please contact us anytime.
The dryer won’t operate. There is a lite on saying control locked. What do i do?
Hello and thank you for writing.
Press and hold for 3 seconds the "Control Lock/Unlock" button on the control panel to unlock the control panel. The "Control Lock" status light goes out when the control panel is unlocked.
We hope this helps. Please contact us anytime if you require further assistance.
3 peoplefound this instruction helpful.
Was this helpful?
Thank you for voting!
BOB - For model number GEW9250PW0
January 14, 2020
Nothing works but light on control saying that "control locked" i have checked breaker, omed power lines, checked temp sensor, now what shill i do next??
Hello Bob, Press and hold for 3 seconds the "Control Lock/Unlock" button on the control panel to lock the control panel. Listen for a double beep and observe the "Control Lock" status light is lit when the control lock is in effect. Press and hold for 3 seconds the "Control Lock/Unlock" button on the control panel to unlock the control panel. The "Control Lock" status light is goes out when the control panel is unlocked. I hope this helps!
2 peoplefound this instruction helpful.
Was this helpful?
Thank you for voting!
Joe - For model number GEW9250PW0
June 15, 2021
My dryer does not light up. I am getting 220 to the unit the control board is not burnt, the fuses getting continuity no digital reading whatsoever.
Hello Joe, Thank you for the question. If the appliance has power going to the unit but not powering on and the Fuse is not defective, normally it is an indication the Electronic Control Board needs to be replaced. We hope this helps!
See how others fixed this model. Time, tools, difficulty, and steps that lead to victory!View More
Search repair tips from other customers using simple keywords like "replace", "fit", "remove", "inspect". DIY doesn't mean you have to do it alone!
Search filter:
Clear Filter
Your search term must have 3 or more characters.
Dryer was working, but no heat.
3071 of 3495 peoplefound this instruction helpful.
ANTHONY from CHESHIRE, CT
Easy
15 - 30 mins
Nutdriver, Pliers, Screw drivers
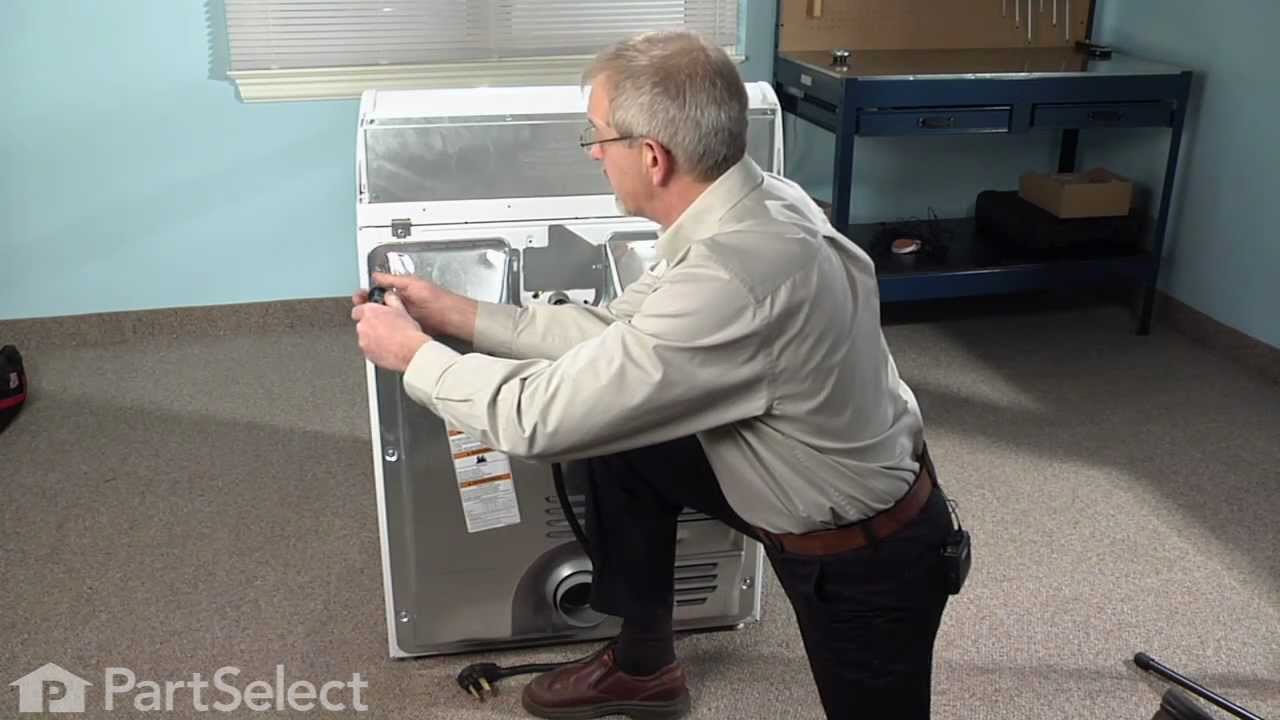
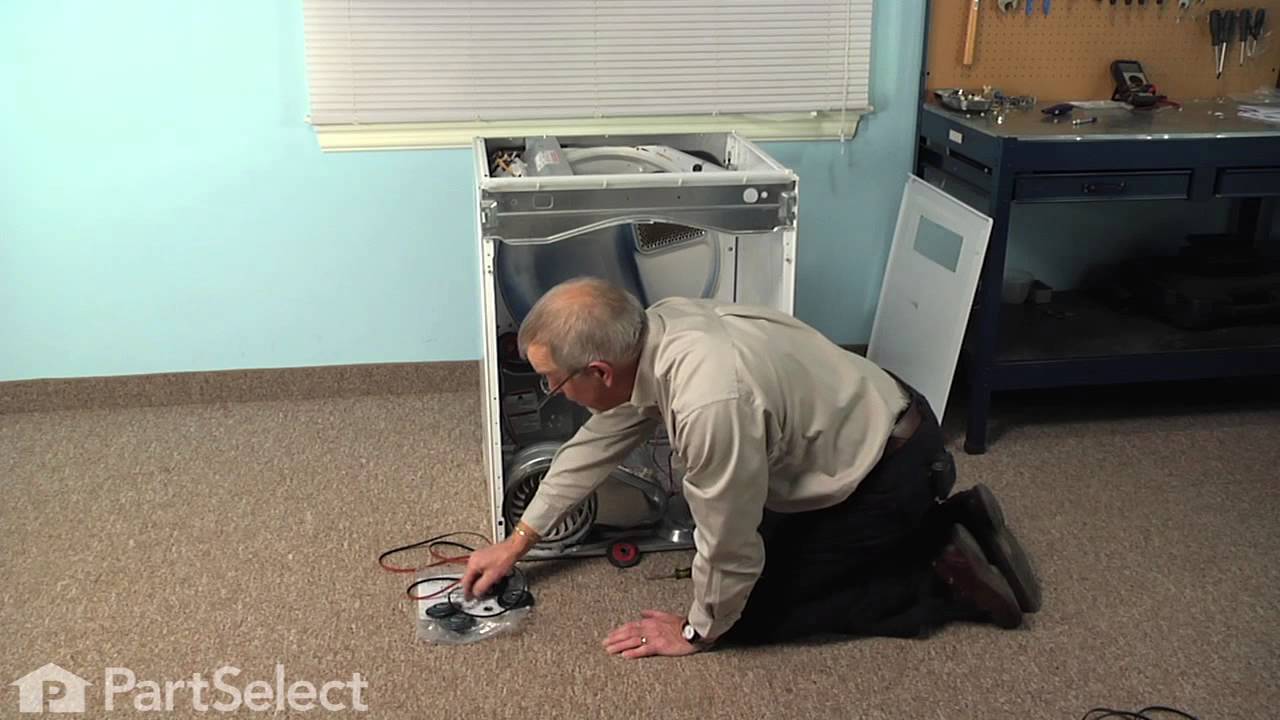
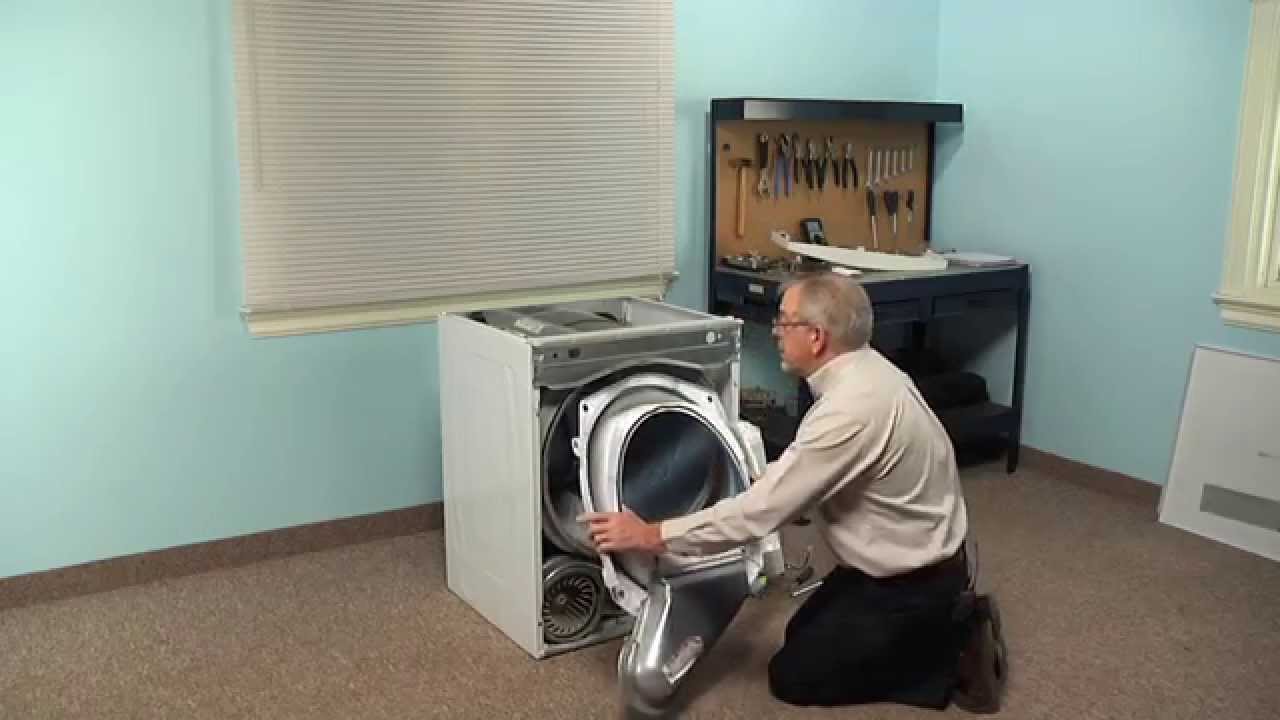
First I unplugged the dryer, then removed the back panel, this exposed most all of the wiring and I could see the heater coils. Not knowing what the problem was I started looking at the coils and could not see any broken parts. So then checked the thermal fuse for continuity I removed the two wires from it with a small pair of
... Read moreneedle nose pliers, it was held in place by two screws, once they were removed the fuse came out easily, I checked continuity with a volt meter placing the meter on X1 Ohms and could not get a reading. I replaced with a new one and put it all back together the way I took it apart. Then I plugged it in and it worked first time, I now have warm dry clothes.
Read less
Was this helpful?
Thank you for voting!
No heat but would run otherwise
928 of 1024 peoplefound this instruction helpful.
Dana from Grassvally, CA
A Bit Difficult
More than 2 hours
Screw drivers
Cleaning the lint out of the whole machine took quite a bit of time--it was everywhere. Underneath the lint trap was a collection that ultimately ruined the thermal fuse where it restricted the air flow considerably.
Ascertaining the problem was the most time consuming part.
The actual repair was quite simple and did
... Read moren't take but 15-20 minutes.
Read less
Was this helpful?
Thank you for voting!
Door Catch part had fallen out,/ was missing
676 of 740 peoplefound this instruction helpful.
Terri from Saint Augustine, FL
Really Easy
Less than 15 mins
Received your parts, Popped them both right into place, Even though only one side needed to be replaced, I wanted them to match up. It was amazing how easy this was. My husband was quite impressed I had ordered these rather then look for either a new or used dryer from some other source.



 My Orders