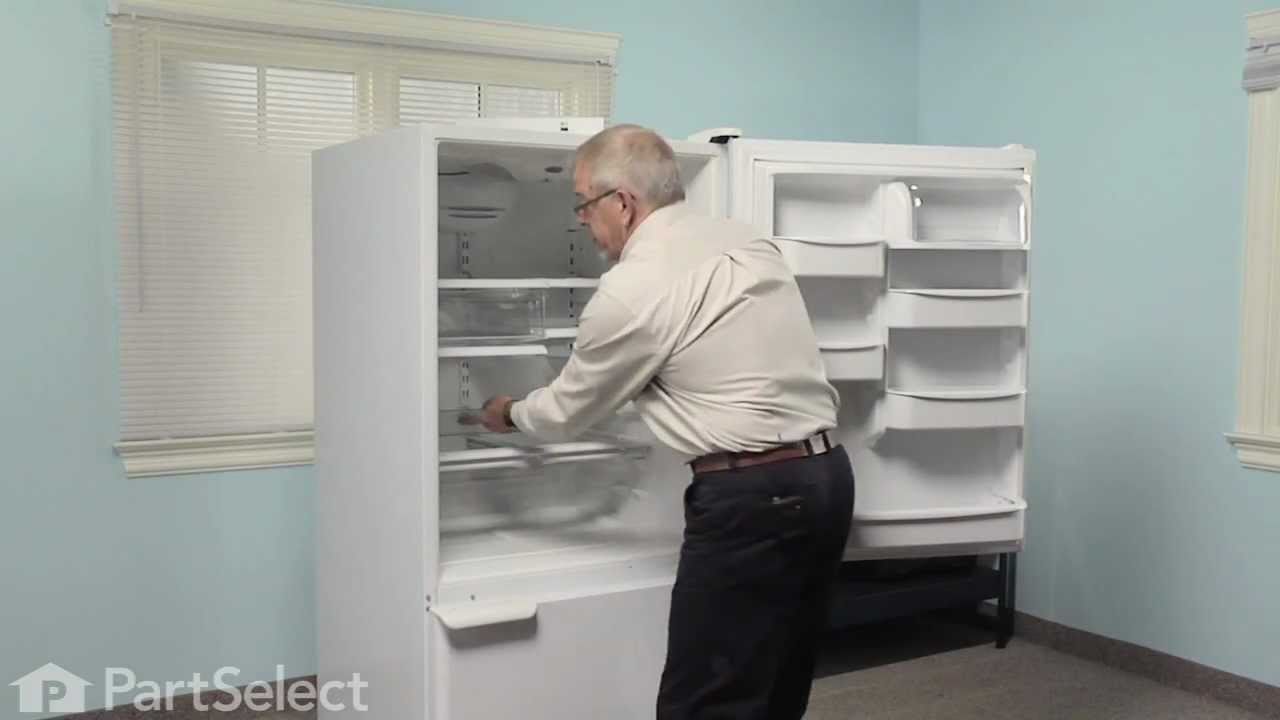
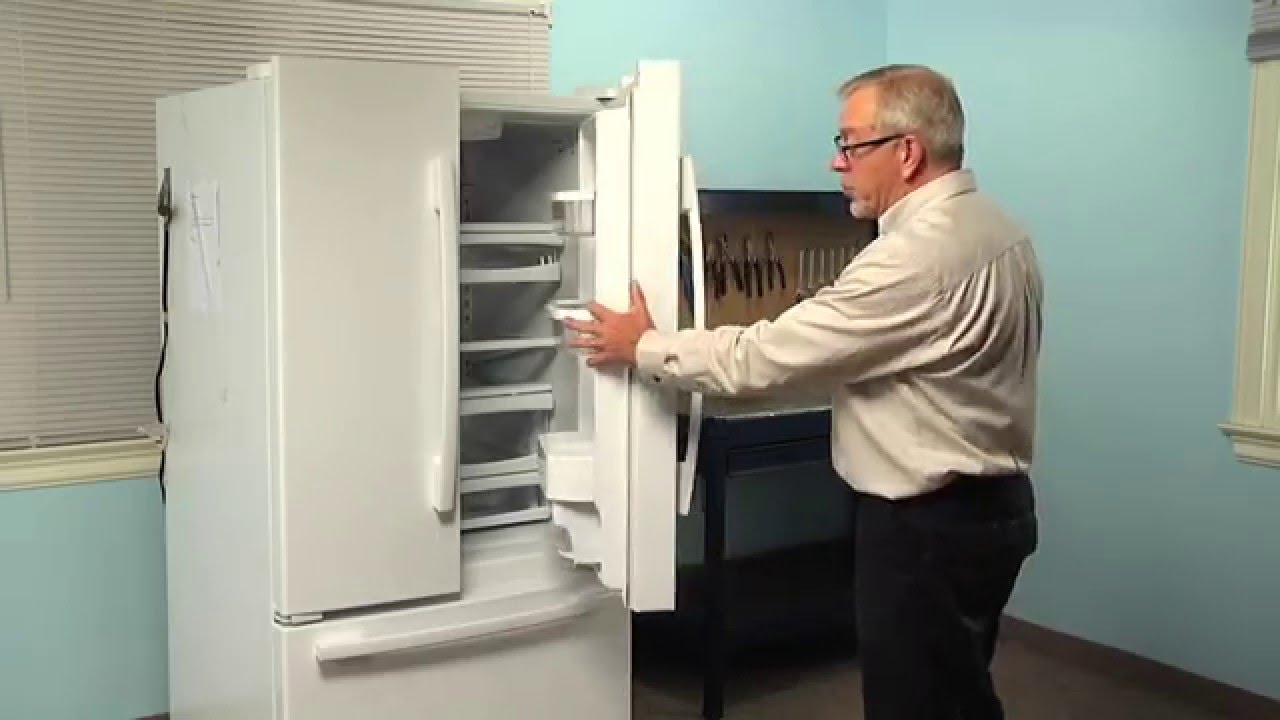
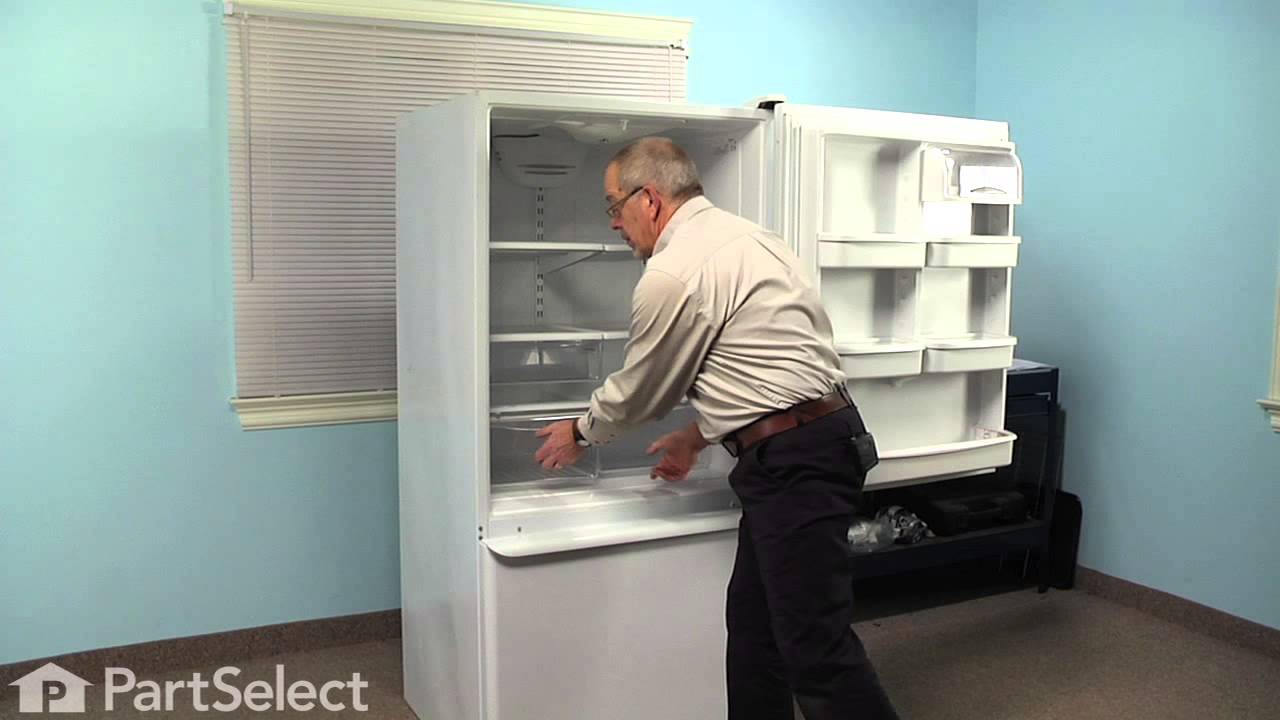
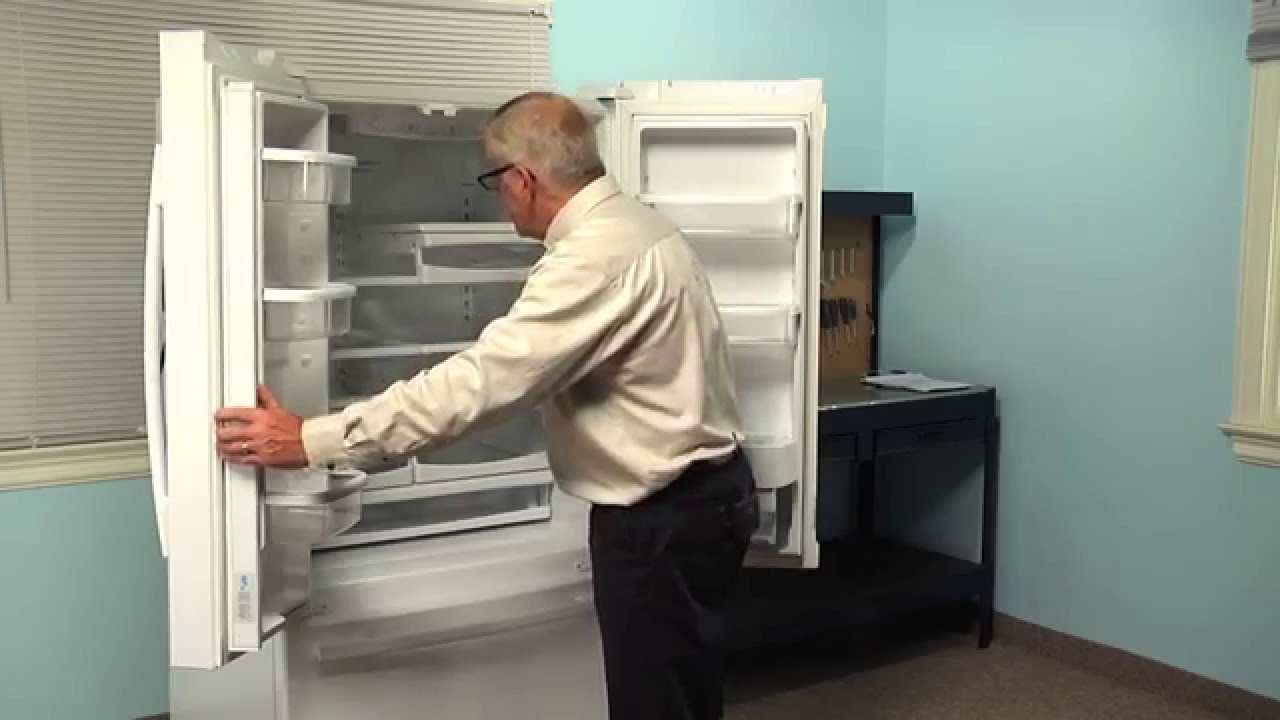
This center crisper drawer rail supports the edges of refrigerator crisper drawers, ensuring smooth sliding and proper alignment. At 13.5 inches long, it fits between the drawers on the shelf frame. Q...
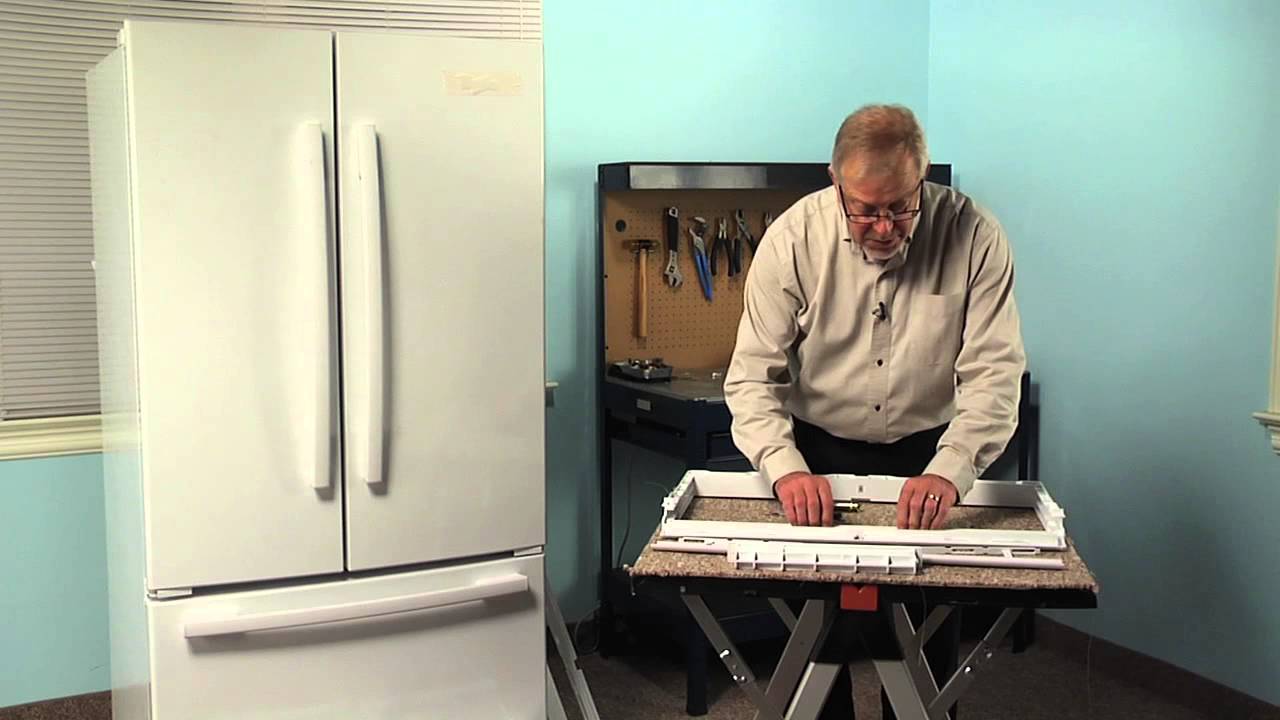
This shelf frame is an essential component for maintaining the organization and functionality of your refrigerator’s crisper or pantry area. It serves as the sturdy base for the glass shelf above the ...
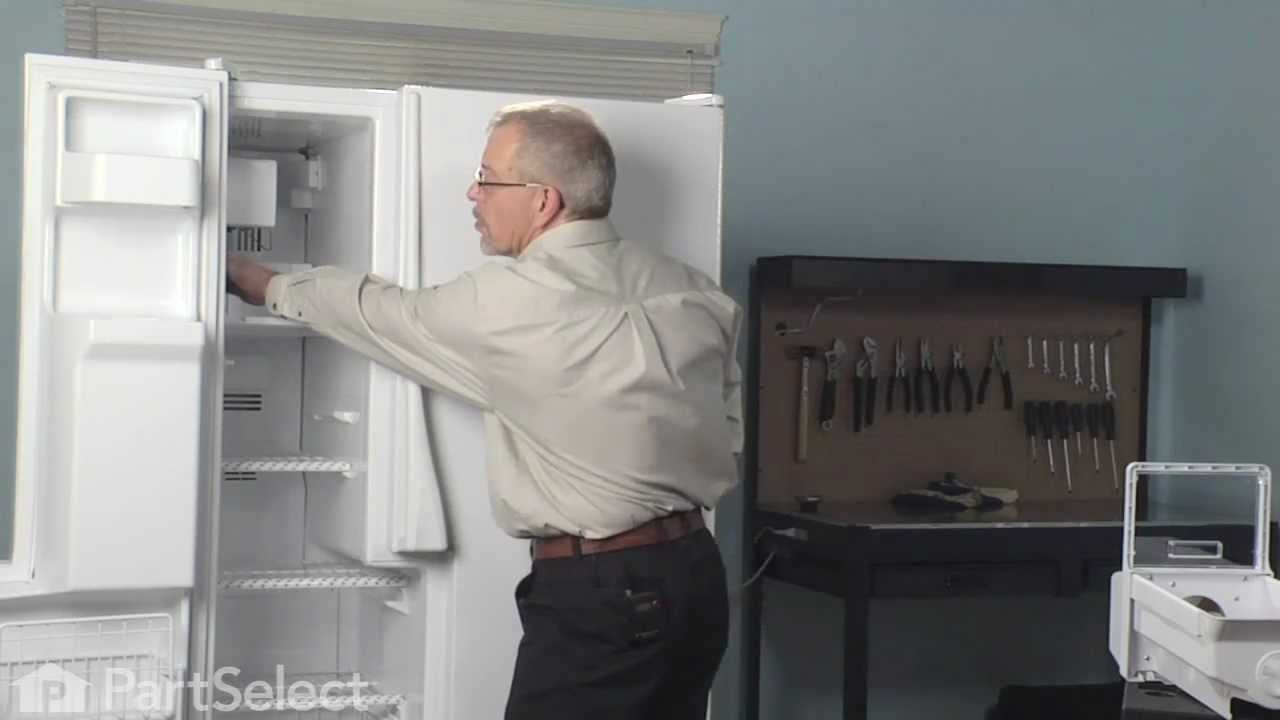
This modular ice maker assembly replaces worn-out units to restore ice production in refrigerators. It includes the ice mold and control device but excludes the cover, ice level arm, wire harness, and...
This 18 ml bottle of white appliance touch-up paint is used to cover scratches or marks on your appliance. The white touch-up paint can be used on refrigerators, microwaves, ranges, clothes dryers, an...
This electronic control board is a critical component in refrigerator systems, responsible for regulating temperature settings and managing cooling and defrost cycles. If your appliance is experiencin...
Sold individually. Crisper drawer is an original equipment manufacturer (OEM) part that fits some bottom-freezer Kenmore, Amana, Crosley, Jenn-Air, KitchenAid, Maytag and Whirlpool refrigerators.
T...
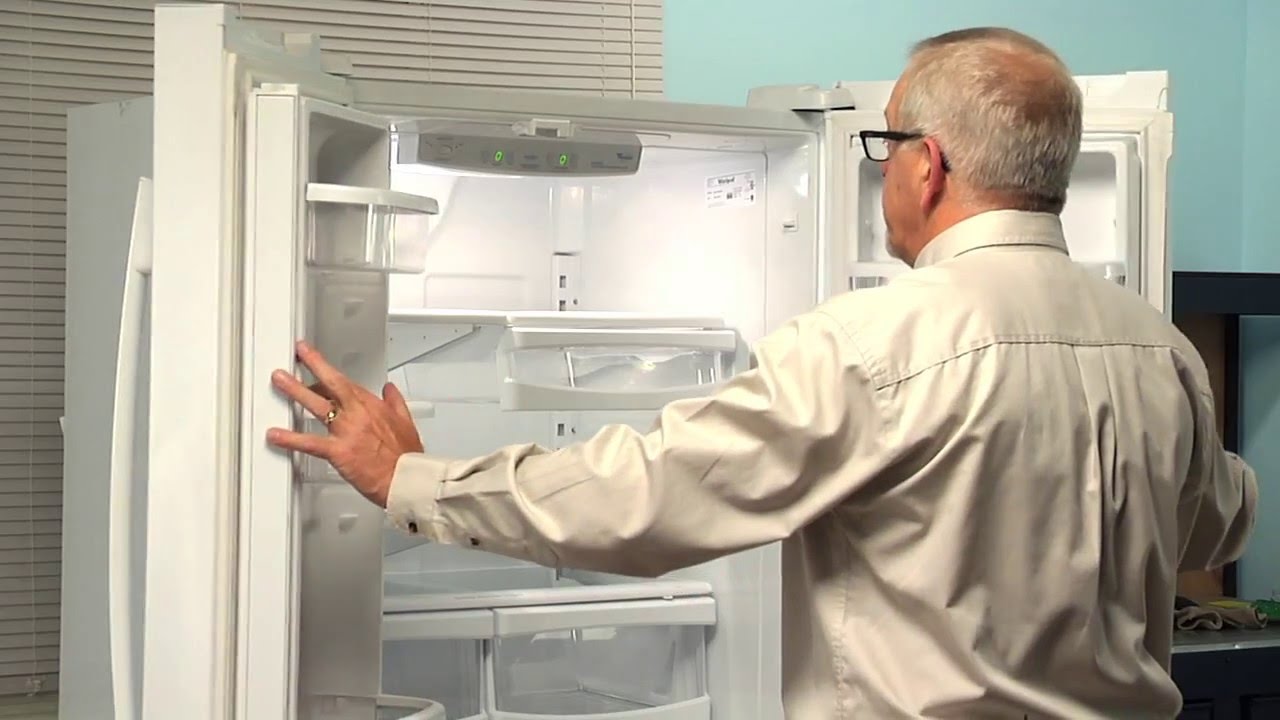
Running out of space in your fridge door? This clear, shallow bin is perfect for organizing jars, bottles, and small items. It’s made from sturdy plastic and fits right into the door—no tools needed. ...
This is a replacement pan glide for your refrigerator. The pan glide can be found attached to the refrigerator shelf, and allows the pan to slide in and out efficiently. If your refrigerator pan will ...
This includes both the run capacitor and the start relay. The capacitor helps the compressor kick on and off while maintaining a constant temperature to keep things frozen in your freezer.
The start ...
This is a deli drawer glide for the right side of your refrigerator. It allows the deli drawer to glide in and out smoothly. In order to access your glider, you will have to remove drawer and shelf, a...
$14.95
In Stock
Questions And Answers for GB2SHDXTQ00
Ask our experts a question about this model and we'll get back to you as soon as possible!
2 questions answered by our experts.
< Prev
1
Next >
Sort by:
Search filter:
Clear Filter
Your search term must have 3 or more characters.
Keep searches simple. Use keywords, e.g. "leaking", "pump", "broken" or "fit".
Sorry, we couldn't find any existing answers that matched.Try using some different or simpler keywords, or submit your new question by using the "Ask a Question" button above!
Jennifer
June 20, 2023
My ice, as well as the freezer and food stored there, has a weird smell. The ice has a strange taste, almost a little like garlic. What is causing this? I changed the filter but still same.
For model number GB2SHDXTQ00
Hi Jennifer, thank you for getting in touch. Based on our understanding of the issue, we would suggest you make sure the water supplied to the house is clean. The ice maker uses the same water as the faucet. Often, a fire hydrant that was flushed or a broken water main can cause dirty water. In these cases, you should run the water for a while at the faucet to clear out the lines and discard the ice until the water clears up. Also, ensure all foods are sealed in the freezer and fresh food sections of the appliance, as the food in the freezer compartment can transfer an odor or taste to the freezer and cause bad-tasting ice. The primary cause of bad smells in the freezer is bacteria, which can still thrive when food is frozen if the temperature is over 0°F. Spills and open food containers give microbes the perfect opening to do their damage. As they break down stored food, the collection of bacteria, yeast, and mold will give off a powerful odor. You may need to clean the freezer compartment to remove odors. Start the cleaning process by clearing out any crumbs and spilled food from the freezer’s cavity. With the debris gone, mix two tablespoons of baking soda with warm water and use it with a clean rag to wipe down the walls. Wash the ice bins and shelves with dish soap and water. After cleaning, wipe everything down with a towel or let them air dry before putting them back in the freezer. We hope this helps!
1 personfound this helpful.
Was this helpful?
Thank you for voting!
Nancy
December 25, 2023
What is the cubic feet of this model?
For model number GB2SHDXTQ00
Hi Nancy, thank you for the question. Your model is 21.9 cubic feet. We hope this information helps!
Was this helpful?
Thank you for voting!
< Prev
1
Next >
✖
Ask a Question
Ask our experts a question on this model and we'll respond as soon as we can.
Interior surface of ice tray felt rough & flaky (coating deteriorated) so cubes would not release. Unplug appliance. Remove timer cover by hand pressure @ edge. Remove single attachment screw & bracket at lower front of icemaker. Disconnect wiring harness from socket @ rear of compartment. Tricky part was determining what type of connection held the other two attachment points along the long edge of the icemaker. I did not have repair manual or useful drawing but looked @ PartsDirect pic of side brackets & used a small mirror to confirm that mine were also some sort of "snap in" attachment. Remove icemaker unit by pushing upward and outward on the unit. I takes a good bit of pressure and will pop loose, but be careful not to break attachment bracket from freezer wall. Scavenge shut off bar and wiring harness from old icemaker once you have it out & attach to new one before installing it back in freezer. Again, you might find a mirror useful to align those pesky snap-in brackets with the new unit. Since you probably kept your freezer running while waiting for the part, the plastic snap-ins will be cold and brittle. I warmed them up first by applying a dampened cloth heated in the microwave to make them a little more pliable. A good push of the new unit towards the snap-ins along with some upward force will get it stable. Reattach the metal screw in bracket & connect the wiring harness to rear plug... and don't forget to plug the whole thing back in. It will take awhile for the first batch of cubes dump as the timer may need to cycle completely around to get to the fill cycle... be patient. Dump the first couple of batches of cubes just to make sure you're free of any residue.
Having seen this problem before in other equipment so I had an idea where to look. Problem: the automatic defrost function was not operating. Looking through openings in the back panel of the freezer compartment, you could see the evaporator coils and fins were a solid chuck of ice. There are three logical components to check. Heater element, thermostat (located just above the evaporator) and a relay on the control board (located in the fridge control panel). Checked the heater with an ohm meter -- OK. The thermostat closes the circuit at around 20 degrees and opens at around 32 degrees. Pulled out the thermostat, wiring, fan unit. Everything unplugs, unscrews, and unclips, don't cut wires. Put the whole assembly in a friends freezer for an hour or so to see if the thermostat closes -- OK. Problem had to be with the control board. Replaced control board, reprogrammed it per included instruction. Everything is working again.
My ice maker has been shedding its non-stick coating for over a year. Within the last month of so, it started pouring water into the ice bucket below, turning it into a solid mass of ice. So I purchased a new ice maker assembly. I encountered two problems not mentioned in the 21 or so do-it-yourselfer repair stories that precede this one. First problem: one of the three screws that hold the ice maker to the refrigerator wall is hidden behind the large (black) end of the ice maker and is difficult to access. Before trying to replace the ice maker, make sure you have the physical dexterity to remove that screw. Second problem: it is not apparent how to remove the wire harness that plugs into the ice maker assembly. BEFORE you can remove the wire harness, you MUST remove the large white cap that covers the black end of the ice maker assembly and then push in a retaining tab to release the wire harness. If you don't do this, the wire harness will not release. Other than those two problems, it was relatively easy to remove three screws, unplug the wire harness, transfer three small, metal parts from the old ice maker to the new, plug in the new wire harness, mount the ice maker assembly so that the water tube is in the proper position, and then re-install the three screws. The ice maker works fine now. (P.S. I was told by an expert that the real problem might be a malfunctioning fill valve. I would have replaced the fill valve if replacing the ice maker assembly had not fixed the problem.)