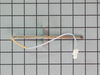
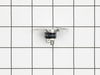
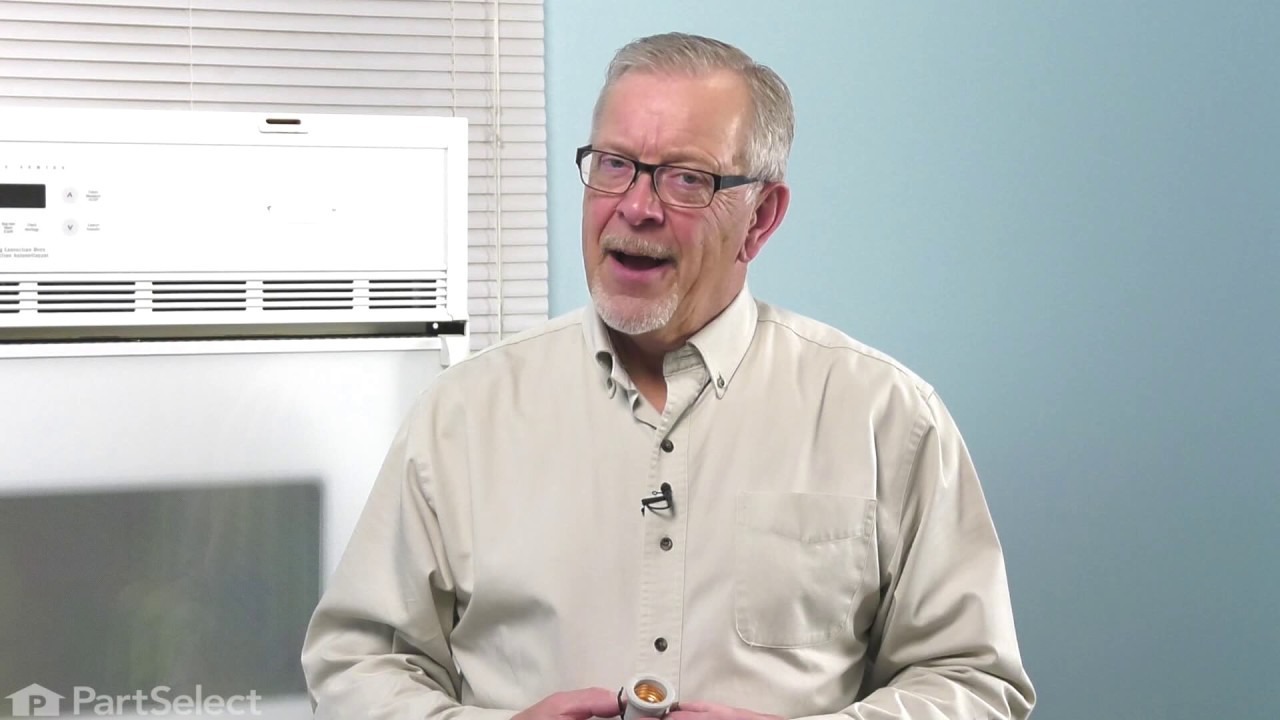
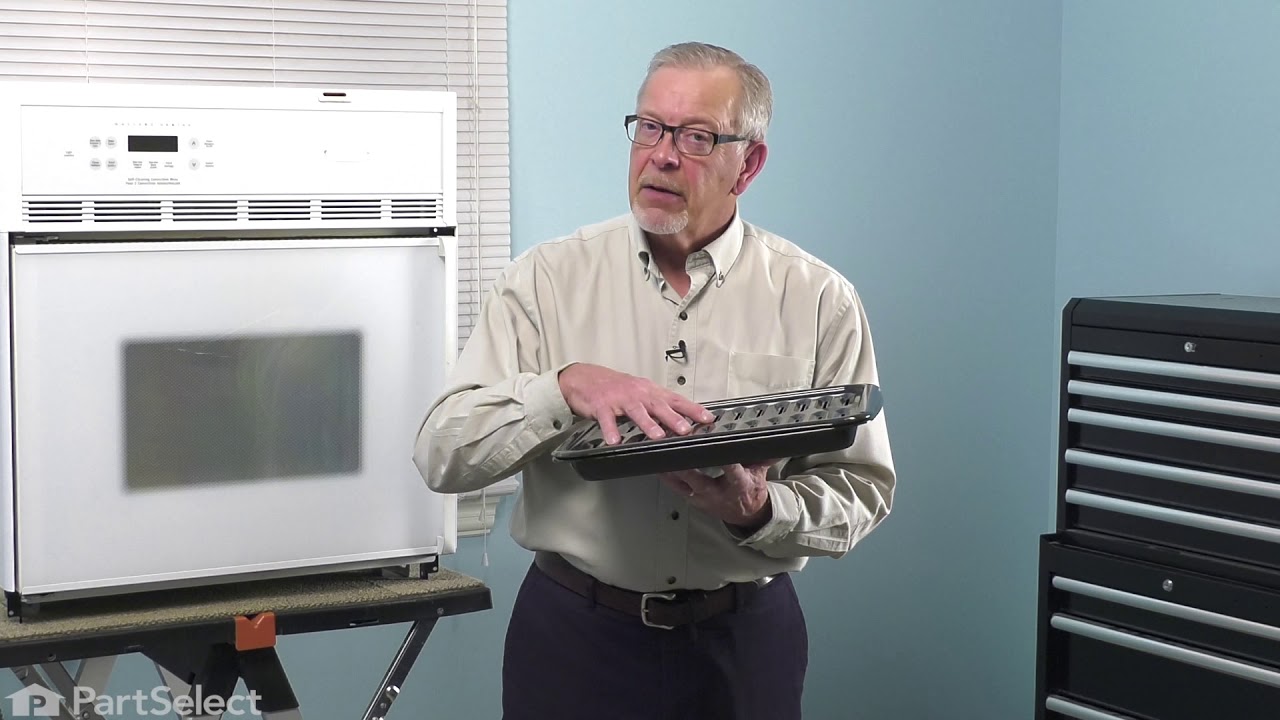
Also known as Probe. The quick connect on this part may be different than your original part. If it doesn't fit, you have to cut off the quick connect and wire together with porcelain wire nuts.
This 40-watt appliance light bulb is a reliable replacement for use in select ranges, refrigerators, freezers, and microwaves. It provides bright, consistent lighting to help you see clearly inside yo...
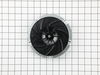
This cooling fan and motor assembly is designed to maintain safe operating temperatures in electric ranges and wall ovens. By circulating air around the control board and internal components, it preve...
Ask our experts a question about this model and we'll get back to you as soon as possible!
1 question answered by our experts.
< Prev
1
Next >
Sort by:
Search filter:
Clear Filter
Your search term must have 3 or more characters.
Keep searches simple. Use keywords, e.g. "leaking", "pump", "broken" or "fit".
Sorry, we couldn't find any existing answers that matched.Try using some different or simpler keywords, or submit your new question by using the "Ask a Question" button above!
Mark
November 8, 2023
The baking heating element of the 2011 frigidaire oven is not getting hot enough to cook efficiently. For example-Now takes twice as long to bake chicken. Thinking it’s the bottom heating core/ element?
Difficult to change out- it’s a wall unit.
For model number FFEW3025LSA
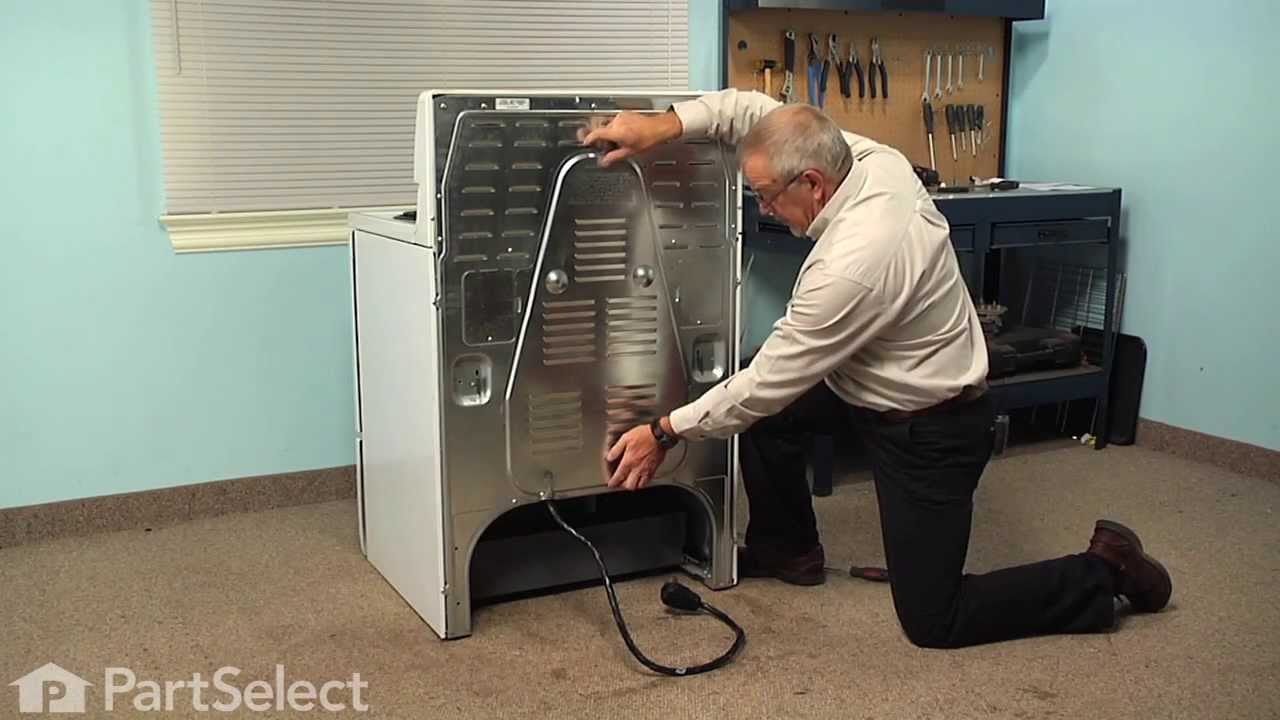
Hi Mark, thank you for reaching out. Based on our understanding, it seems that there is an issue with the bake element, part number PS2582002. You may need to replace it to fix the issue. We have attached a video regarding the replacement of the bake element. This may not be of the same model but will help you in installation. Glad to be of help!
Replaced clock control by removing surface burner control knobs and plastic nuts, and then the cover over the oven control. Two screw hold the clock in place, after removal and disconnecting the plug-in you can reinstall the new clock control. The Heat Sensor inside the oven will also need to be replaced. It is located inside the oven and attached with two screws; the back of the oven will need to be removed to unplug. Reverse removal procedure and turn the power back on to the stove.
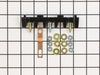
PF alarm appeared on display. Noticed clicking when cord was moved. Had arced for some time and melted original block. New part slightly different. Only has 3 lugs, old one had six. Stack using washers provided. Take note of colors before disassembly. Use caution while working through access opening. The edges are sharp. Only tools needed are phillips screwdriver, deep socket for lug nuts. Nut driver optional. Hope this is helpful.
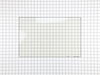
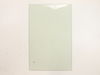
Repair was quite easy, as long as you have the instructions for removing the door. The screws that hold the bottom of the door to the fixed hinge are placed into the side of the hinge assembly after removal; this holds the door at a 45 degree angle for easy removal. After that, just place the door on a flat surface and dismantle the door from the inside. The inner glass is contained in a metal frame with another piece of glass; this frame comes apart easily using the clips in each side. The door assembles easily after the glass is replaced; just take your time and give yourself enough room to lay out the parts as you go. Good luck!