














FA2950 Amana Washer - Overview
Sections of the FA2950
[Viewing 19 of 19]-
25832 & 25833 MIXING VALVE ASSEMBLIES

-
ACCESSORIES

-
AGITATOR POST & SPIN TUB

-
AGITATOR, SHAFT & FABRIC SOFTENER DISP

-
BLEACH DISPENSER

-
BOOT, CHASSIS & DRAIN TUB

-
CABINET TOP & LOADING DOOR

-
CBAL WEIGHT, BRKT, MTG PLT & TRANS

-
CONTROL PANEL, CONTROL HOOD & CONTROLS

-
DOOR SAFETY SWITCH

-
DRAIN

-
MAIN BEARING ASSY & SPIN BELT

-
MIXING VALVE ASSY

-
MOTOR, FLUID DRIVE & PUMP BELT

-
PANELS

-
POWER CORD, WIRE & TERMINALS

-
PUMP ASSY

-
TRANSMISSION ASSY

-
WATER INLET & FILLER HOSE

Keep searches simple, eg. "belt" or "pump".

Water Inlet Valve
PartSelect #: PS1583805
Manufacturer #: 205613
This part has two ports for water to enter. It is blue and is intended for use with many washing machines and comes with a multi-mount bracket and an outlet adaptor.
$155.21
In Stock

Washer Hose Clamp
PartSelect #: PS11743008
Manufacturer #: WP596669
This hose clamp extends from half an inch to an inch in diameter. It is made entirely of metal and is intended for use with Maytag brand washing machines.
$10.95
In Stock

Dryer Screw
PartSelect #: PS11746840
Manufacturer #: WP90767
This screw is sold individually.
$9.85
In Stock

Adjustable Leveling Leg
PartSelect #: PS2021026
Manufacturer #: 22003428
Sold Individually. This adjustable leveling leg comes with a stop nut.
$23.95
In Stock

Washer Inlet Hose Washer
PartSelect #: PS11757437
Manufacturer #: WPY013783
This high pressure inlet hose washer is black. It is an inch in diameter, made of rubber, and used with many washing machines, refrigerators, and dishwashers.
$9.68
Special Order


Single Washer Inlet Strainer
PartSelect #: PS11739405
Manufacturer #: WP22002960
Found at the end of the inlet hoses.
$14.95
Special Order

Dryer Nut
PartSelect #: PS11748944
Manufacturer #: WPW10139757
Sold individually. This nut is for dryers.
Follow appropriate safety practices when installing the nut.
$10.57
Special Order


Common Symptoms of the FA2950
[Viewing 3 of 3]Leaking
Fixed by
these parts
these parts


Show All
No hot or cold water
Fixed by
these parts
these parts
Show All
Water Filling Issues
Fixed by
these parts
these parts
Show All

Keep searches simple. Use keywords, e.g. "leaking", "pump", "broken" or "fit".
Cold water valve only opened to a trickle
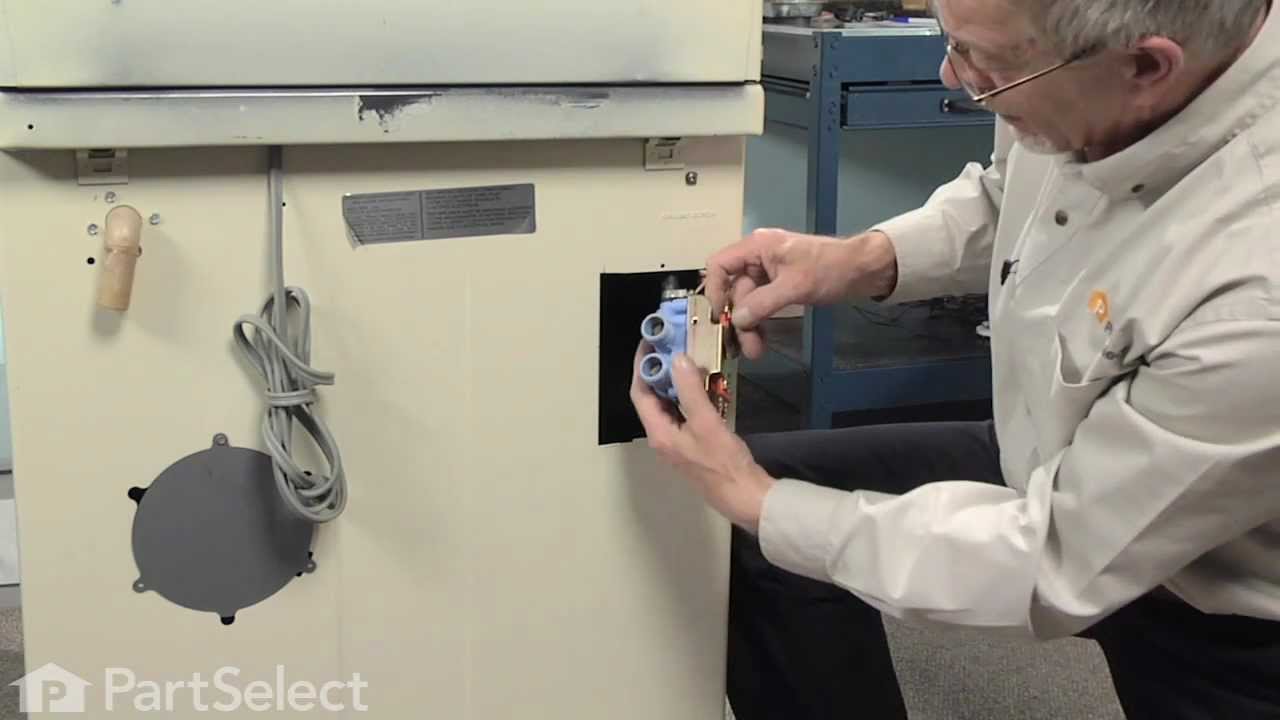
I started by unplugging the appliance and then shut off the hot and cold water faucets then I disconnected and drained the hoses. Next, I removed the two screws that held the valve assembly in place. I then pulled the assembly out about 3 inches and disconnected the two wire plugs. The last step was to loosen the hose clamp on the outlet hose and pull off the outlet hose. I reversed the steps to install the new assembly and the total repair took about 10 minutes.
Parts Used:
-
Brian from El Cajon, CA
-
Difficulty Level:Really Easy
-
Total Repair Time:Less than 15 mins
-
Tools:Nutdriver, Wrench (Adjustable)
600 of 617 people
found this instruction helpful.
Was this instruction helpful to you?
Thank you for voting!
washer filled with water even when OFF.
Followed your directions and it went very easy.
Only took maybe 30 mins.
I was impressed with your trouble shooting and inst!!!!
Thanks
wayne
Only took maybe 30 mins.
I was impressed with your trouble shooting and inst!!!!
Thanks
wayne
Parts Used:
-
wayne from lees summit, MO
-
Difficulty Level:Really Easy
-
Total Repair Time:30 - 60 mins
-
Tools:Nutdriver, Pliers, Screw drivers, Wrench (Adjustable)
55 of 60 people
found this instruction helpful.
Was this instruction helpful to you?
Thank you for voting!
Cold water solinoid not opening properly
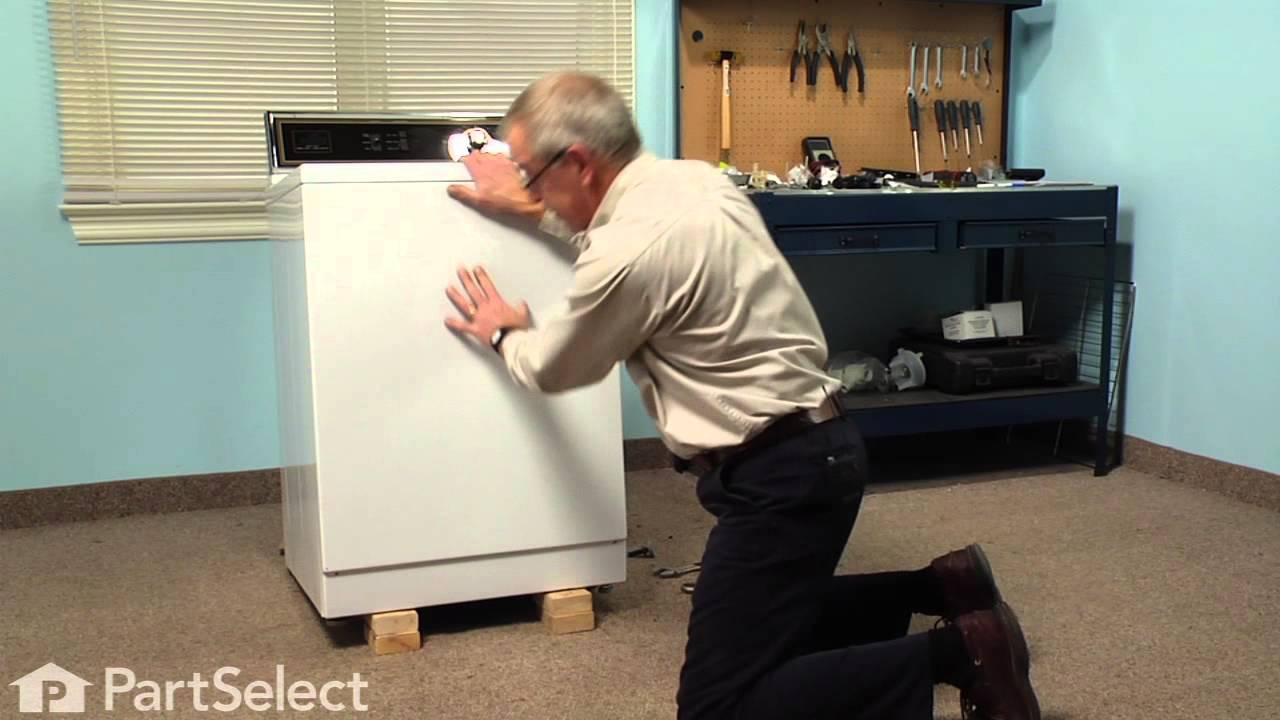
I moved wash machine away from wall and unplugged from wall outlet. Shut off water, then removed hot and cold water lines from water inlet valve,removed screw from mounting plate and removed valve from wash machine. Checked to see if replacement valve was compatible (exact fit).
Unscrewed the two screws holding valve to mounting plate,unscrewed hose clamp and removed water line at top of valve (outlet). Removed the four wires from solinoids.Replaced the four wires onto the new valve as they were on the old valve,reattached water line onto the top of valve and tightened.Reattached valve to mount plate with the two screws and mounted back onto machine. Hooked up hot and cold water lines back onto valve and snugged with pliers. Turned on water checked for leaks (no leaks), and did a load of laundry. Super simple,well worth doing yourself.
Unscrewed the two screws holding valve to mounting plate,unscrewed hose clamp and removed water line at top of valve (outlet). Removed the four wires from solinoids.Replaced the four wires onto the new valve as they were on the old valve,reattached water line onto the top of valve and tightened.Reattached valve to mount plate with the two screws and mounted back onto machine. Hooked up hot and cold water lines back onto valve and snugged with pliers. Turned on water checked for leaks (no leaks), and did a load of laundry. Super simple,well worth doing yourself.
Parts Used:
-
Erich from EastHampton, CT
-
Difficulty Level:Really Easy
-
Total Repair Time:15 - 30 mins
-
Tools:Nutdriver, Pliers, Screw drivers
44 of 50 people
found this instruction helpful.
Was this instruction helpful to you?
Thank you for voting!