




















EW30CC55GB3 Electrolux Cooktop - Overview
Sections of the EW30CC55GB3
[Viewing 4 of 4]


Manuals & Care Guides for EW30CC55GB3
Click to downloadInstall
Installation Instructions
(4.73MB)
Manual
Owner's Manuals
(18.81MB)
Specs
Product Specifications Sheet
(0.64MB)
Wiring
Wiring Diagram
(0.14MB)
Keep searches simple, eg. "belt" or "pump".
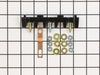
Main Terminal Block Kit
PartSelect #: PS471605
Manufacturer #: 5304409888
Terminal blocks (also called terminal boards or strips) provide a convenient means of connecting individual electrical wires.
$45.61
In Stock
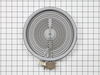
ELEMENT
PartSelect #: PS16763418
Manufacturer #: 5304533520
Dual Radiant Surface Element
$105.02
In Stock
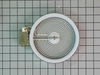
Radiant Element with Limiter - 1200W
PartSelect #: PS1528719
Manufacturer #: 318178110
The 6” radiant cooking element with limiter fits under the glass cooktop and supplies heat to the cooking area. If your element is not heating, you can test the element for continuity with a multimete...
$147.02
In Stock



SCREW,(2),COUNTERTOP Mounting
PartSelect #: PS11704500
Manufacturer #: UC5300807270
$9.95
Special Order
Common Symptoms of the EW30CC55GB3
[Viewing 5 of 5]Element will not heat
Fixed by
these parts
these parts

Show All
Little to no heat when baking
Fixed by
these parts
these parts
Show All
Will Not Start
Fixed by
these parts
these parts
Show All
Oven not heating evenly
Fixed by
these parts
these parts
Show All
Little to no heat when broiling
Fixed by
these parts
these parts
Show All

Keep searches simple. Use keywords, e.g. "leaking", "pump", "broken" or "fit".
Cord was not tightened enough by delivery crew.
PF alarm appeared on display. Noticed clicking when cord was moved. Had arced for some time and melted original block. New part slightly different. Only has 3 lugs, old one had six. Stack using washers provided. Take note of colors before disassembly. Use caution while working through access opening. The edges are sharp. Only tools needed are phillips screwdriver, deep socket for lug nuts. Nut driver optional. Hope this is helpful.
Parts Used:
-
Timothy from Spring Valley, AL
-
Difficulty Level:Really Easy
-
Total Repair Time:15 - 30 mins
-
Tools:Screw drivers, Socket set
109 of 174 people
found this instruction helpful.
Was this instruction helpful to you?
Thank you for voting!
burned out burner
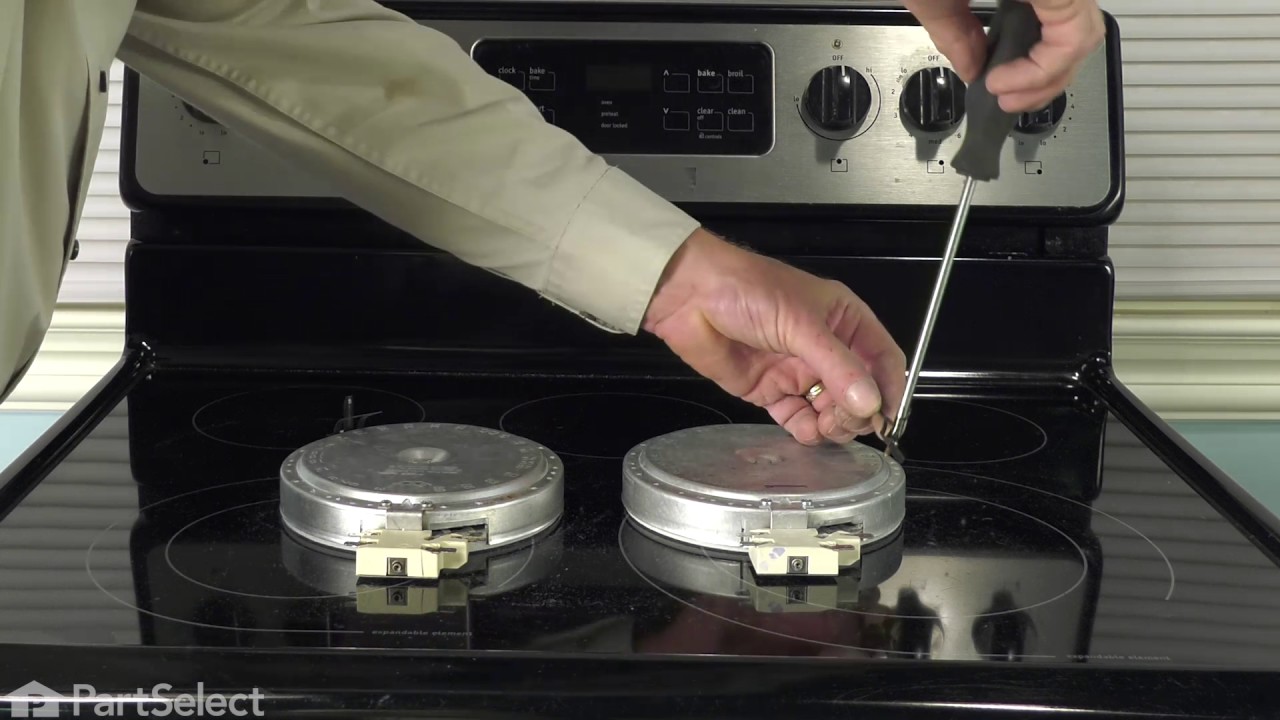
First we removed two screws under the rim of the range top to open the lid. Lifted the lid and removed the screws from the bracket that holds the elements, Be careful with the clips that hold the element in, if you break them or bend them there aren't any more! Also note which holes they were in, they are marked according to the different sizes of elements. Disconnected the wires, needed needlenose pliers to grip them...connected new element, popped it back in place, replaced bracket, closed top ...Easy peasy!!!
Parts Used:
-
Lori from Winter Haven, FL
-
Difficulty Level:Easy
-
Total Repair Time:Less than 15 mins
-
Tools:Pliers, Screw drivers
70 of 99 people
found this instruction helpful.
Was this instruction helpful to you?
Thank you for voting!
Center of dual burner was broken
Removed screws on the sides and front.
Labeled the wire sets connected to the front control panel.
Gently lifted up the stove top and flipped it over on to a towel.
Removed the piece of metal holding down the burner.
Disconnected the cables to the old burner.
Repeated steps above in reverse.
Labeled the wire sets connected to the front control panel.
Gently lifted up the stove top and flipped it over on to a towel.
Removed the piece of metal holding down the burner.
Disconnected the cables to the old burner.
Repeated steps above in reverse.
Parts Used:
-
German from SELLERSBURG, IN
-
Difficulty Level:Easy
-
Total Repair Time:1- 2 hours
-
Tools:Screw drivers
9 of 11 people
found this instruction helpful.
Was this instruction helpful to you?
Thank you for voting!