














DWXR483EB2CC General Electric Dryer - Overview
Sections of the DWXR483EB2CC
[Viewing 4 of 4]


Keep searches simple, eg. "belt" or "pump".

DRYER FRONT BEARING WHITE 2PK
PartSelect #: PS17137205
Manufacturer #: WE03X37318
This authentic, white Drum Bearing Slide, also known as the bearing drum slide, glide, or pad, is a plastic, easy-to-install part for your dryer. It replaces the dryer's front drum slide to allow for ...
No Longer Available

DRYER BEARING SLIDE GREEN 2PK
PartSelect #: PS17137203
Manufacturer #: WE03X37317
This original equipment manufacturer Drum Bearing Slide is a plastic, green, easy-to-install part for your dryer. It replaces the dryer's front drum slide to allow for easier movement. You'll know if...
No Longer Available

Drum Bearing Sleeve
PartSelect #: PS266777
Manufacturer #: WE1M462
If your dryer’s making loud noises or the drum seems shaky, this rear bearing sleeve might be the fix. It helps the drum spin smoothly and stay in place. When it wears out, you might hear squeaks or n...
$28.95
Special Order

Rotary Start Switch
PartSelect #: PS3487203
Manufacturer #: WE4M519
This part is used to start the dryer once you have selected a setting on the timer. The terminal locations on the new switch may be different, match up terminal numbers from old switch to new.
$53.62
Special Order

Knob and Clip
PartSelect #: PS268450
Manufacturer #: WH01X10060
This knob accepts a D-shaped shaft.
No Longer Available

High Limit Thermostat - L315-65
PartSelect #: PS267900
Manufacturer #: WE4M137
This part is the replacement high-limit thermostat or safety thermostat for your dryer. The high-limit thermostat is found on the upper right-hand side of the heater housing, and it cuts off power to ...
$72.70
Special Order

Retainer O-Ring
PartSelect #: PS266776
Manufacturer #: WE1M461
This is a replacement O-ring for the drum bearing retainer on your dryer. The drum bearing is found at the back of the dryer drum. The O-ring is designed to create a seal on the drum bearing. The O-r...
$35.58
Special Order

Door Switch
PartSelect #: PS2344321
Manufacturer #: WE4M415
A door switch is a simple on/off mechanism that prohibits the dryer from operating when the door is open.
$39.78
Special Order

Heating Element and Housing
PartSelect #: PS265565
Manufacturer #: WE11M23
Note: The insulators on the housing are NOT sold separately.
$223.70
Special Order

Safety Thermostat
PartSelect #: PS267911
Manufacturer #: WE4M160
This is considered a high limit thermostat. Rating - L210 This thermostat acts as a safety mechanism that keeps the dryer from overheating. Once the dryer temperature reaches a certain point, this pie...
No Longer Available

Cycling Thermostat
PartSelect #: PS267949
Manufacturer #: WE4M216
This thermostat is located on the blower wheel.
$78.35
Special Order

Timer
PartSelect #: PS267933
Manufacturer #: WE4M189
This dryer timer is used to control the unit's cycles by regulating the length of time that power is directed to each setting.
$222.58
Special Order
Common Symptoms of the DWXR483EB2CC
[Viewing 7 of 7]Noisy
Fixed by
these parts
these parts


Show All
Marks left on clothes
Fixed by
these parts
these parts

Show All
Won’t Start
Fixed by
these parts
these parts


Show All
Will Not Start
Fixed by
these parts
these parts

Show All
Drum Not Spinning
Fixed by
these parts
these parts
Show All
Not Heating
Fixed by
these parts
these parts

Show All
Too hot
Fixed by
these parts
these parts


Show All

Keep searches simple. Use keywords, e.g. "leaking", "pump", "broken" or "fit".
Heater element went out
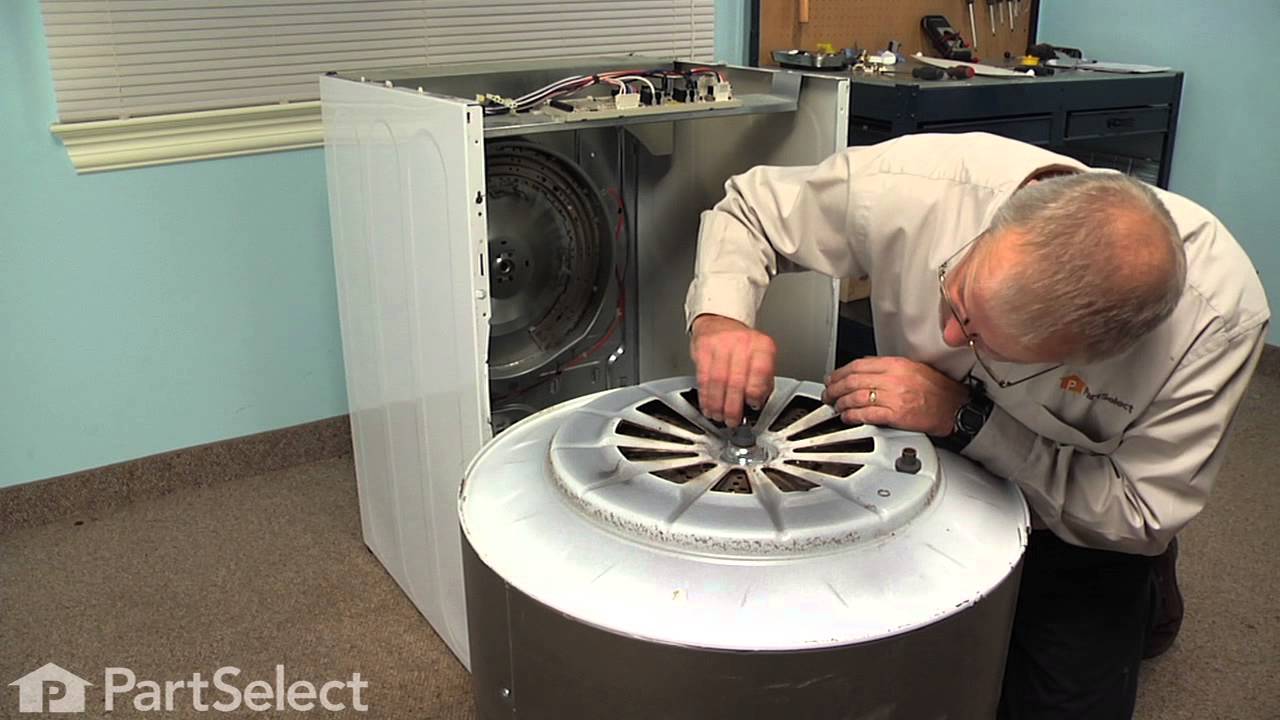
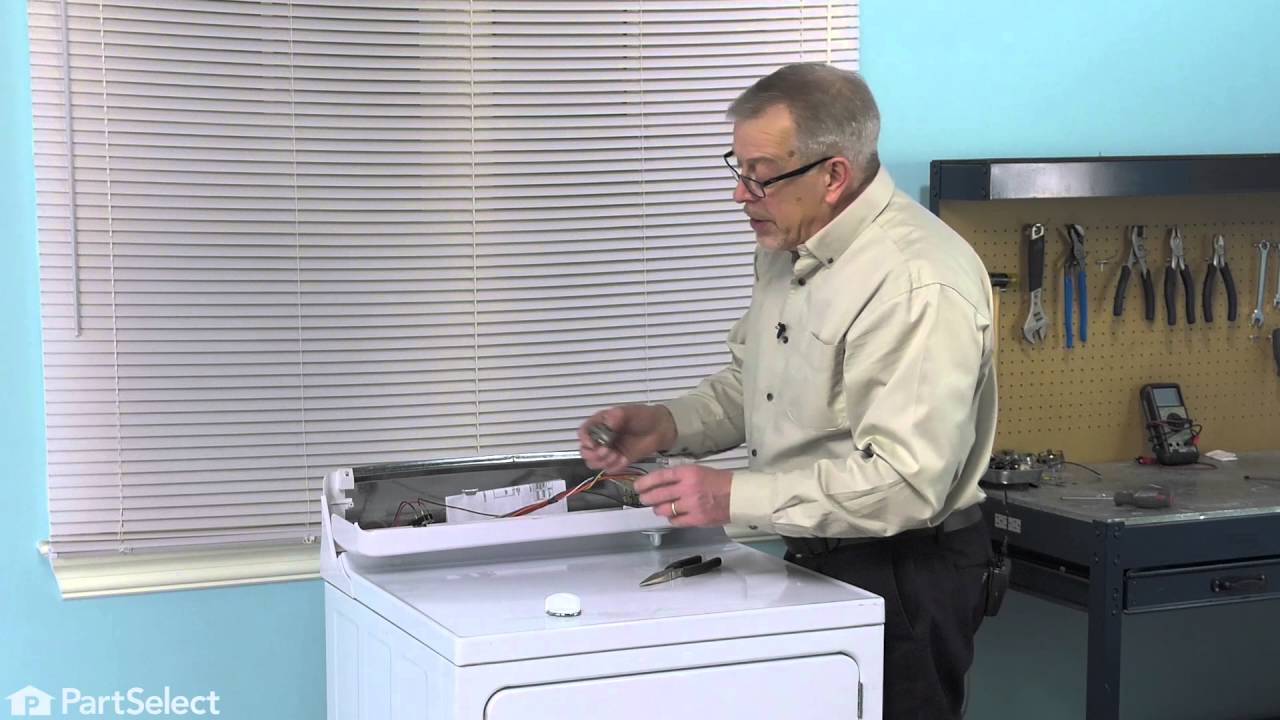
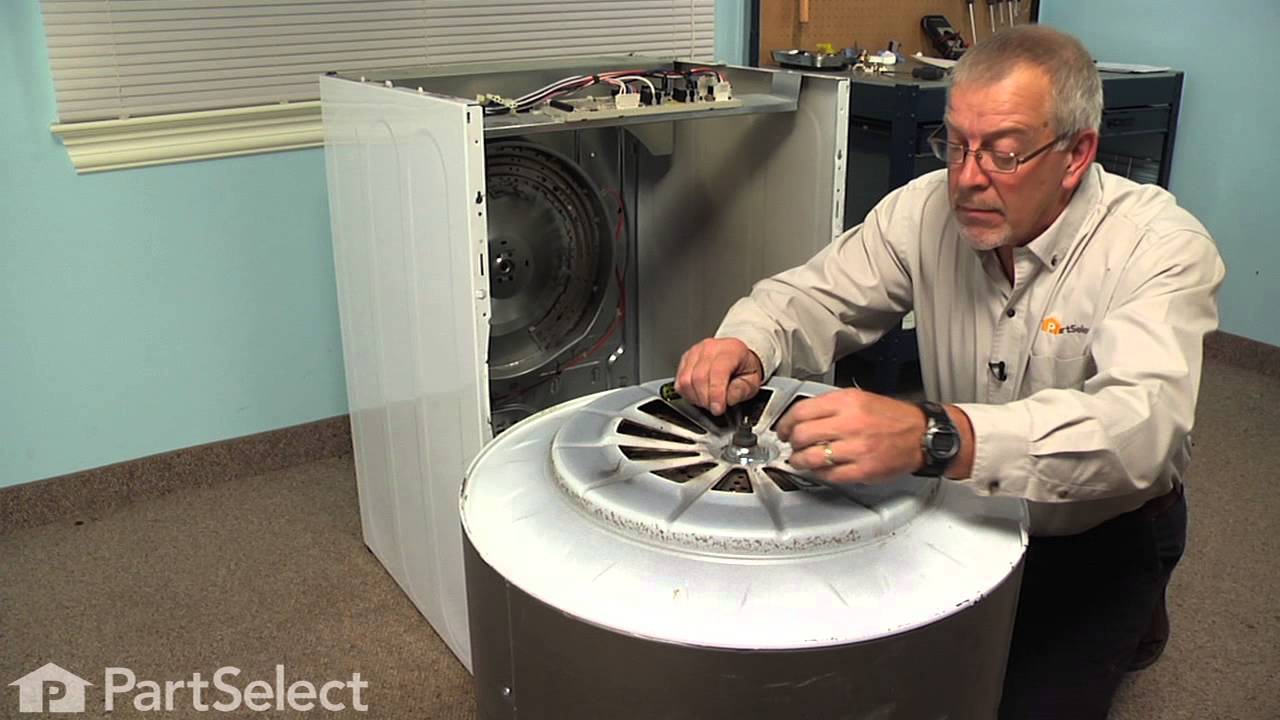
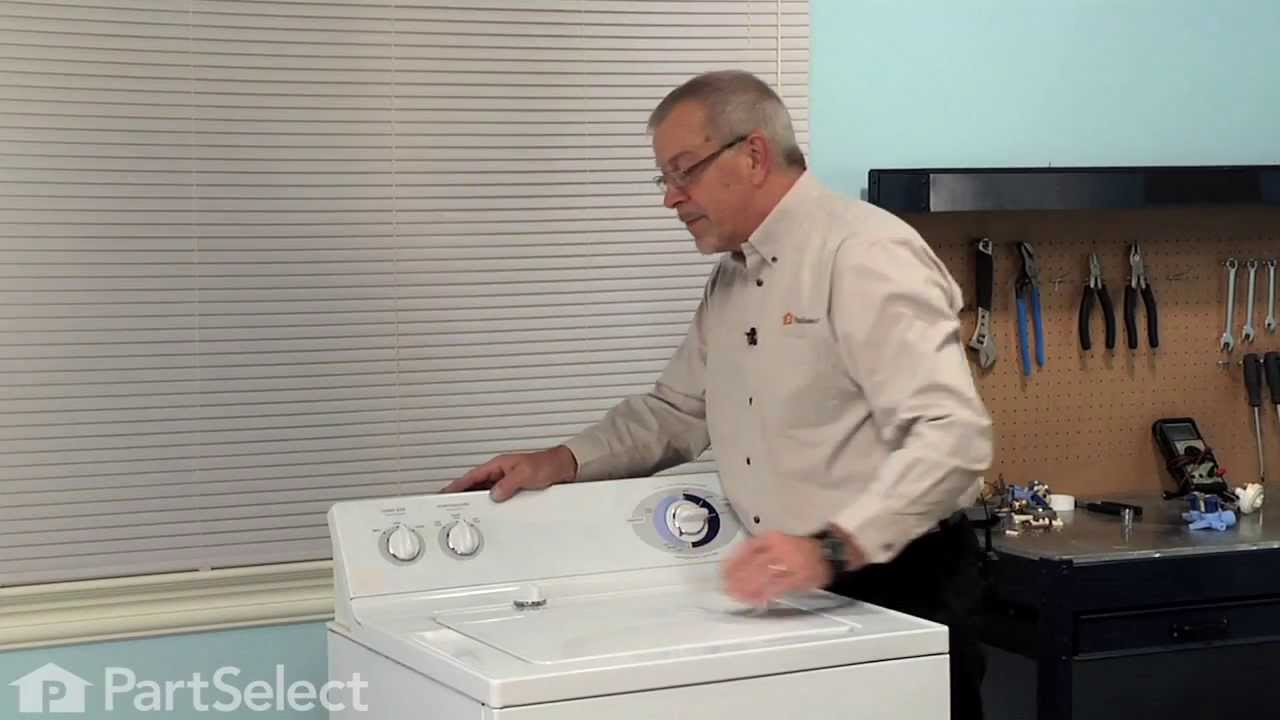
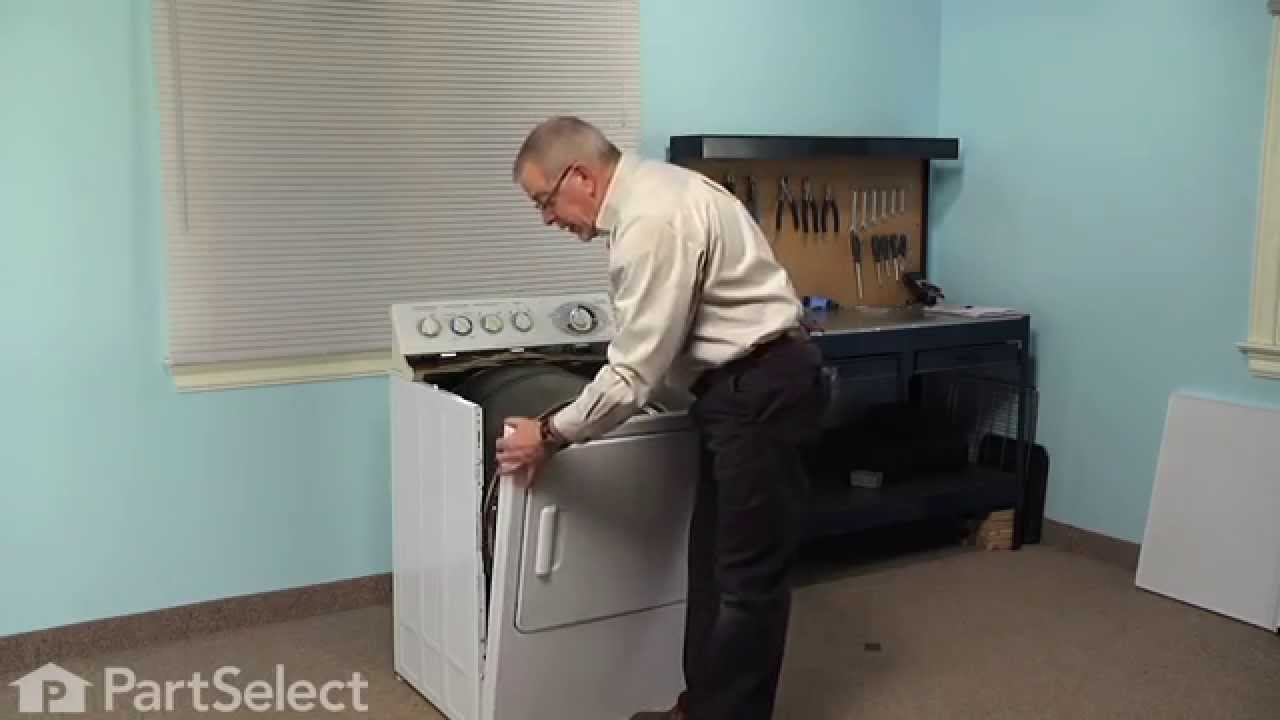
First of all, unplug the dryer. I removed the two screws on the front of the cabinet to remove the top. I then took out the screws to remove the dial panel. Release the belt for the drum through the access hole in the rear of the dryer. Remove the front cover and pull the drum assembly out.
Remove the element disc from the rear of the housing, take note of the the wireing placement. Replace disc and reverse order of disassembly.
This job was easy for me as I am a tinkerer by nature. The hardest part of the whole job was waiting on the part, which by the way was ordered on a Sunday evening and I had the replacement in my hands and back in the dryer running by 1:00 PM on the following Tuesday!
I book marked this website and WILL refer it to others who simply need a repair, not a costly new appliance!
Remove the element disc from the rear of the housing, take note of the the wireing placement. Replace disc and reverse order of disassembly.
This job was easy for me as I am a tinkerer by nature. The hardest part of the whole job was waiting on the part, which by the way was ordered on a Sunday evening and I had the replacement in my hands and back in the dryer running by 1:00 PM on the following Tuesday!
I book marked this website and WILL refer it to others who simply need a repair, not a costly new appliance!
Parts Used:
-
Brian from Clinton, MO
-
Difficulty Level:Easy
-
Total Repair Time:15 - 30 mins
-
Tools:Screw drivers
189 of 225 people
found this instruction helpful.
Was this instruction helpful to you?
Thank you for voting!
Start switch was stuck in the on position always leaving dryer running until you moved timer switch to off or opened door
Just removed the screws at the top of the control panel cover and flipped it down. The switch was then in plain view and simply slid out ( after taking off knob)..placed wire terminals on new switch as I took them off old switch. Slid new switch back in place to lock it in then put control panel cover back into place and replaced screws. Your good to go.
Parts Used:
-
Stan from Yorkville, IL
-
Difficulty Level:Really Easy
-
Total Repair Time:Less than 15 mins
-
Tools:Screw drivers
85 of 100 people
found this instruction helpful.
Was this instruction helpful to you?
Thank you for voting!
Dryer would not start
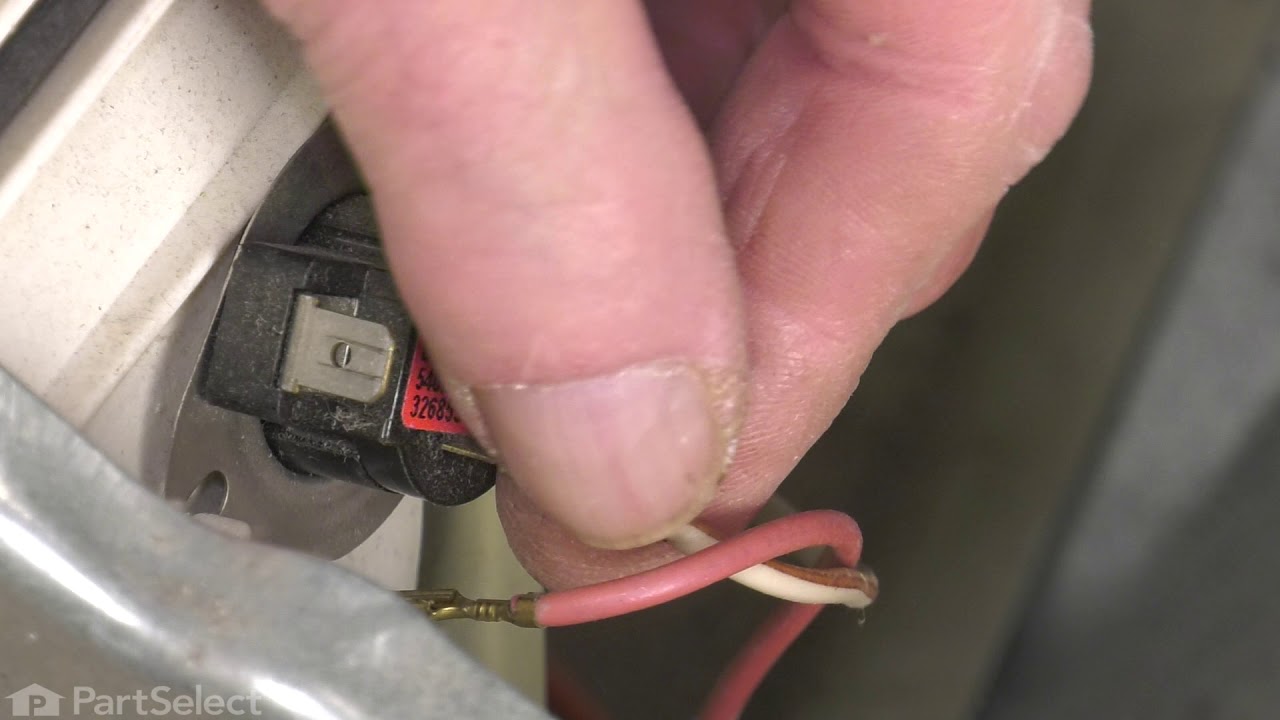
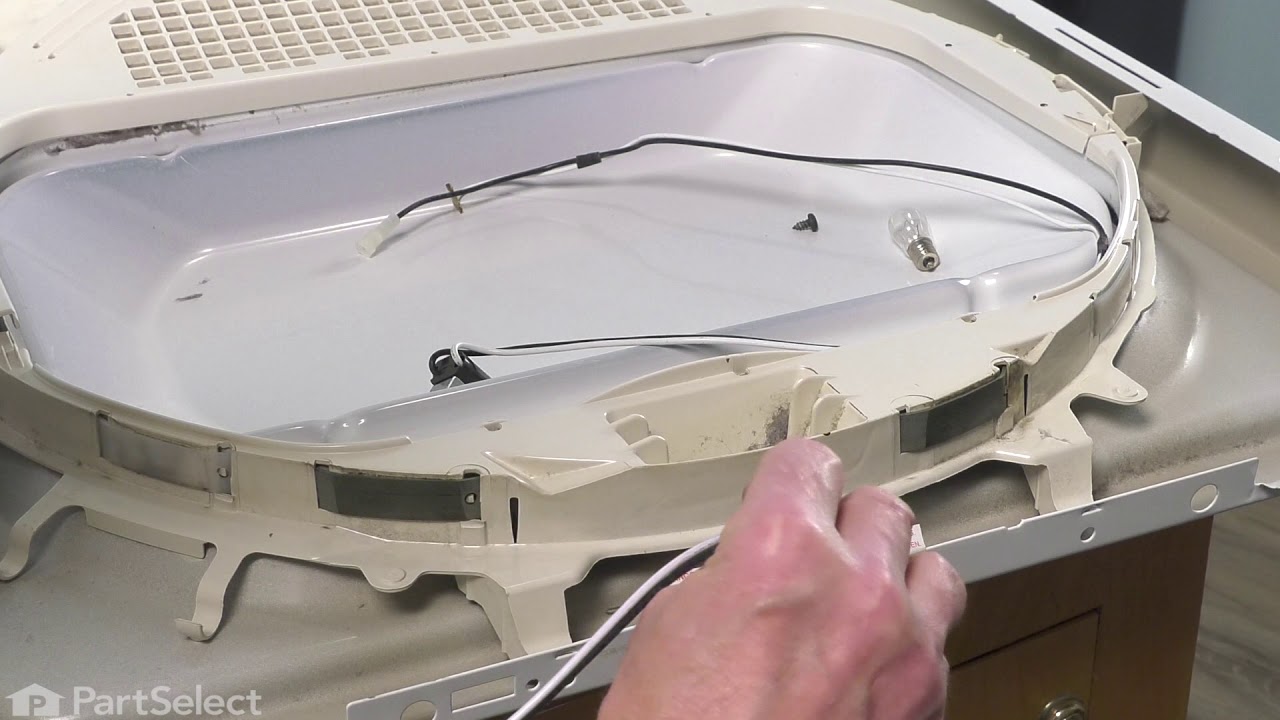
The end repair was very simple and took minimal effort. The time and difficulty was all in the testing. I disassembled the dryer and removed the drum and then hard wired each thermo-fuse to determine where the fault was. After test all of those I was stumped. When I opened the door the light would not come on so I assumed it was a power fault closer to the source. However after all of my testing I couldn't find anything wrong. I then removed the light bulb and realized it was burned out which led me to the door switch being the fault. I removed the switch and soldered the three wire together and the dryer started right up! All I had to do was order a new $15 part, unsolder the wires and plug them in. Would have been so much simpler if that light bulb hadn't of been burned out causing me to over think my diagnosis. This was my first major appliance repair and I did it with only the help of the parts diagram provided on the website.
Parts Used:
-
Joshua from Dallas, TX
-
Difficulty Level:A Bit Difficult
-
Total Repair Time:1- 2 hours
-
Tools:Pliers, Screw drivers, Socket set
92 of 140 people
found this instruction helpful.
Was this instruction helpful to you?
Thank you for voting!