




















DWA22AW Amana Dishwasher - Overview
Models starting with DWA22AW
Click on the best match to narrow your results.
Keep searches simple, eg. "belt" or "pump".

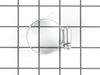
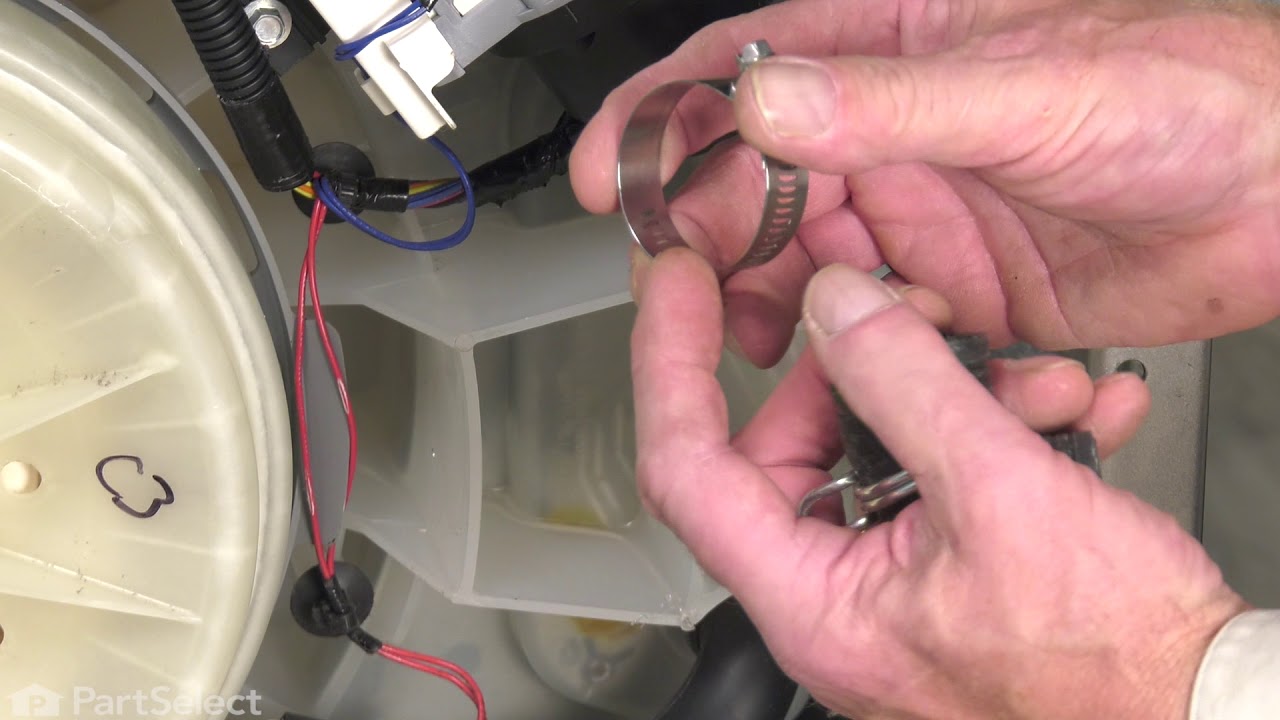
Washer Hose Clamp
PartSelect #: PS11743008
Manufacturer #: WP596669
This hose clamp extends from half an inch to an inch in diameter. It is made entirely of metal and is intended for use with Maytag brand washing machines.
$10.95
In Stock
Order within the next 54 mins and your part ships today!
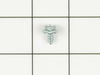
Hose Clamp
PartSelect #: PS11740613
Manufacturer #: WP285655
This hose clamp is sold individually.
$14.95
In Stock
Order within the next 54 mins and your part ships today!
Washer Screw 818 X 1/2
PartSelect #: PS11741443
Manufacturer #: WP3390631
This screw is sold individually.
$9.85
In Stock
Order within the next 54 mins and your part ships today!
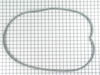
Door Gasket
PartSelect #: PS11752626
Manufacturer #: WPW10314643
It provides a seal between the tub and the door.
$88.81
Special Order
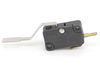

Single Wheel with Clip
PartSelect #: PS401451
Manufacturer #: 965553
Sold as one wheel and clip - not as a kit.
No Longer Available
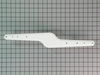
Lower Spray Arm
PartSelect #: PS1964643
Manufacturer #: W10169069
NOTE: Spray arm has been updated by the manufacture and is now straight.
$65.02
Special Order

Dishwasher Heavy Duty Door Spring
PartSelect #: PS11747963
Manufacturer #: WPR9900669
No Longer Available
Common Symptoms of models starting with DWA22AW
[Viewing 2 of 2]



Keep searches simple. Use keywords, e.g. "leaking", "pump", "broken" or "fit".
Door Springs worn
First: I unplugged the dishwasher.
Second: I removed the two screws that hold the dishwasher in place under the counter.
Third: I pulled the dishwasher out in order to see the sides of the doors where the springs hold the door attached to the dishwasher.
Fourth: I removed the worn springs with needle nose pliers.
Fifth: I attached the new springs where the old springs were attached.
Sixth I tested to see how the door functioned with the new springs.
Seventh: I repositioned the dishwasher under the counter and secured it with the screws that I removed in step 2
Second: I removed the two screws that hold the dishwasher in place under the counter.
Third: I pulled the dishwasher out in order to see the sides of the doors where the springs hold the door attached to the dishwasher.
Fourth: I removed the worn springs with needle nose pliers.
Fifth: I attached the new springs where the old springs were attached.
Sixth I tested to see how the door functioned with the new springs.
Seventh: I repositioned the dishwasher under the counter and secured it with the screws that I removed in step 2
Parts Used:
-
Ester from LA QUINTA, CA
-
Difficulty Level:Really Easy
-
Total Repair Time:Less than 15 mins
-
Tools:Pliers, Screw drivers
6 of 8 people
found this instruction helpful.
Was this instruction helpful to you?
Thank you for voting!
Springs that held up door were broken
I unscrewed the dishwasher brackets (2 of them) from under the counter, slid out the dishwasher. The springs (or broken springs) were visible. I removed them, popped the new ones in and viola!!! The door sprung up like it was new. Of course I slid the dishwasher back under the counter and put the screws back in. This took 15 minutes. I couldn't believe how easy it was. A repair man wanted to charge us $75 just for a service call (plus parts). I repaired for less than $25!!!!
Parts Used:
-
Nydia from Howell, NJ
-
Difficulty Level:Really Easy
-
Total Repair Time:Less than 15 mins
-
Tools:Screw drivers
4 of 4 people
found this instruction helpful.
Was this instruction helpful to you?
Thank you for voting!
BROKEN handle
Removed 6 inside upper door screws which allowed the front control panel drop out. then 2 star screws to remove handle assembly. reversed all to install new handle
Parts Used:
-
Wayne from Glenshaw, PA
-
Difficulty Level:Easy
-
Total Repair Time:15 - 30 mins
-
Tools:Nutdriver, Screw drivers
2 of 2 people
found this instruction helpful.
Was this instruction helpful to you?
Thank you for voting!