The drum support roller for your dryer holds the drum in place while the drum turns on the support wheels. The drum roller is round with a bearing in the middle and measures approximately 3 inches in ...
$141.66
In Stock
Order within the next 3 hrs and your part ships today!
This lint filter assembly for your dryer catches lint and debris from your clothes. You can find it near the door. It helps keep the air flowing properly and stops lint from blocking the exhaust ducts...
$98.02
In Stock
Order within the next 3 hrs and your part ships today!
This plastic adjustable dryer leg is used to support the weight and adjust the height of your dryer to keep it level. To install the leg, tip the dryer back and screw it into the bottom of your dryer ...
$13.15
In Stock
Order within the next 3 hrs and your part ships today!
They are all strung with a coiled wire made of a nickel and a chrome alloy. This wire receives, but resists, a controlled electric current and as a result, the wire heats up. The heat produced is used...
$278.40
In Stock
Order within the next 3 hrs and your part ships today!
Questions And Answers for DLEX8000W
Ask our experts a question about this model and we'll get back to you as soon as possible!
6 questions answered by our experts.
< Prev
1
2
Next >
Sort by:
Search filter:
Clear Filter
Your search term must have 3 or more characters.
Keep searches simple. Use keywords, e.g. "leaking", "pump", "broken" or "fit".
Sorry, we couldn't find any existing answers that matched.Try using some different or simpler keywords, or submit your new question by using the "Ask a Question" button above!
Bob
December 16, 2019
The dryer runs for 7 minutes and then shuts off. What could be wrong with it?
For model number DLEX8000W
Hello Bob, thank you for your question. The most likely cause of that issue is one of the following parts.
Dryer Thermistor NTCPart Number: 6323EL2001B, and Blower Thermostat Part Number: 6931EL3002M. We would recommend testing/replacing both parts. I hope this helps!
1 personfound this helpful.
Was this helpful?
Thank you for voting!
April
December 30, 2019
I did the dryer test the in5 came up waited for that to finish and the dryer is still cold the code h5 came up and the customer service department gave me some numbers for a repair man now is there a proper video to watch that possibly could be an easy fix or just a reset button?? i never used the steam so there is no water in it at all
For model number DLEX8000W
Hello April and thank you for writing.
You should try a hard reset first. Go to your breaker box, turn the breaker for your unit off, wait 5 minutes and turn the breaker back on.
If this does not fix this problem then the next part to check is the thermal fuse PS3530485 and the thermistor PS3529026. We hope this helps. Please contact us anytime.
For your convenience, we have attached the link to our repair video for the thermistor. We hope this helps. Good luck with your repair
https://www.youtube.com/watch?v=gpdhxDiTc6c&feature=emb_title
The dryer lights up but won’t start. Says “Check filter”. Filter is clear
For model number DLEX8000W
Hello Joe, Thank you for the question. We suggest checking the Duct Assembly where the filter fits into and the cabinet of the appliance to make sure there is no Lint build up preventing proper air flow. Thank you for your inquiry, good luck with this repair!
Was this helpful?
Thank you for voting!
Marvin
October 24, 2024
My dryer do not dry the cloths, I have to run like three cycles befor they are dry. What could I check or do to fix this issue?
For model number DLEX8000W
Hi Marvin,
Thank you for your question. If the dryer is taking too long to dry, check the lint filter, the lint filter duct, the exhaust hose, and the outside vent as these parts may be clogged with lint. If they are, you will need to do a thorough cleaning as a build up of lint can prevent the dryer from operating normally. If these parts are free of lint, inspect the blower wheel to make sure it is fastened securely to the drive motor. A blower wheel that is not firmly attached to the drive motor can slip and therefore not move air fast enough to properly dry clothes or even reduce airflow to the point where the high limit thermostat may trip and turn off the heat circuit. We hope this helps!
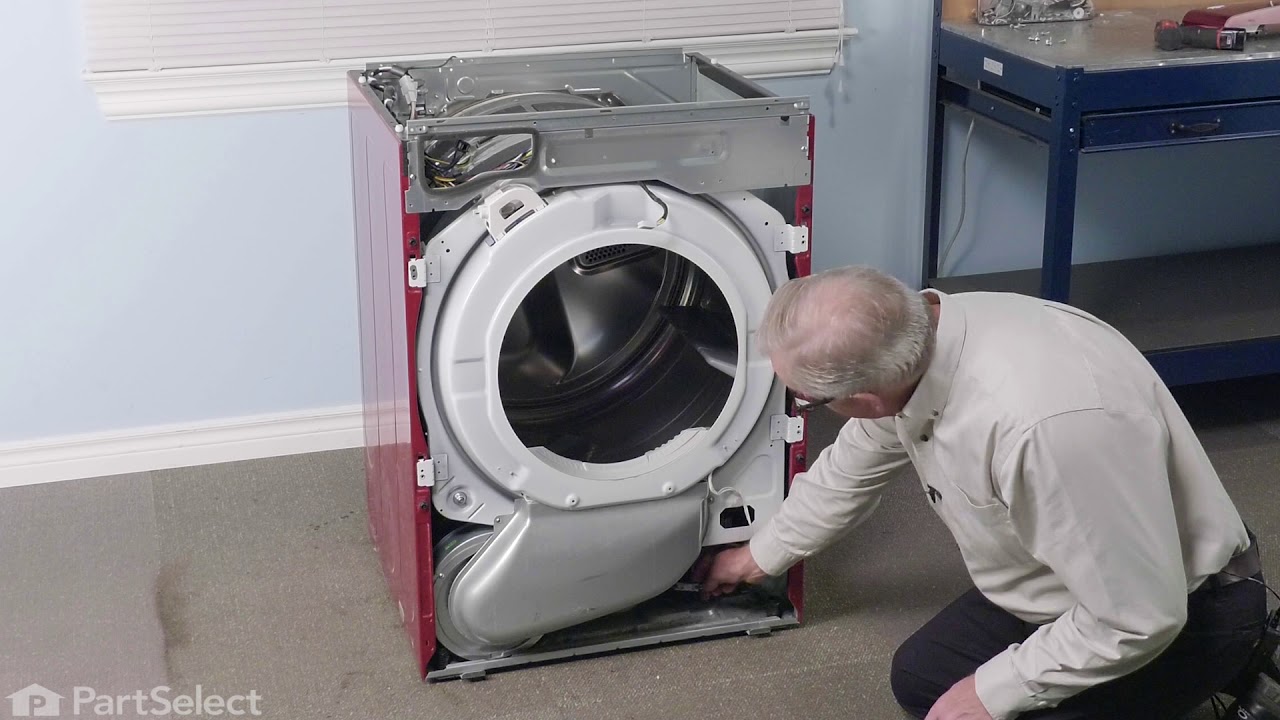
Had to replace front drum support rollers. Removed screws underneath top in back that held bracket that keeps top in place. Slid top towards rear and lifted up. Removed 4 screws that hold plastic front panel in place (inside..2 on each corner) Unplugged front panel electric plugs to remove panel. Opened door..removed 2 screws at bottom of door opening. Removed screws on top of front panel. Unplugged door switch plug. Removed front panel. Removed right front roller with 9/16th wrench for nut. Adjustable for back of stud. Lifted up on drum to get roller out. Reversed to install. Left roller a bit harder to get to stud. Removed and installed same as right side. Did not attempt to replace rear rollers. Have them if needed but very much more involved to replace.
I actually went to mr fix it on u tube. Great instruction on how to take dryer apart. First I unplugged the dryer. I found I could reach the heating system by removing the lint tube in the back of the dryer. I put my I phone with the light on inside the back of the dryer and tested the connections to see if all were working. The thermal fuse was not working. I removed the two wires , red on top and white on the bottom. Then used a small Phillips screwdriver to remove the two mounting screws and removed the fuse. I then used a vacuum to clear any lint from the back of the dryer and inside the dryer. This took me about an hour and a half. I did it this way because I did not want to disassemble the entire dryer to get to the components. I received the fuse in 3 days and tested it. It was fine. I then put it in the dryer screwed it in place, connected the wires. Replaced the lint tube. This took about 10 minutes. Dryer is running great.
Found disassembly video and watched several times. Suspected that one of the drum wheels had seized up. Found extreme volume of lint and hair inside unit as well as a dryer sheet melted on top of heating unit. Front left drum wheel was worn down from lint and hair jamming its movement. Video made it easy, not a really complicated piece of machinery. Replaced all 4 wheels due to normal wear on other three. Wanted to be sure drum evenly balanced on all 4. Parts came quickly and were easy to install. My sister and I did this together. Would not recommend doing it alone. Took time to vac and wipe down entire unit. Now it runs so quiet we have to look to see if it is operating. Got a brand new machine out of it, saved a couple of hundred dollars in repair bills, and found 11 cents inside the machine. For your own piece of mind, if you have had your dryer for several years, you need to open it up and clean it out. Its not hard... added note, we are both in our 60's... so if we can do it so can you.... Such a feeling of accomplishment, can't buy that in a store....