The Dryer's Lint Filter is used to collect lint during the dryer cycle as it passes through the dryer vent, in order to prevent damage to the machine. This manufacturer-approved part comes in gray, me...
$52.75
In Stock
Order within the next 6 hrs and your part ships today!
The drum support roller for your dryer holds the drum in place while the drum turns on the support wheels. The drum roller is round with a bearing in the middle and measures approximately 3 inches in ...
$141.66
In Stock
Order within the next 6 hrs and your part ships today!
This is an authentic dryer lint filter cover sourced directly from the manufacturer. It protects the more delicate lint filter in your dryer, so that it doesn’t get damaged and lint can’t mix in with ...
$61.55
In Stock
Order within the next 6 hrs and your part ships today!
The moisture sensor, also known as a humidity sensor, works in conjunction with your dryer by helping determine the amount of moisture in the drum to reduce overdrying. If the timer doesn’t advance co...
$20.85
In Stock
Order within the next 6 hrs and your part ships today!
This is a replacement lint screen guide for your dryer. The lint screen guide attaches to the front bulkhead and supports the lint screen. If your lint screen will not stay in place, or if you are not...
$54.95
In Stock
Order within the next 6 hrs and your part ships today!
This plastic adjustable dryer leg is used to support the weight and adjust the height of your dryer to keep it level. To install the leg, tip the dryer back and screw it into the bottom of your dryer ...
$13.15
In Stock
Order within the next 6 hrs and your part ships today!
Questions And Answers for DLEX4270V
Ask our experts a question about this model and we'll get back to you as soon as possible!
2 questions answered by our experts.
< Prev
1
Next >
Sort by:
Search filter:
Clear Filter
Your search term must have 3 or more characters.
Keep searches simple. Use keywords, e.g. "leaking", "pump", "broken" or "fit".
Sorry, we couldn't find any existing answers that matched.Try using some different or simpler keywords, or submit your new question by using the "Ask a Question" button above!
Ibi
March 12, 2023
My dryer won’t stop running. I ordered the door switch, we changed it but didn’t resolved the issue. I wonder if I need to order the panel? I could use all the help to resolve this issue .
For model number DLEX4270V
Hi Ibi, thank you for the question. We have narrowed the issue down to the following parts: the moisture sensor, part number PS3529161, the blower thermostat, part number PS8747887, as well as the thermal fuse, part number PS3530485. You can test the parts with a multimeter. If these parts are fine, most likely the control board, part number PS11710698, is faulty and needs to be replaced. We hope this is helpful!
1. My LG dryer DLEX4270V has power on controls...but WON'T start.
2. The thermal fuse checked good.
3. The duct is clean.
4. The belt and pulley are good and in tact.
5. Door switch does click but not loudly.
6. The start switch has a box like component, so I don't see a way
to test it. (how can I test It?)
WHEN I PRESS THE START button I can hear 3 clicks. What does it
indicate?
7. Last point, how to check BELT SWITCH?
Thank you greatly for your help.
For model number DLEX4270V
Hi James,
Thank you for your question. To verify if the start switch is working, you will need to test it with a multimeter for continuity. Before removing and testing the switch, please unplug the dryer from the electrical outlet. Set your multimeter to the Rx1 setting and place the probes on the switch’s terminals. You should receive a reading of infinity. With the probes still touching the terminals, press in on and hold the switch. The reading should change to zero. If your switch fails either of the tests above, you need a replacement switch. The belt switch can also be tested for continuity with a multimeter. Set the multimeter to the continuity setting and touch the multimeter probes to the terminals on the switch. The multimeter will beep when it is open showing it has continuity. When pressed closed it should not beep. If the switches are fine, you will also need to check the drive motor and the main PCB assembly. We have included a link that you may reference on how to check these parts. Once you have determined the part you need, please feel free to call customer service. We are open 7 days a week and anyone will be happy to assist you. We look forward to hearing from you!
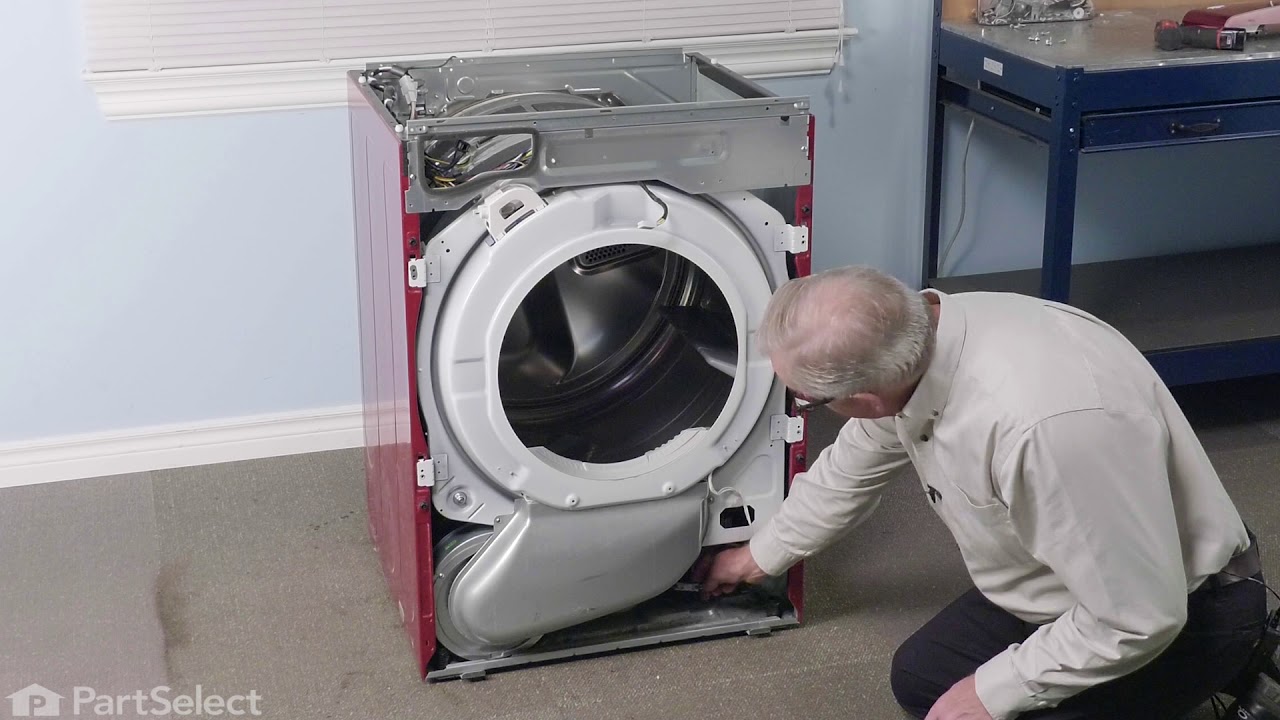
Had to replace front drum support rollers. Removed screws underneath top in back that held bracket that keeps top in place. Slid top towards rear and lifted up. Removed 4 screws that hold plastic front panel in place (inside..2 on each corner) Unplugged front panel electric plugs to remove panel. Opened door..removed 2 screws at bottom of door opening. Removed screws on top of front panel. Unplugged door switch plug. Removed front panel. Removed right front roller with 9/16th wrench for nut. Adjustable for back of stud. Lifted up on drum to get roller out. Reversed to install. Left roller a bit harder to get to stud. Removed and installed same as right side. Did not attempt to replace rear rollers. Have them if needed but very much more involved to replace.
I actually went to mr fix it on u tube. Great instruction on how to take dryer apart. First I unplugged the dryer. I found I could reach the heating system by removing the lint tube in the back of the dryer. I put my I phone with the light on inside the back of the dryer and tested the connections to see if all were working. The thermal fuse was not working. I removed the two wires , red on top and white on the bottom. Then used a small Phillips screwdriver to remove the two mounting screws and removed the fuse. I then used a vacuum to clear any lint from the back of the dryer and inside the dryer. This took me about an hour and a half. I did it this way because I did not want to disassemble the entire dryer to get to the components. I received the fuse in 3 days and tested it. It was fine. I then put it in the dryer screwed it in place, connected the wires. Replaced the lint tube. This took about 10 minutes. Dryer is running great.
Found disassembly video and watched several times. Suspected that one of the drum wheels had seized up. Found extreme volume of lint and hair inside unit as well as a dryer sheet melted on top of heating unit. Front left drum wheel was worn down from lint and hair jamming its movement. Video made it easy, not a really complicated piece of machinery. Replaced all 4 wheels due to normal wear on other three. Wanted to be sure drum evenly balanced on all 4. Parts came quickly and were easy to install. My sister and I did this together. Would not recommend doing it alone. Took time to vac and wipe down entire unit. Now it runs so quiet we have to look to see if it is operating. Got a brand new machine out of it, saved a couple of hundred dollars in repair bills, and found 11 cents inside the machine. For your own piece of mind, if you have had your dryer for several years, you need to open it up and clean it out. Its not hard... added note, we are both in our 60's... so if we can do it so can you.... Such a feeling of accomplishment, can't buy that in a store....