














CPMC3085KF3 Frigidaire Microwave Oven Combo - Overview
Sections of the CPMC3085KF3
[Viewing 6 of 6]


Manuals & Care Guides for CPMC3085KF3
Click to downloadInstall
Installation Instructions
(2.21MB)
Specs
Product Specifications Sheet
(0.61MB)
Wiring
Wiring Diagram
(0.34MB)
Keep searches simple, eg. "belt" or "pump".

Light Bulb
PartSelect #: PS12751166
Manufacturer #: 316538904
This 40-watt appliance light bulb is a reliable replacement for use in select ranges, refrigerators, freezers, and microwaves. It provides bright, consistent lighting to help you see clearly inside yo...
$39.55
In Stock

Main Terminal Block Kit
PartSelect #: PS471605
Manufacturer #: 5304409888
Terminal blocks (also called terminal boards or strips) provide a convenient means of connecting individual electrical wires.
$48.78
In Stock

Temperature Sensor
PartSelect #: PS11758156
Manufacturer #: 5304504897
This oven temperature sensor, also known as an oven probe, monitors the internal temperature of the oven cavity to ensure accurate and consistent heating. Measuring 6 inches in length and made of dura...
$62.31
In Stock

LENS
PartSelect #: PS16218465
Manufacturer #: 5304524341
This lens covers the interior oven light bulb.
$34.95
In Stock

GLASS
PartSelect #: PS11728351
Manufacturer #: 5304503232
This is also called the heat barrier glass.
$135.91
In Stock

SWITCH
PartSelect #: PS8769124
Manufacturer #: 5304493153
The relay switch may also be known as the door micro switch and is a part for your microwave. The function of this part is to monitor the door latch and communicate whether the door latch is open or c...
$104.82
In Stock


Convection Fan Blade
PartSelect #: PS3409337
Manufacturer #: 318398302
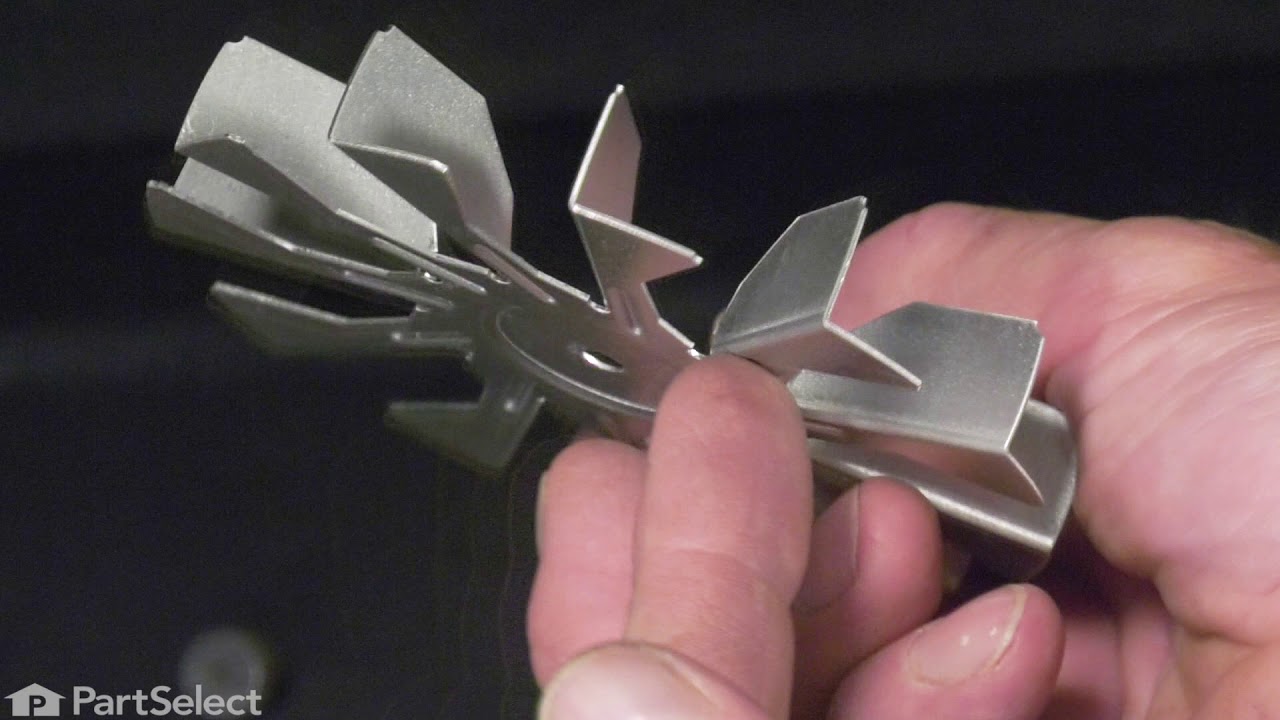
This convection fan blade is designed for use with various makes and models of range and oven and is sold as an individual part. Made of metal and measuring approximately 4.75-inches in diameter, this...
$43.07
In Stock

Light Lens Retainer Clip
PartSelect #: PS470510
Manufacturer #: 5304400195
This retainer secures the light lens to the oven cavity.
No Longer Available


Common Symptoms of the CPMC3085KF3
[Viewing 12 of 12]Little to no heat when baking
Fixed by
these parts
these parts


Show All
Element will not heat
Fixed by
these parts
these parts
Show All
Will Not Start
Fixed by
these parts
these parts

Show All
Oven is too hot
Fixed by
these parts
these parts
Show All
No heat
Fixed by
these parts
these parts

Show All
Won’t turn on
Fixed by
these parts
these parts
Show All
Oven not heating evenly
Fixed by
these parts
these parts
Show All
Door stuck closed
Fixed by
these parts
these parts

Show All
Door not closing properly
Fixed by
these parts
these parts

Show All
Little to no heat when broiling
Fixed by
these parts
these parts
Show All
Noisy
Fixed by
these parts
these parts

Show All
Tray won’t turn
Fixed by
these parts
these parts

Show All

Keep searches simple. Use keywords, e.g. "leaking", "pump", "broken" or "fit".
Cord was not tightened enough by delivery crew.
PF alarm appeared on display. Noticed clicking when cord was moved. Had arced for some time and melted original block. New part slightly different. Only has 3 lugs, old one had six. Stack using washers provided. Take note of colors before disassembly. Use caution while working through access opening. The edges are sharp. Only tools needed are phillips screwdriver, deep socket for lug nuts. Nut driver optional. Hope this is helpful.
Parts Used:
-
Timothy from Spring Valley, AL
-
Difficulty Level:Really Easy
-
Total Repair Time:15 - 30 mins
-
Tools:Screw drivers, Socket set
109 of 174 people
found this instruction helpful.
Was this instruction helpful to you?
Thank you for voting!
Timer would run but the microwave won't start
I first removed the top plate above the microwave door (3 screws), then I removed the plate containing the buttons and clock. The microwave has 3 relay switches and they are in a little holder. The holder was too difficult to remove so I just removed the bottom switch and replaced. The microwave started right up.
Parts Used:
-
Tim from Chicago, IL
-
Difficulty Level:Easy
-
Total Repair Time:30 - 60 mins
-
Tools:Screw drivers
91 of 149 people
found this instruction helpful.
Was this instruction helpful to you?
Thank you for voting!
Cracked oven door inner glass
Repair was quite easy, as long as you have the instructions for removing the door. The screws that hold the bottom of the door to the fixed hinge are placed into the side of the hinge assembly after removal; this holds the door at a 45 degree angle for easy removal. After that, just place the door on a flat surface and dismantle the door from the inside. The inner glass is contained in a metal frame with another piece of glass; this frame comes apart easily using the clips in each side. The door assembles easily after the glass is replaced; just take your time and give yourself enough room to lay out the parts as you go. Good luck!
Parts Used:
-
Mitch from Fernandina Beach, FL
-
Difficulty Level:Easy
-
Total Repair Time:15 - 30 mins
-
Tools:Screw drivers
76 of 134 people
found this instruction helpful.
Was this instruction helpful to you?
Thank you for voting!