














CHS950P4M7W2 General Electric Range - Overview
Sections of the CHS950P4M7W2
[Viewing 9 of 9]


Keep searches simple, eg. "belt" or "pump".

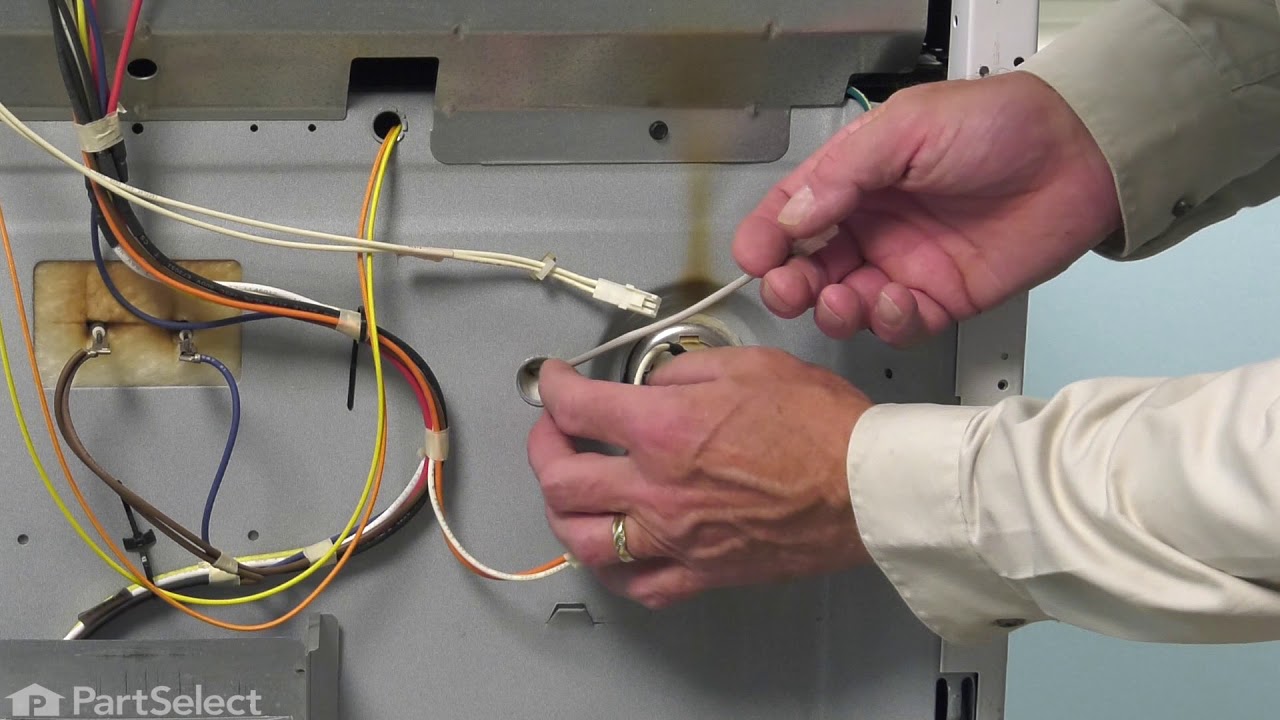
Temperature Sensor Kit
PartSelect #: PS236490
Manufacturer #: WB23X5340
This kit includes the sensor as well as the connectors. NOTE This sensor is 2" long.
$124.11
Special Order


Screw
PartSelect #: PS283515
Manufacturer #: WR01X10065
Size: 10-32 GXTT FLP .595
Sold individually.
$13.95
Special Order


Common Symptoms of the CHS950P4M7W2
[Viewing 5 of 5]Little to no heat when baking
Fixed by
these parts
these parts

Show All
Oven not heating evenly
Fixed by
these parts
these parts
Show All
Oven is too hot
Fixed by
these parts
these parts
Show All
Will Not Start
Fixed by
these parts
these parts

Show All
Element will not heat
Fixed by
these parts
these parts
Show All
Keep searches simple. Use keywords, e.g. "leaking", "pump", "broken" or "fit".
Oven sensor was not holding temperature range.
-
CHARLA from NEW BRAUNFELS, TX
-
Difficulty Level:Really Easy
-
Total Repair Time:Less than 15 mins
-
Tools:Nutdriver
48 of 81 people
found this instruction helpful.
Was this instruction helpful to you?
Thank you for voting!
defective temp. sensor
Removed oven from cabinet. unblug old sensor pluged in new and reinstalled oven. Esay repair though wish oven was designed so did not have to pull itout of cabinet which requires disconect electric cabel
Parts Used:
-
Armand from COVENTRY, CT
-
Difficulty Level:Easy
-
Total Repair Time:30 - 60 mins
-
Tools:Screw drivers
20 of 30 people
found this instruction helpful.
Was this instruction helpful to you?
Thank you for voting!
When baking at temps > 400 the oven would beep with an error code F5 and shut off
I downloaded the installaion manual from the web for this model. First htings first, I located the circuit breaker for the oven and turned it off. Removed the lower trim piece from the bottom, next lifted the oven door off its hinges and set it to the side. I then wrapped a couple of small towels around the hinges for the door as per the manual (the hinges can pinch a finger). I then removed the four screws which secured the oven into the cabinet. Next I slid the oven forward allowing me access to the rear. I removed the pieces from the rear to gain access to the sensors connector, and unpl;ugged the sensor. Went around to the front and unscrewed the 2 screws securing the sensor and removed it. I then installed the new sensor, replaced the rear covers, slid the oven back into the cabinet, secured the four screws, snapped on the lower trim, remounted the oven door, and turned the breaker on. Oven working fine now.
Parts Used:
-
Jack from Cypress, TX
-
Difficulty Level:Easy
-
Total Repair Time:30 - 60 mins
-
Tools:Nutdriver, Screw drivers
16 of 20 people
found this instruction helpful.
Was this instruction helpful to you?
Thank you for voting!